I recently got myself a 3D printer and a space to set it up in! This was my first project with the new printer. It wasn't particularly complicated or challenging, but it was still very satisfying and fun. It's been a while since I've been able to make things like this.
The problem
A few months ago, after our trip to Japan, Sharlene and I bought a bidet for our apartment. We got the fancy Toto Washlet model from Costco, and its controls are in this rectangular remote:
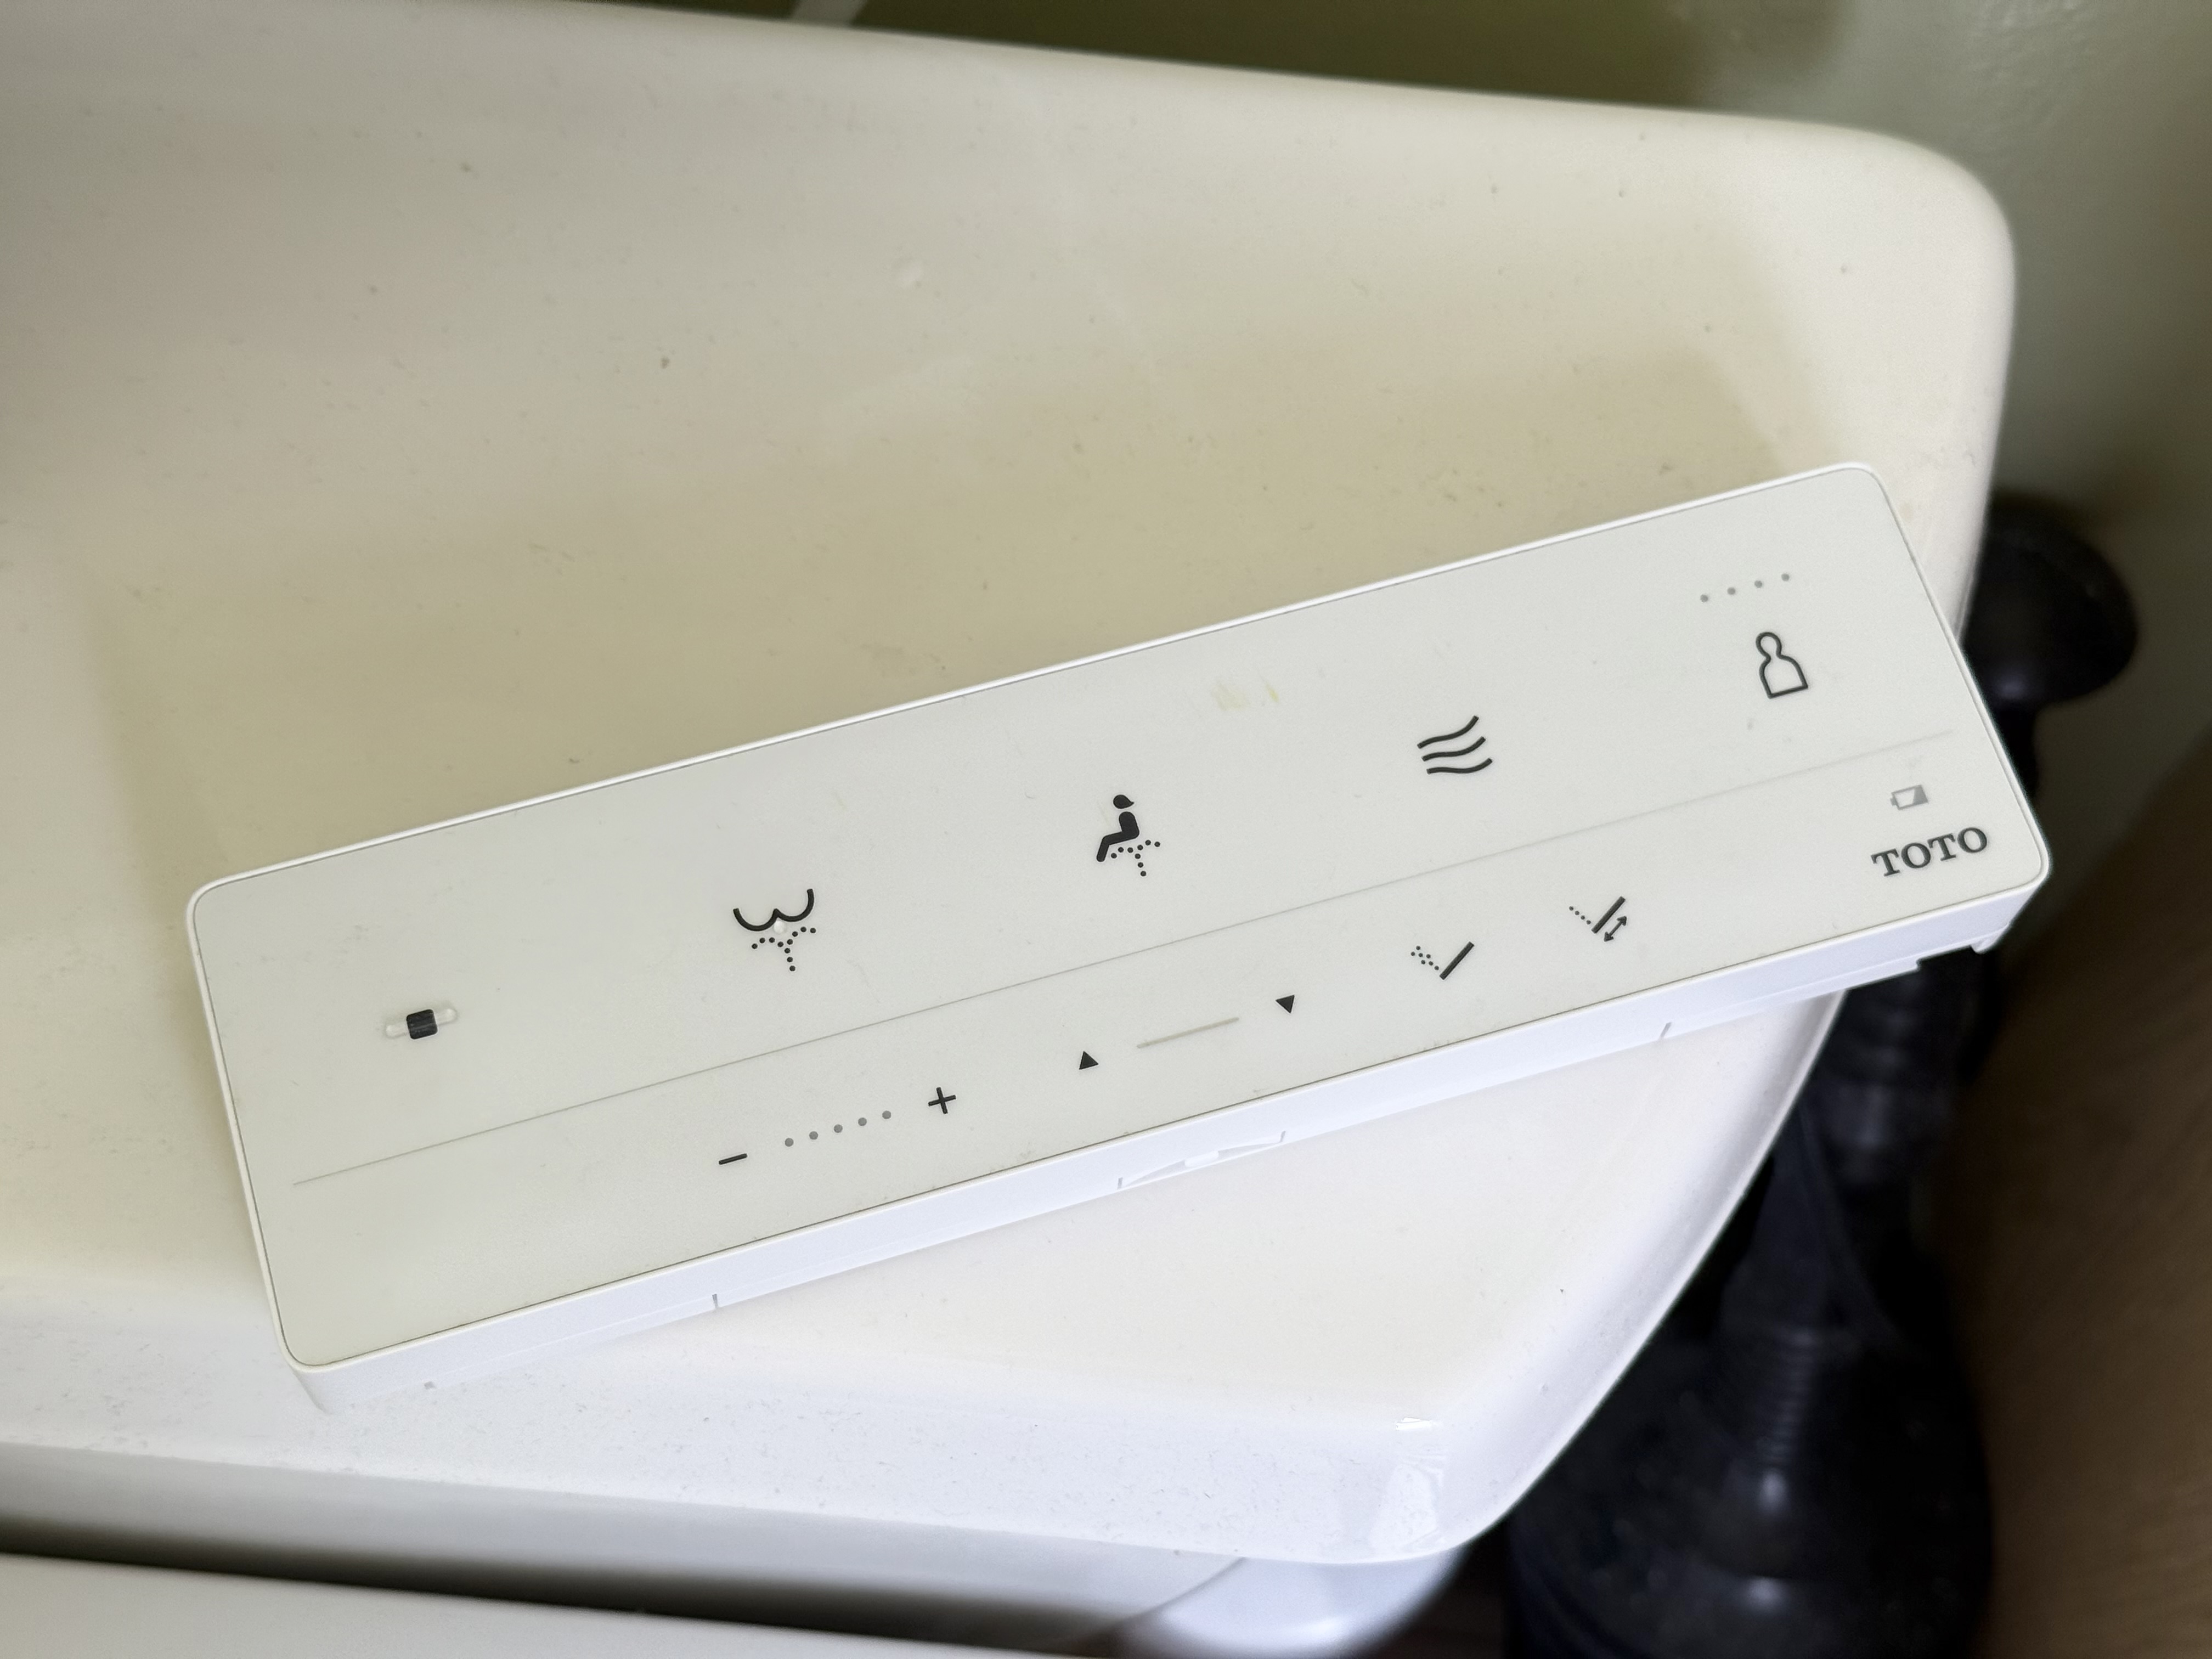
The remote has a backing plate which is meant to be screwed into the wall, but since we rent our apartment, I didn't really want to make big screw holes in the wall. The back of the plate isn't a flat surface, so it's not conducive to using Command strips or similar.
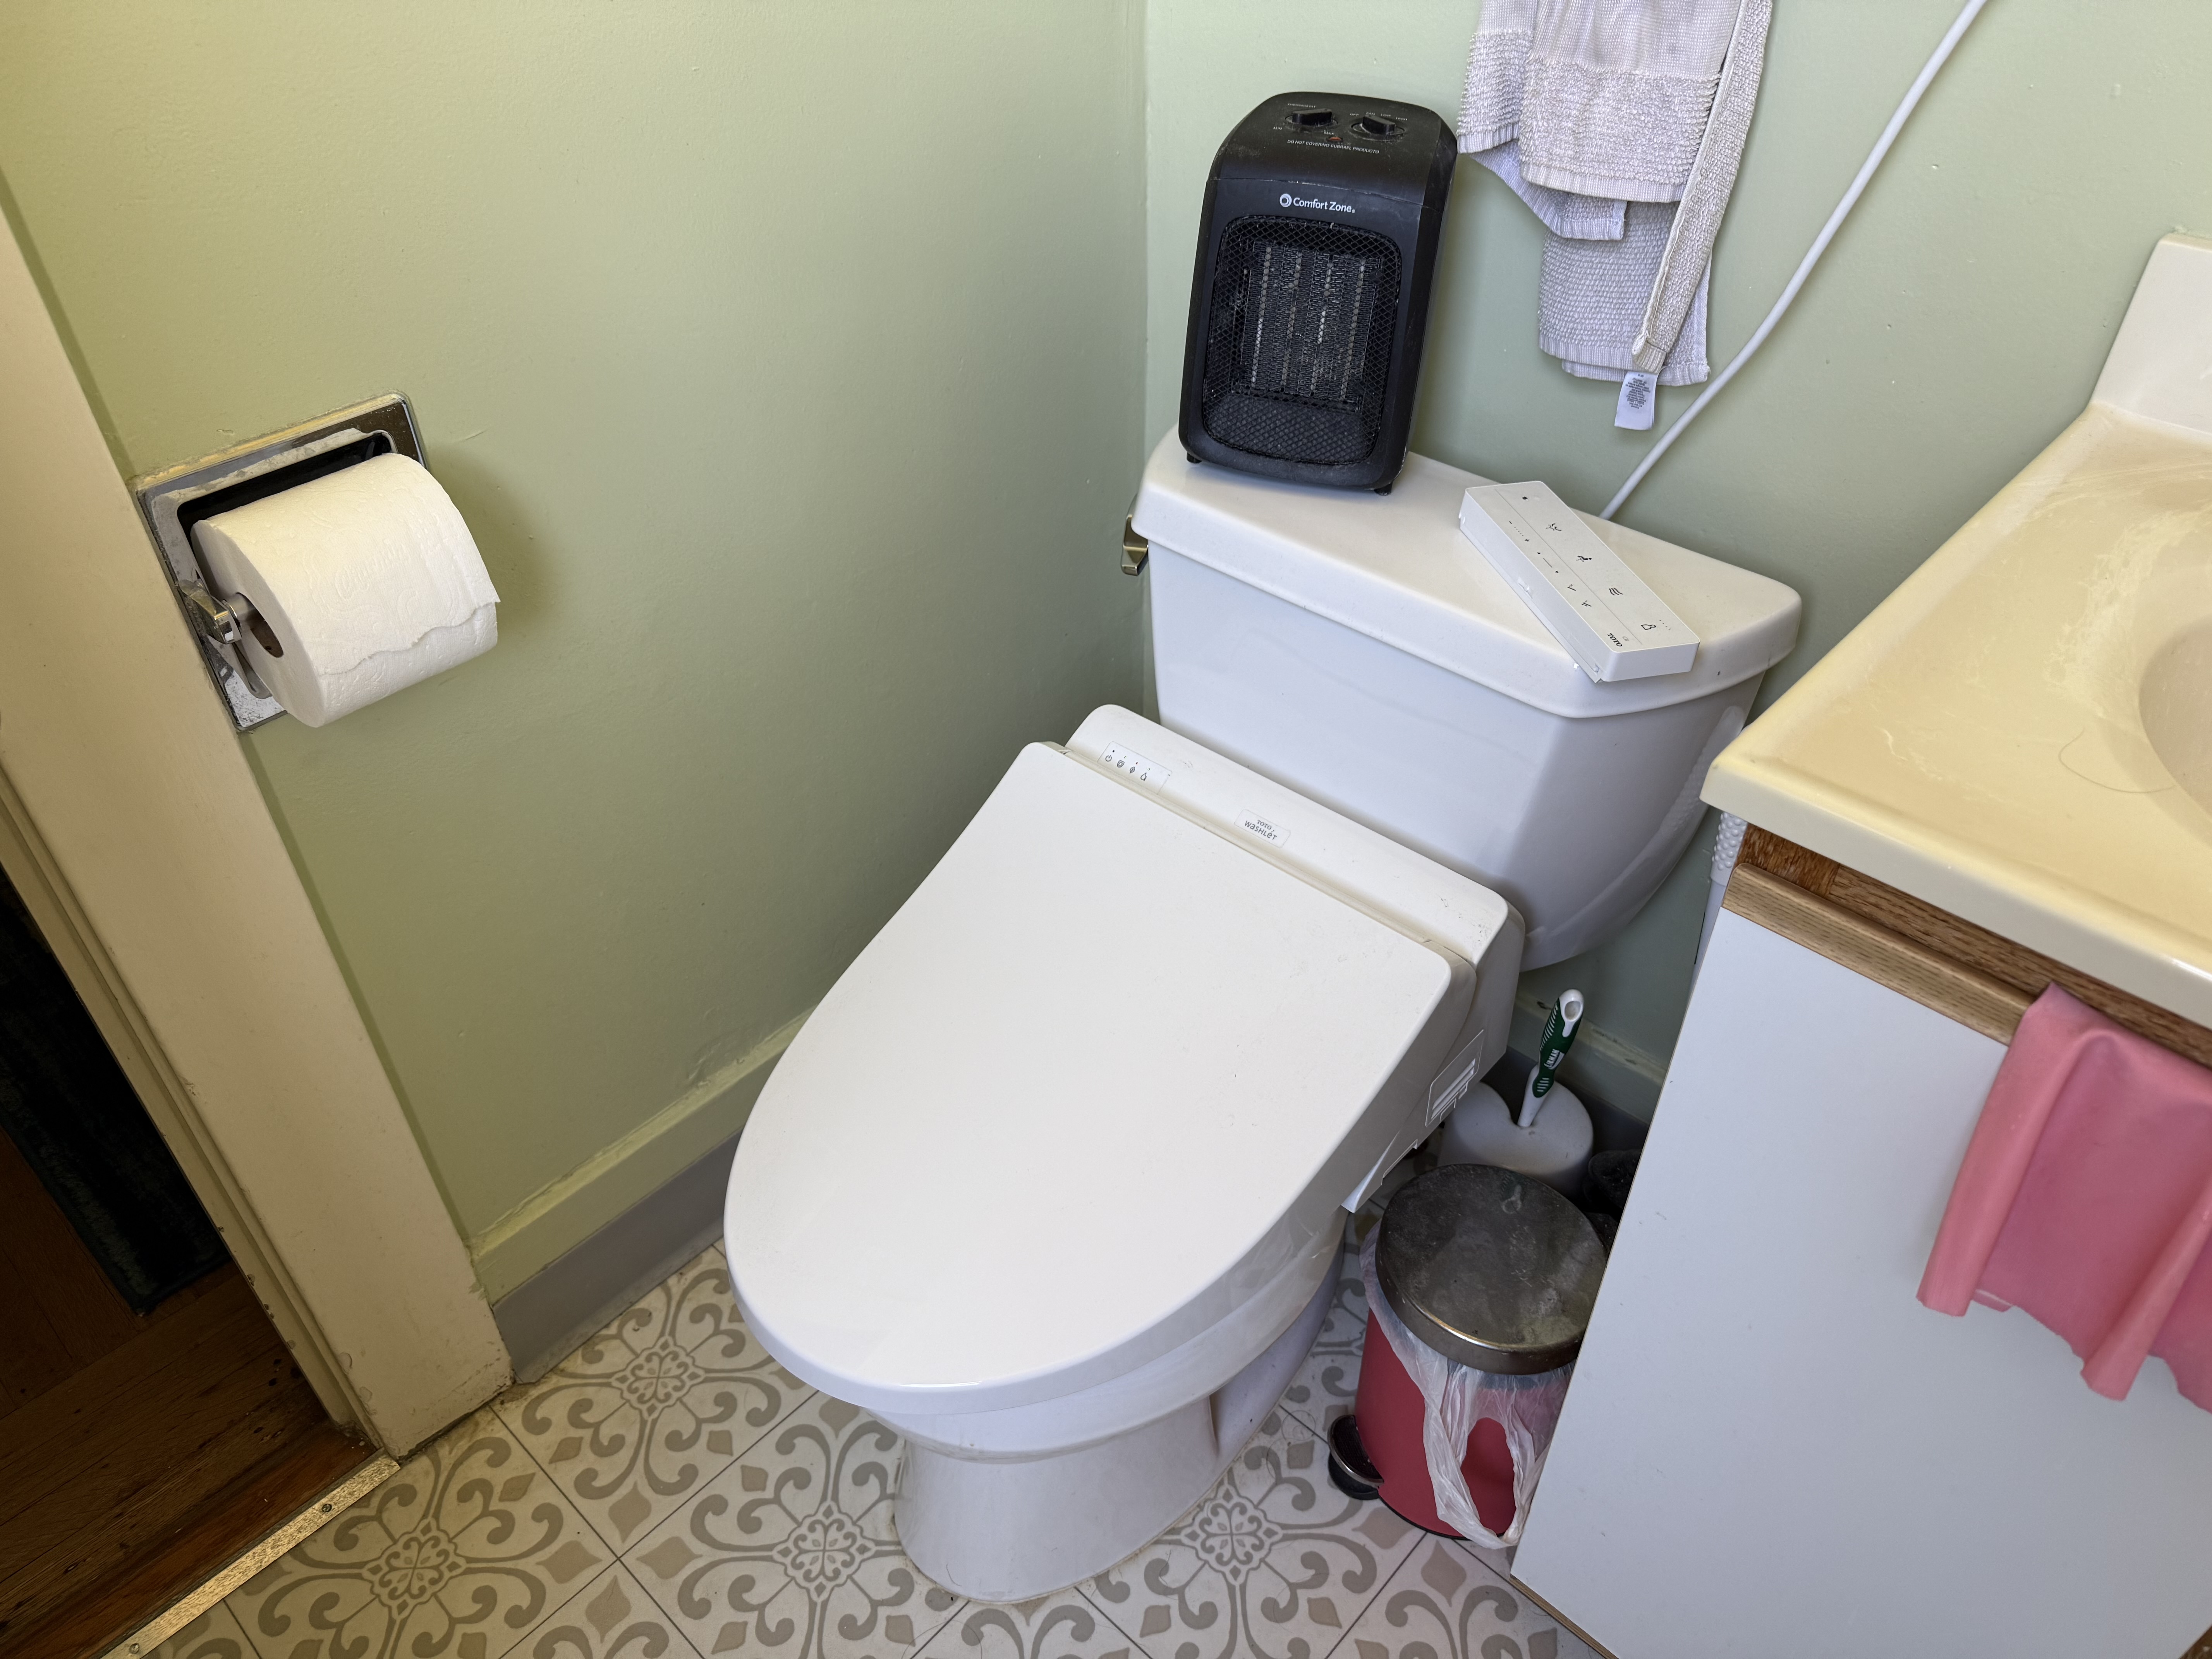
So for a few months, the remote was just loose in the bathroom, usually sitting on top of the toilet tank like in this photo:
The solution
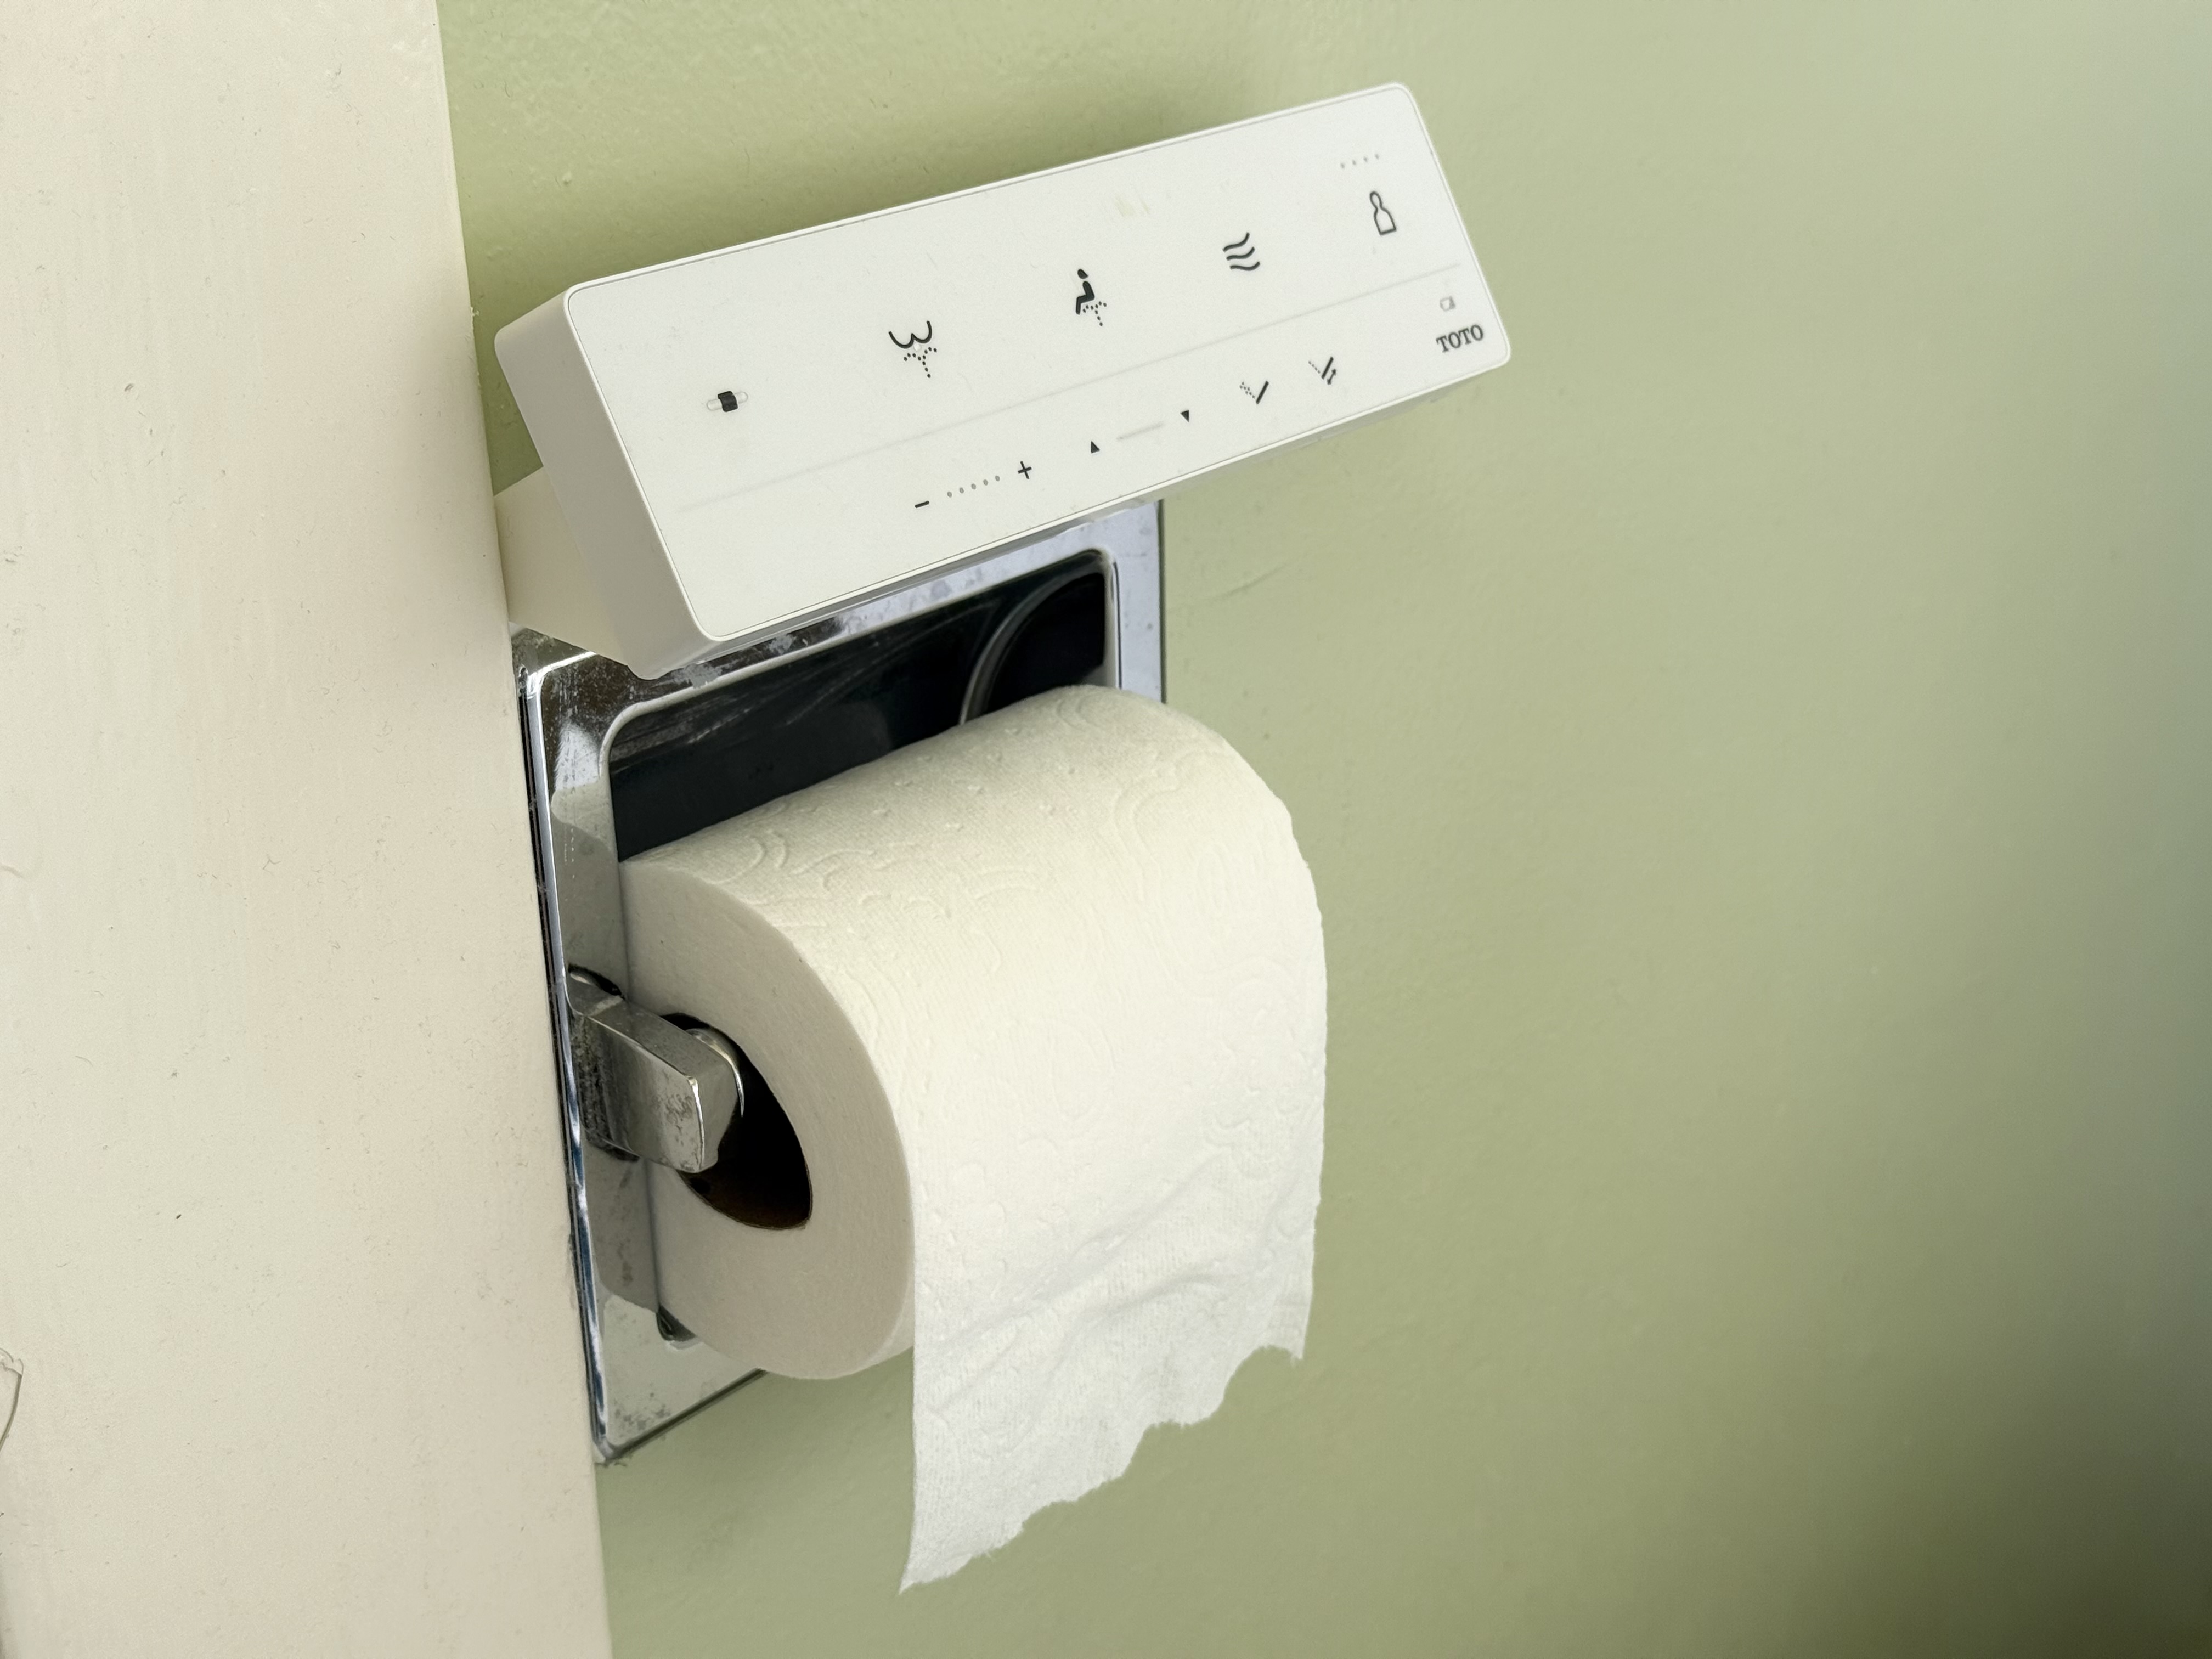
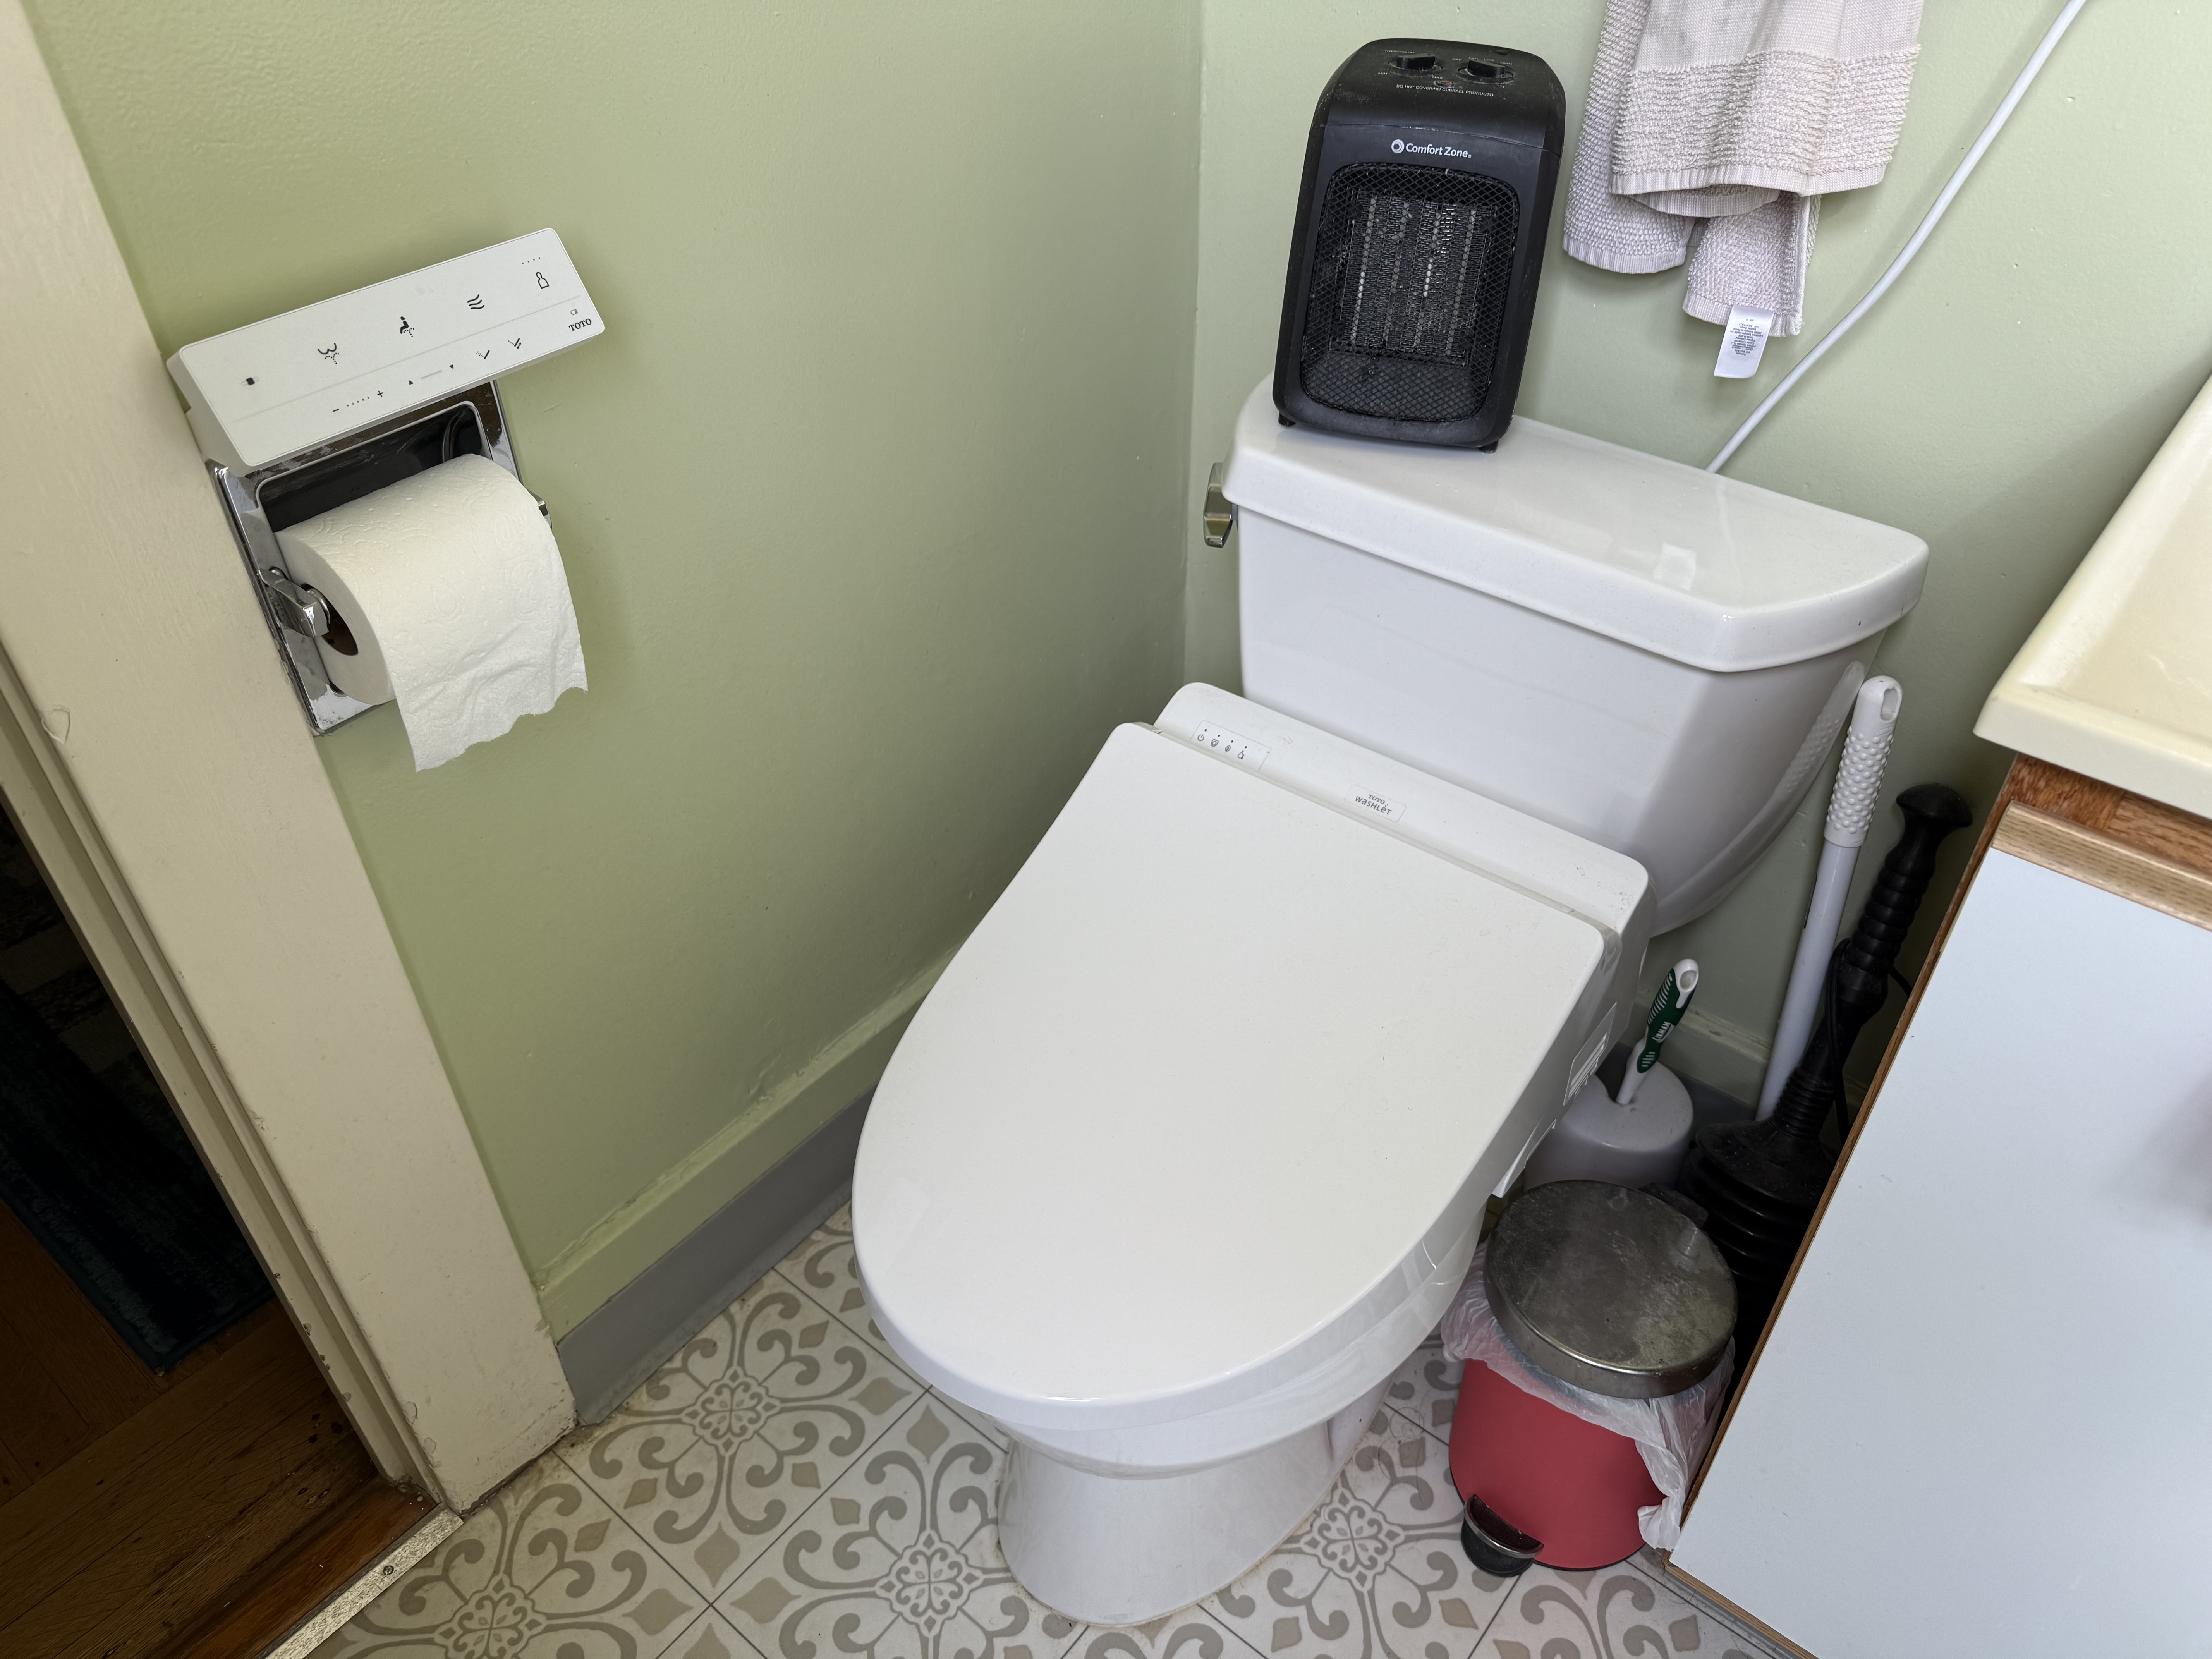
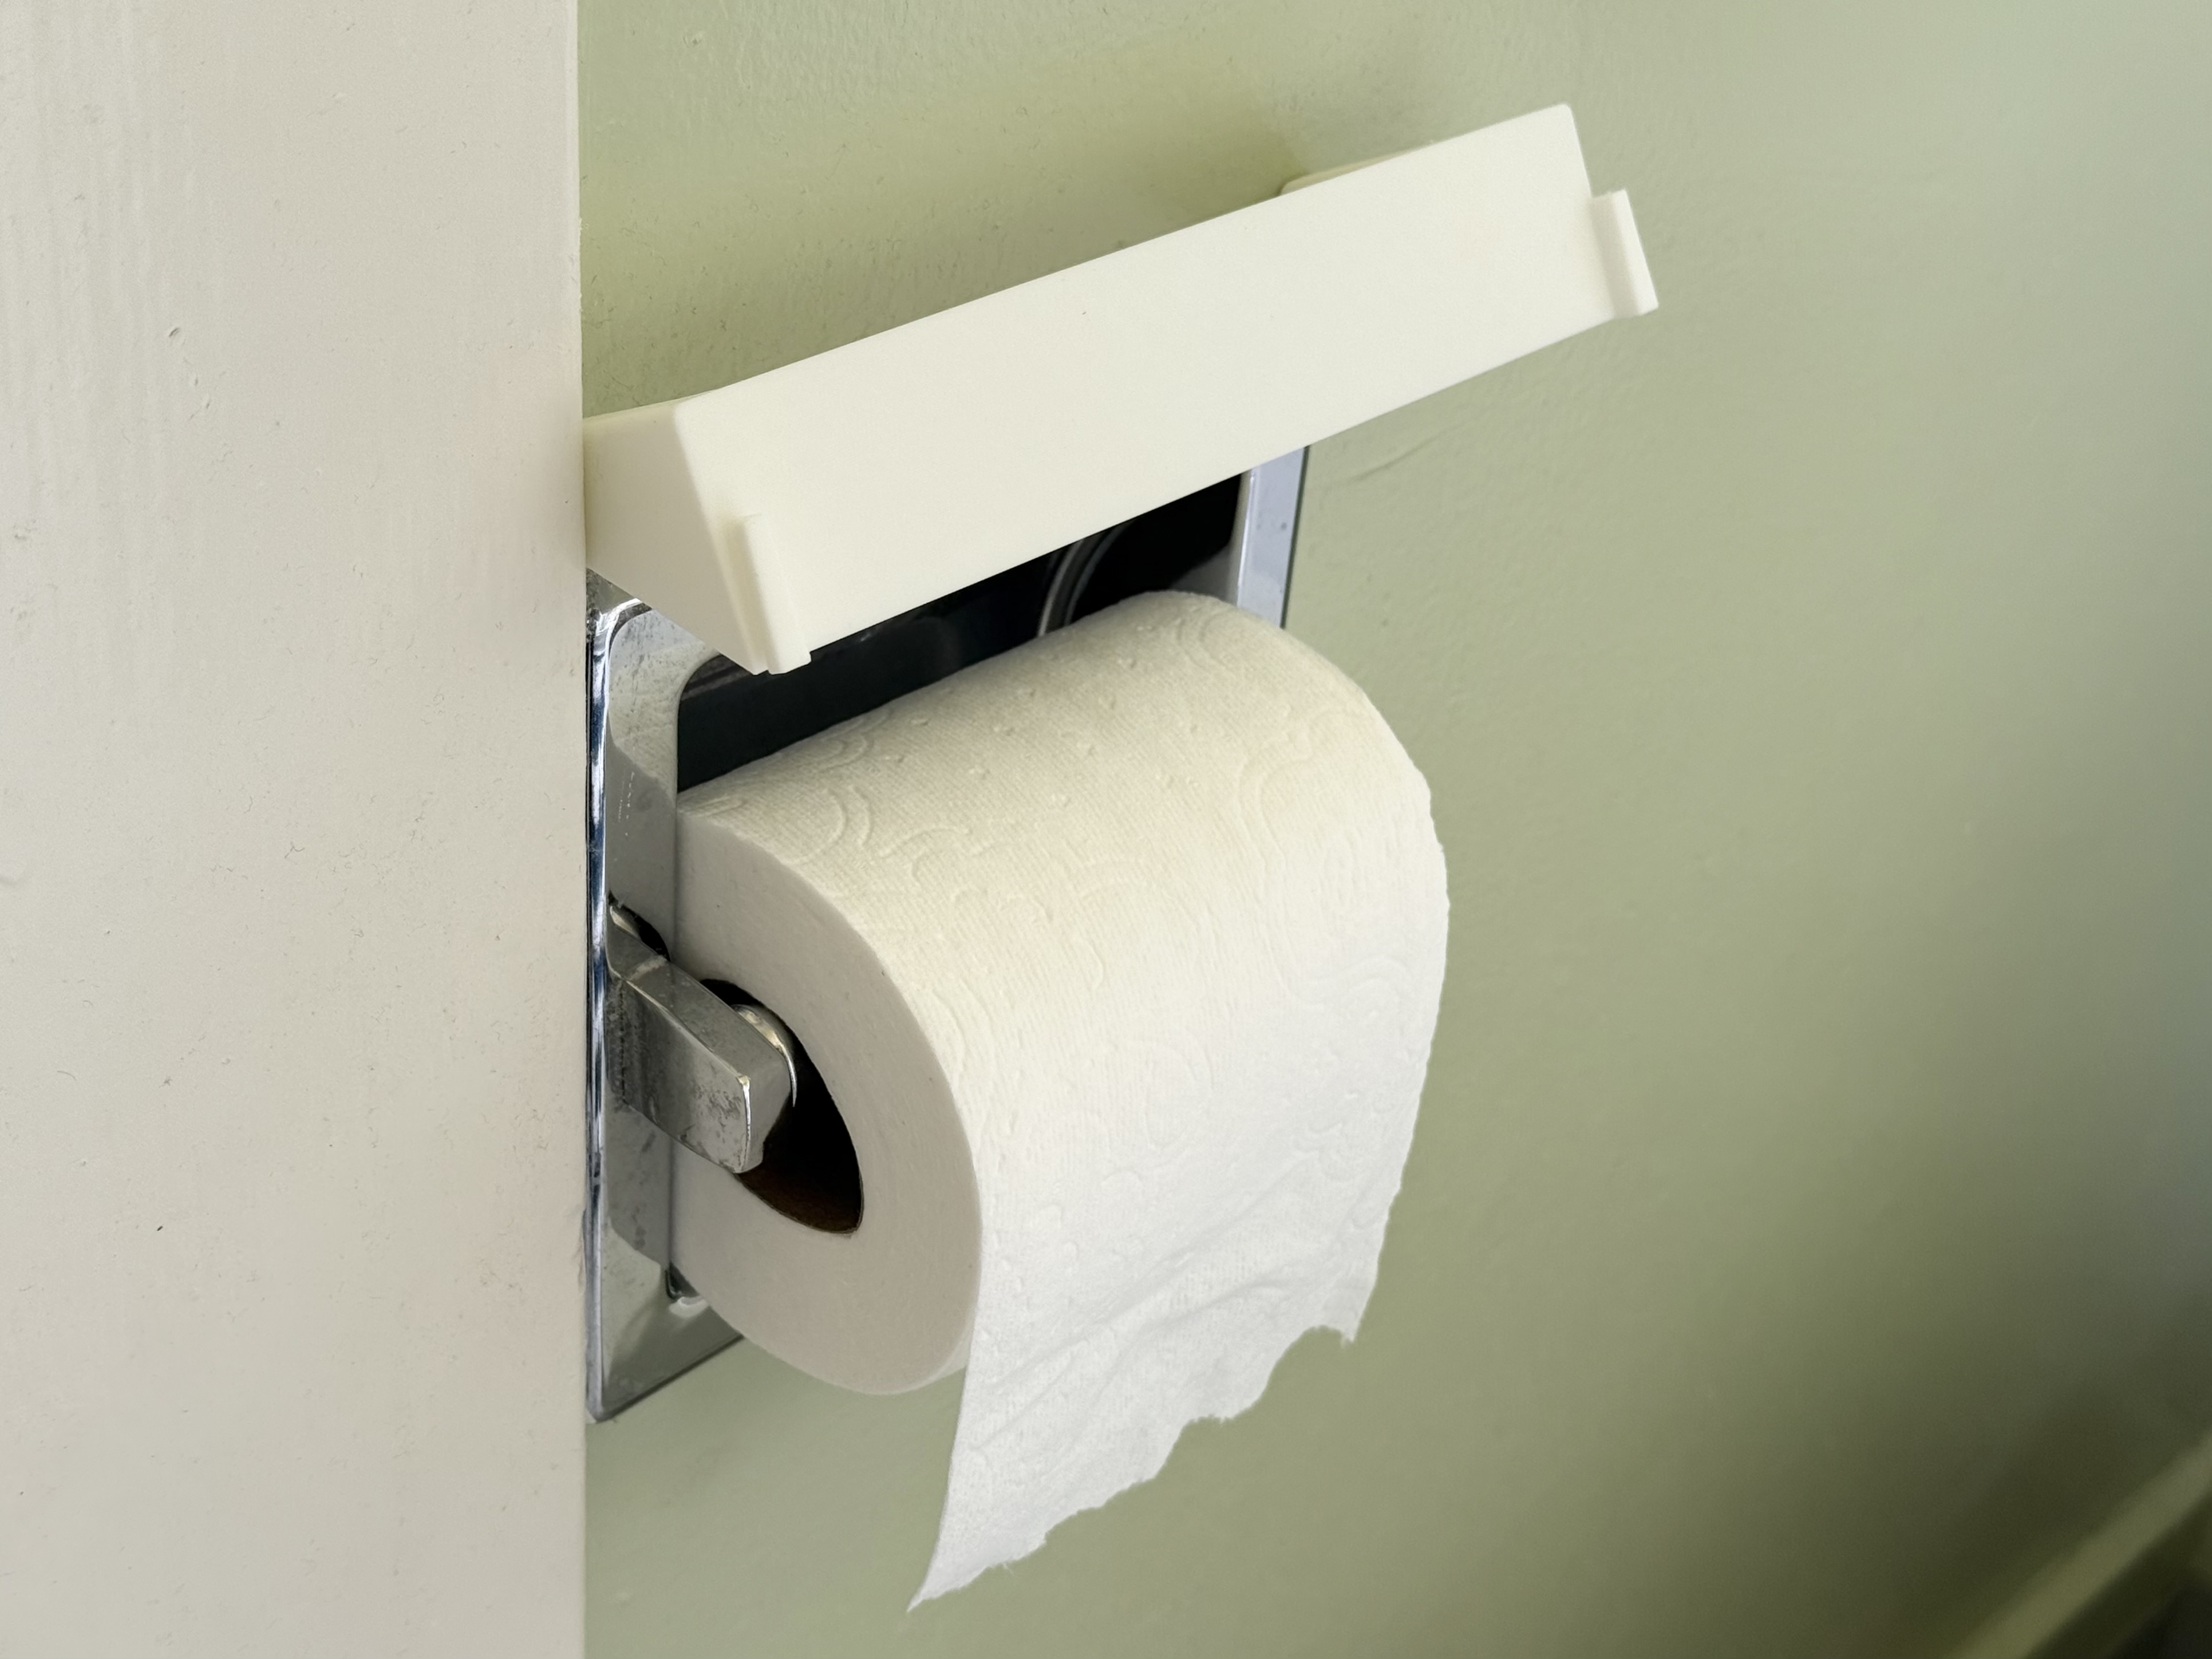
I designed and printed a mount which sits between the toilet paper holder and the wall and has the same mounting interface as the original backing plate. It holds the remote at a nice angle, floating slightly away from the wall above the toilet paper roll. Here's what it looks like when installed:
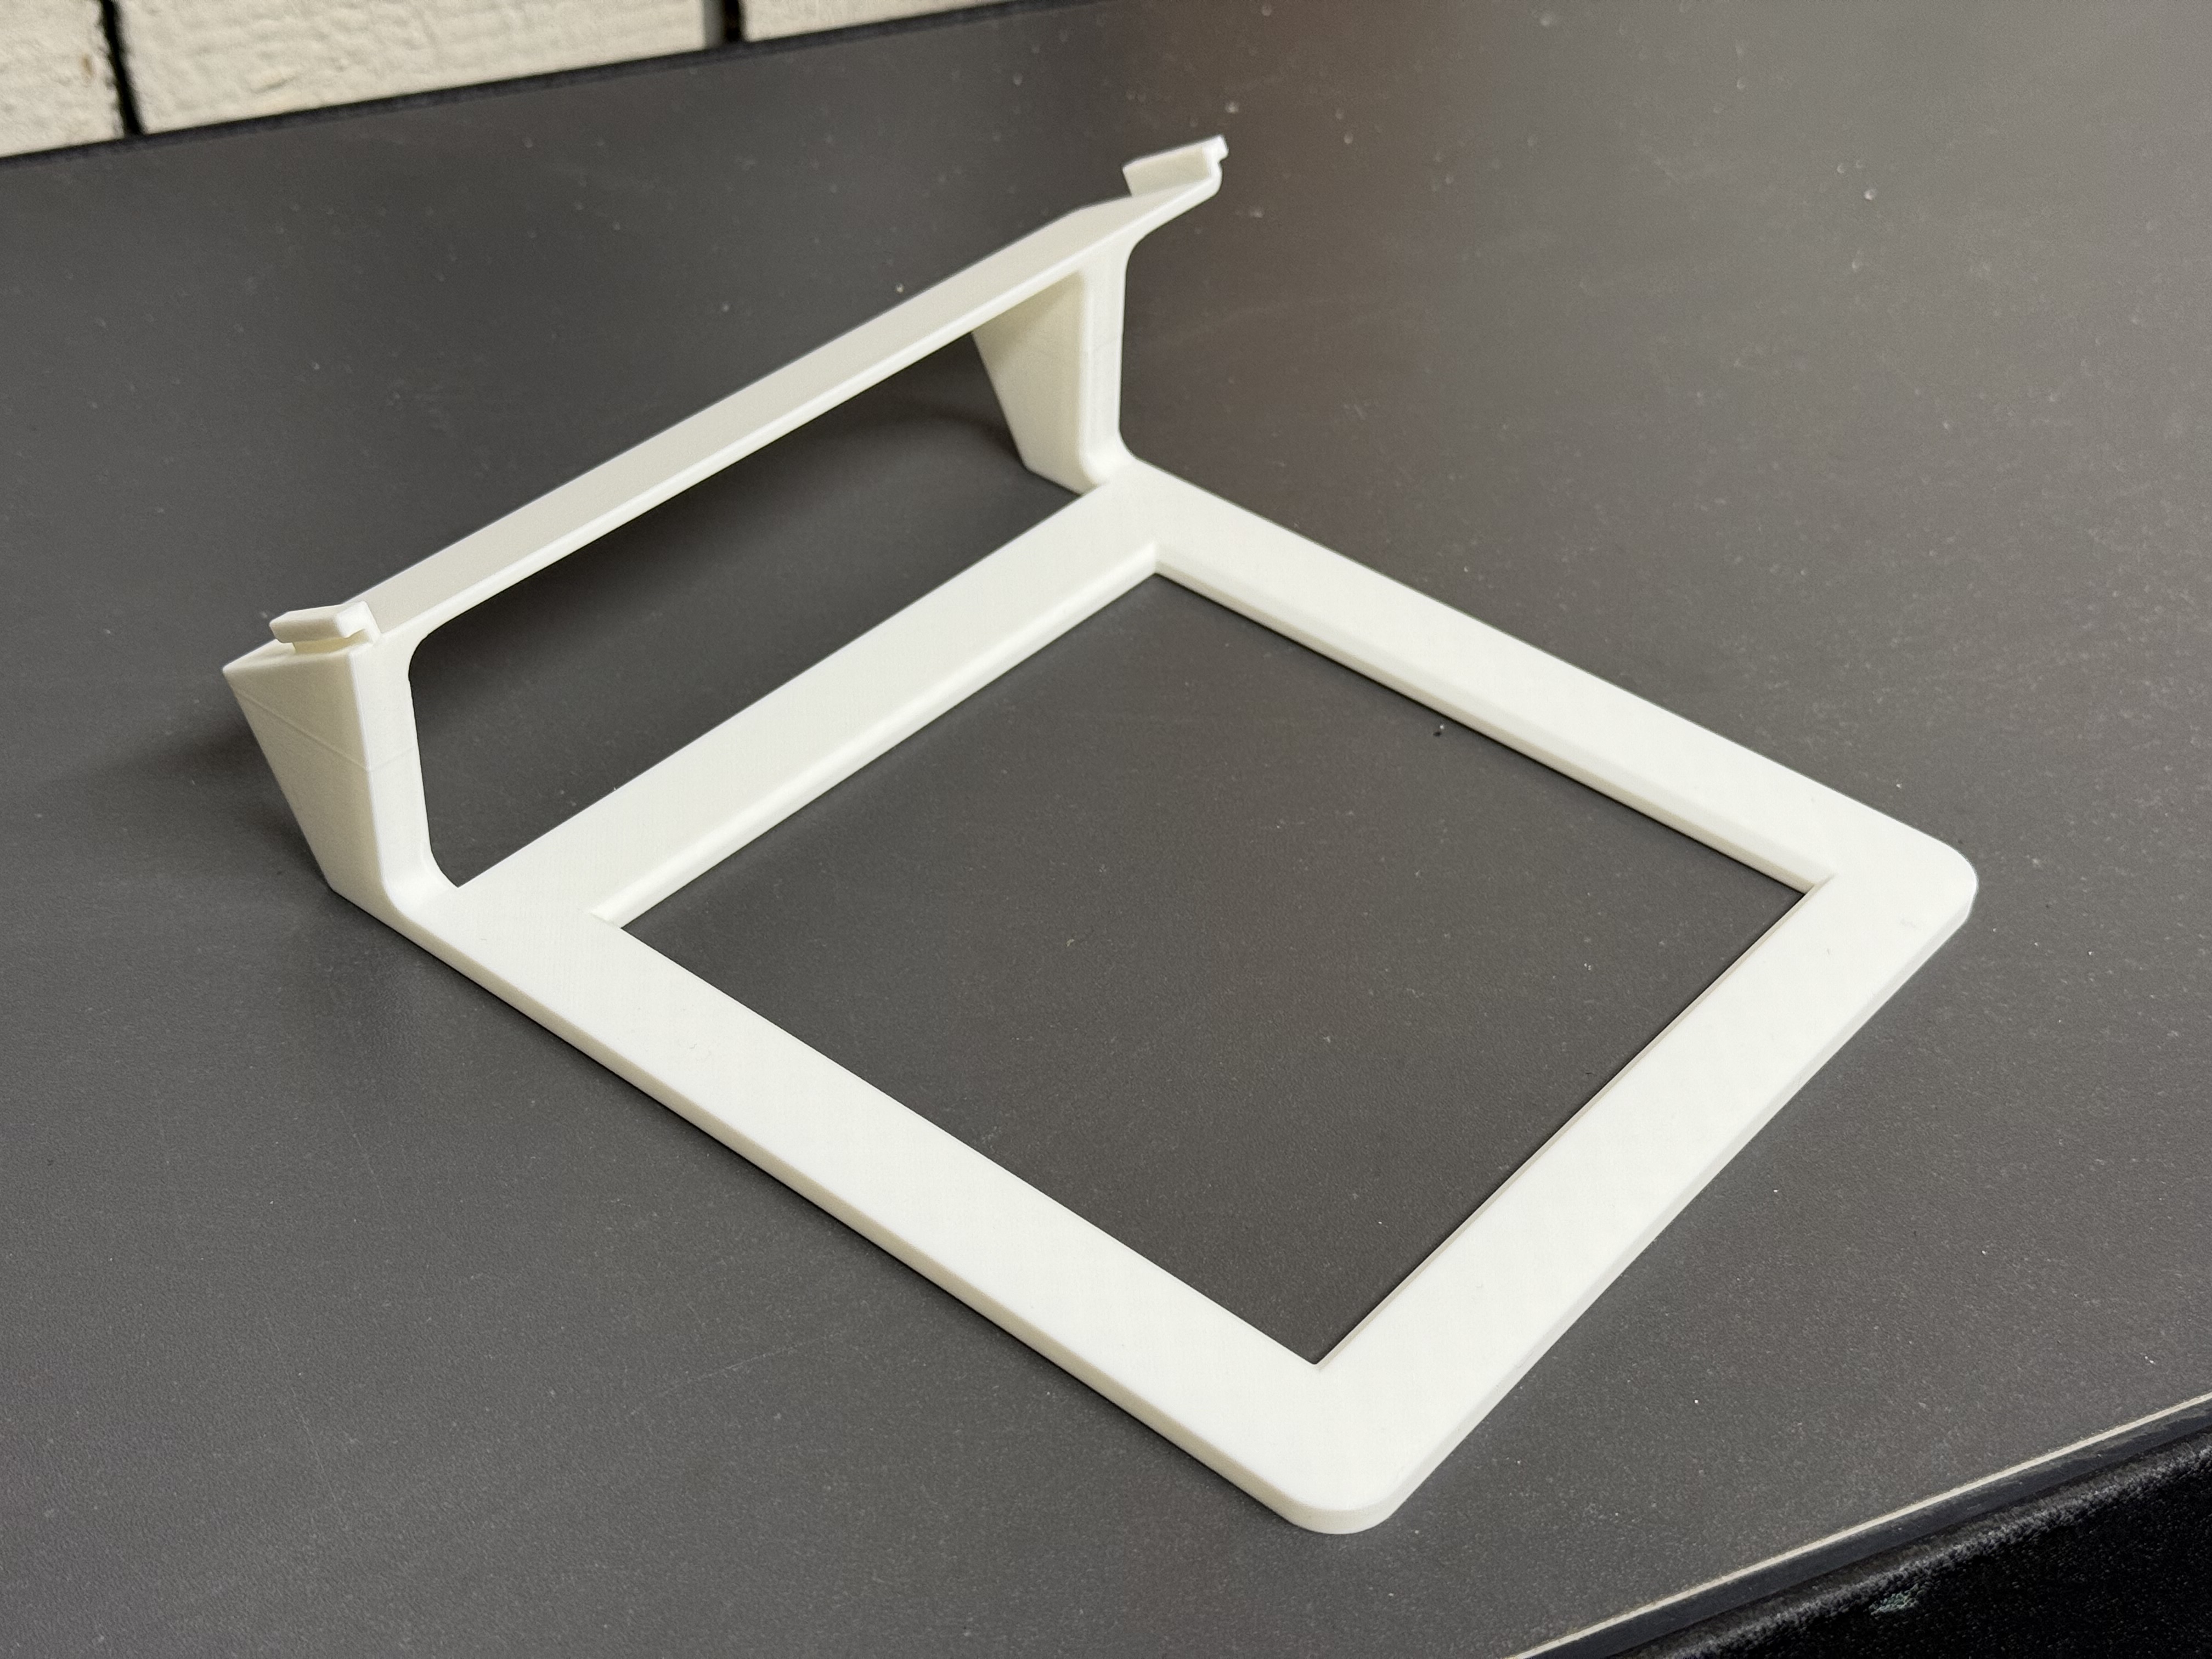
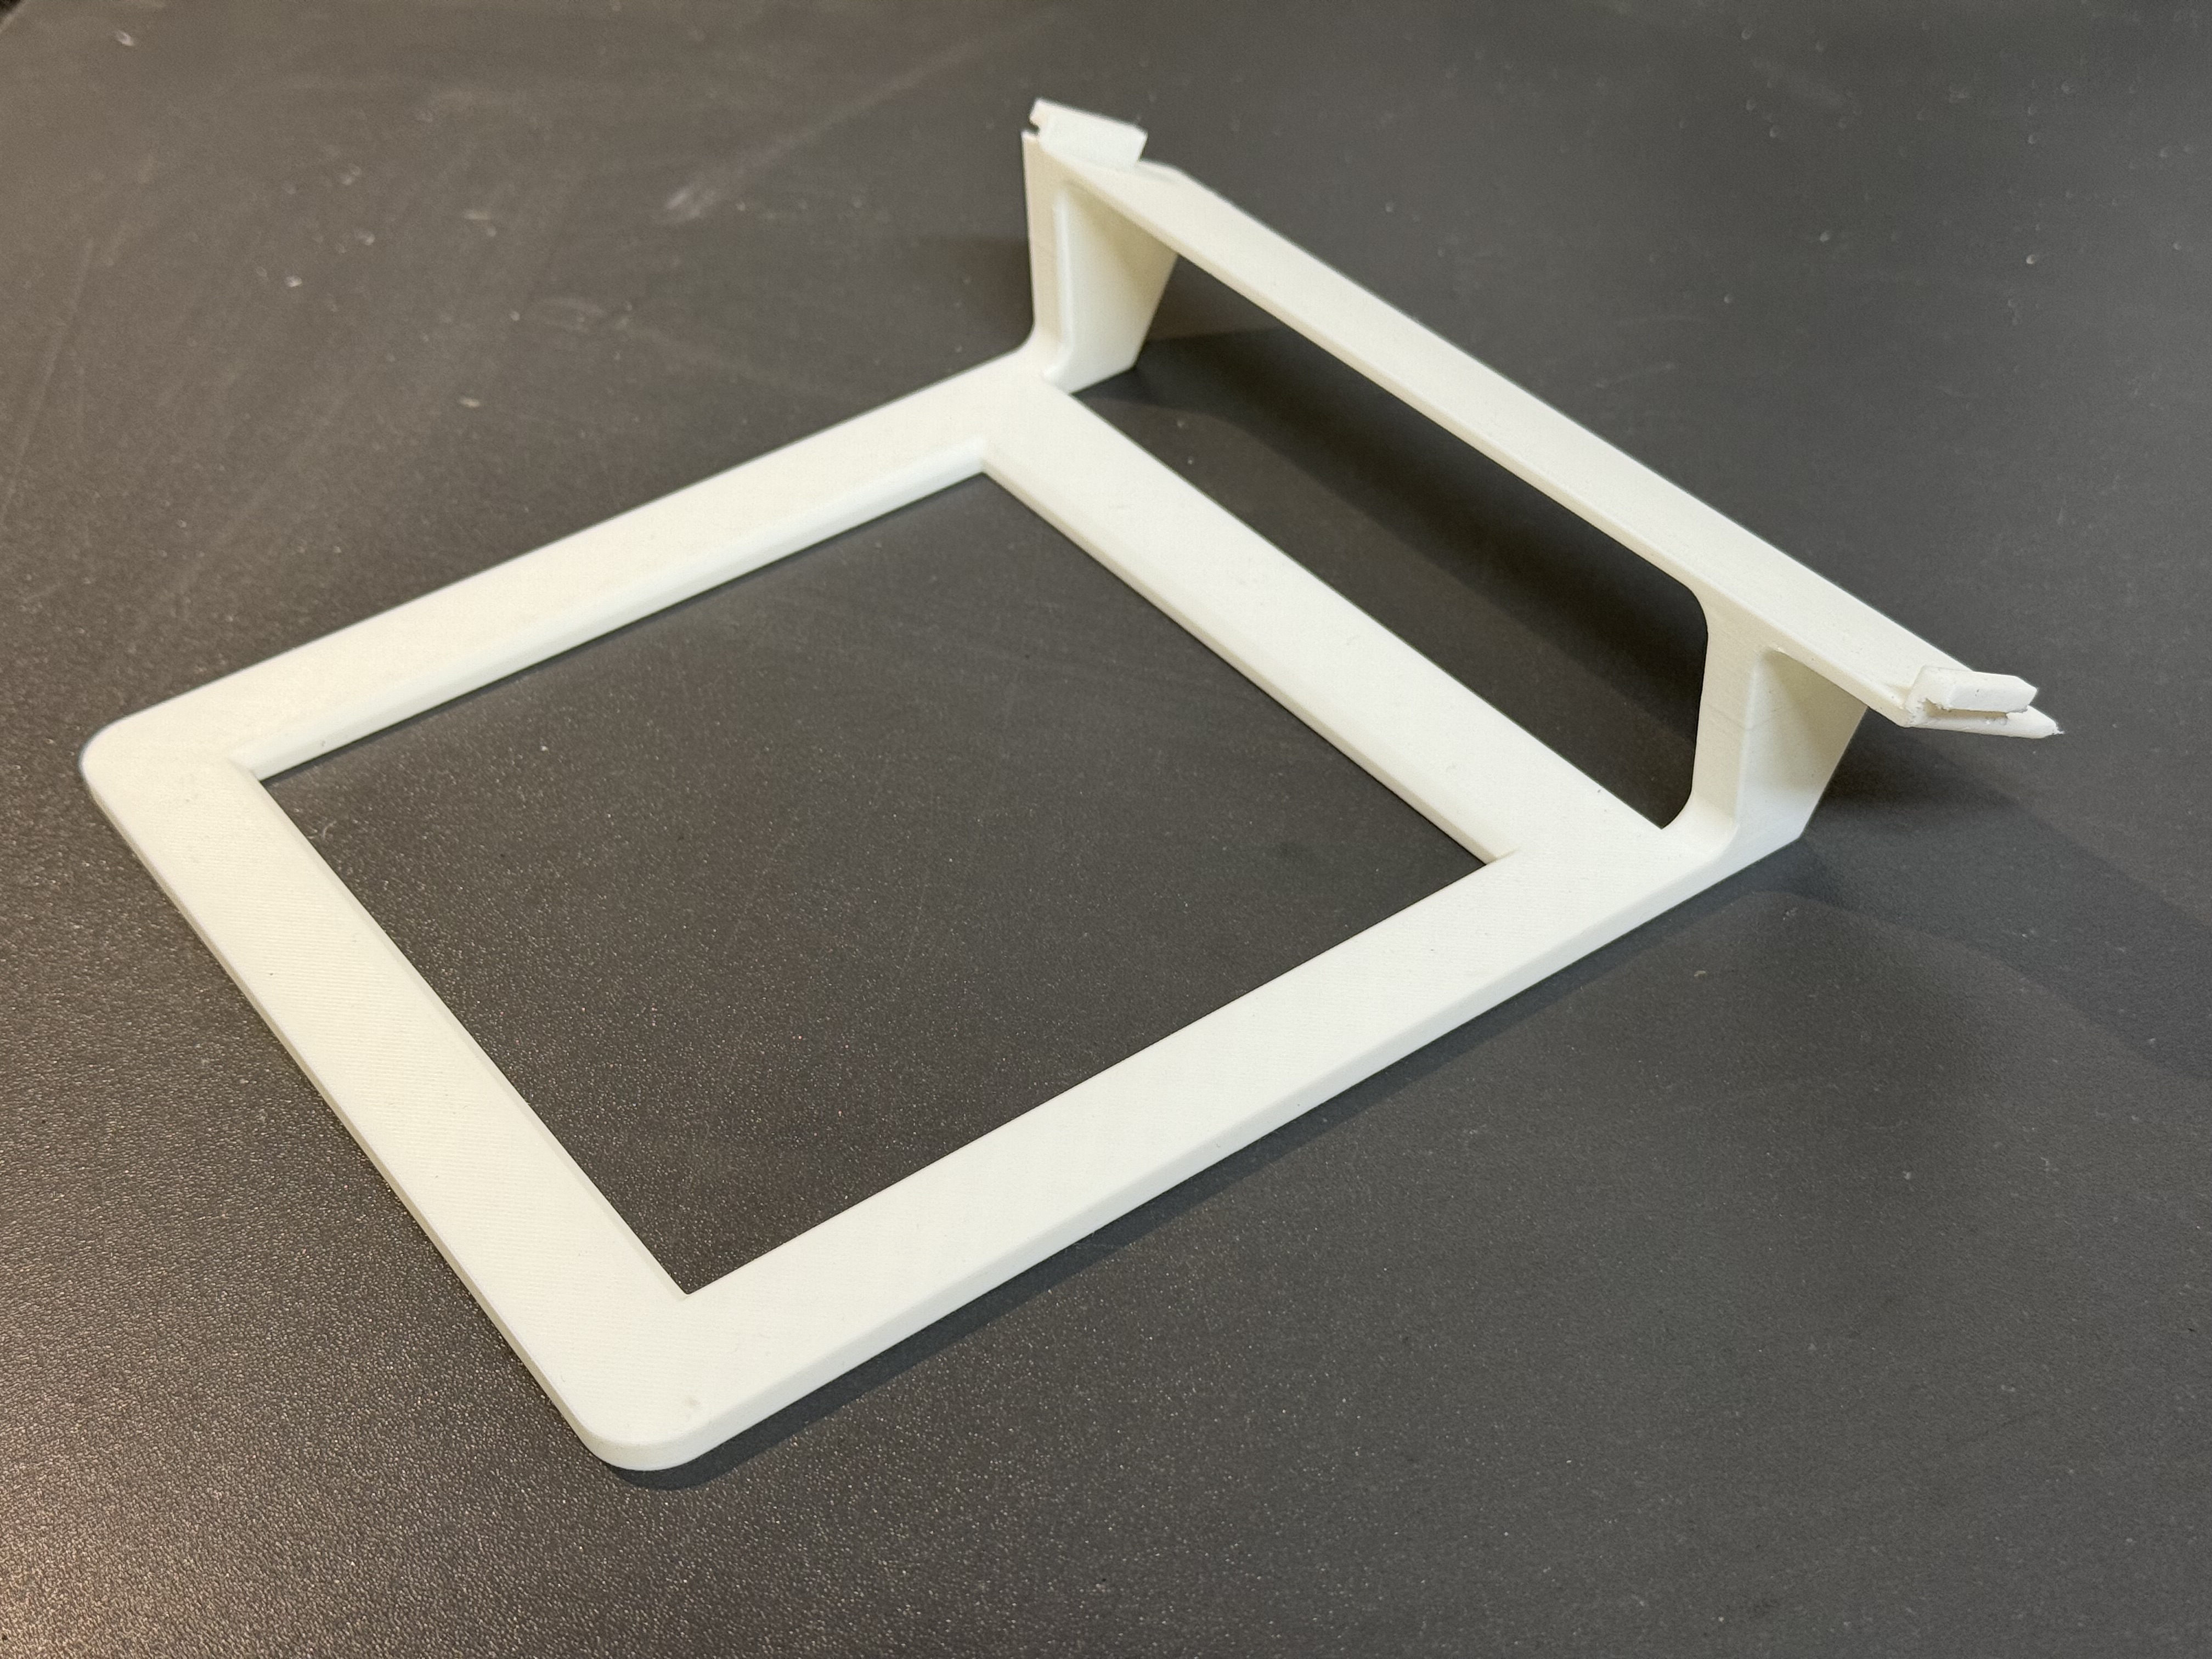
Here's what the part by itself looks like:
The remote is easily removable to change batteries, leaving just the mount:
The process
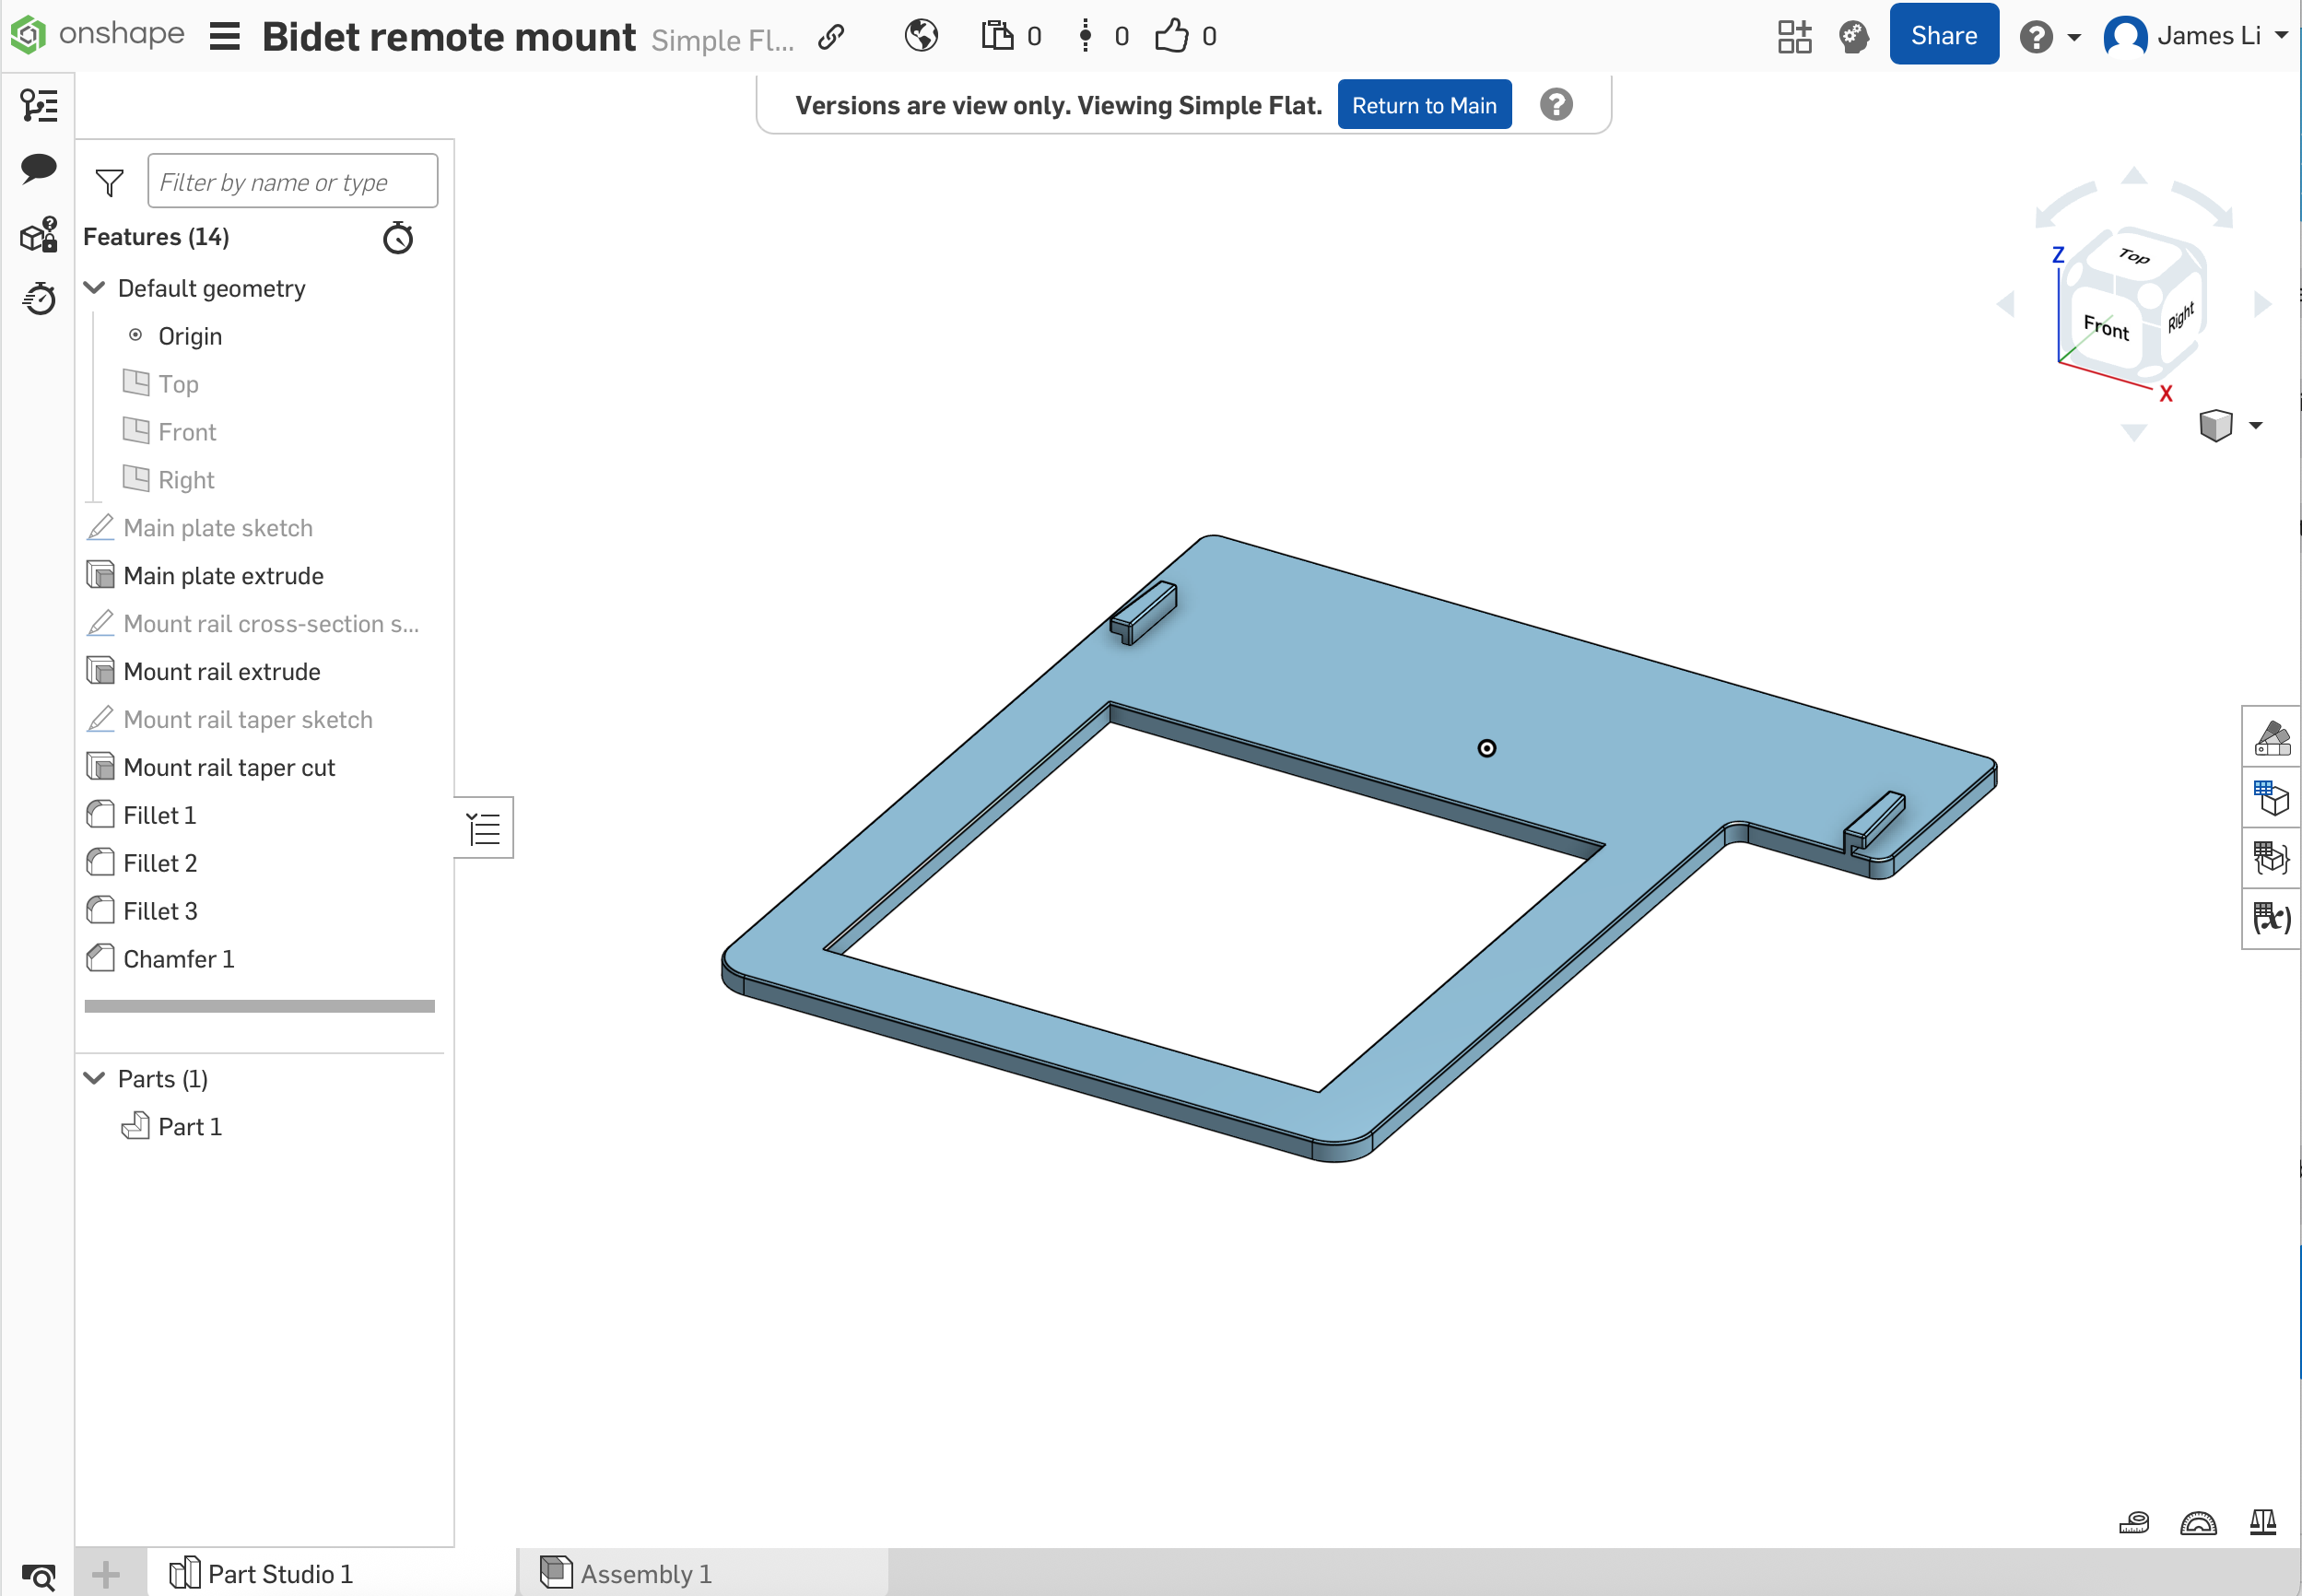
After measuring the toilet paper holder and the original backing plate, I designed the part in OnShape.[1]
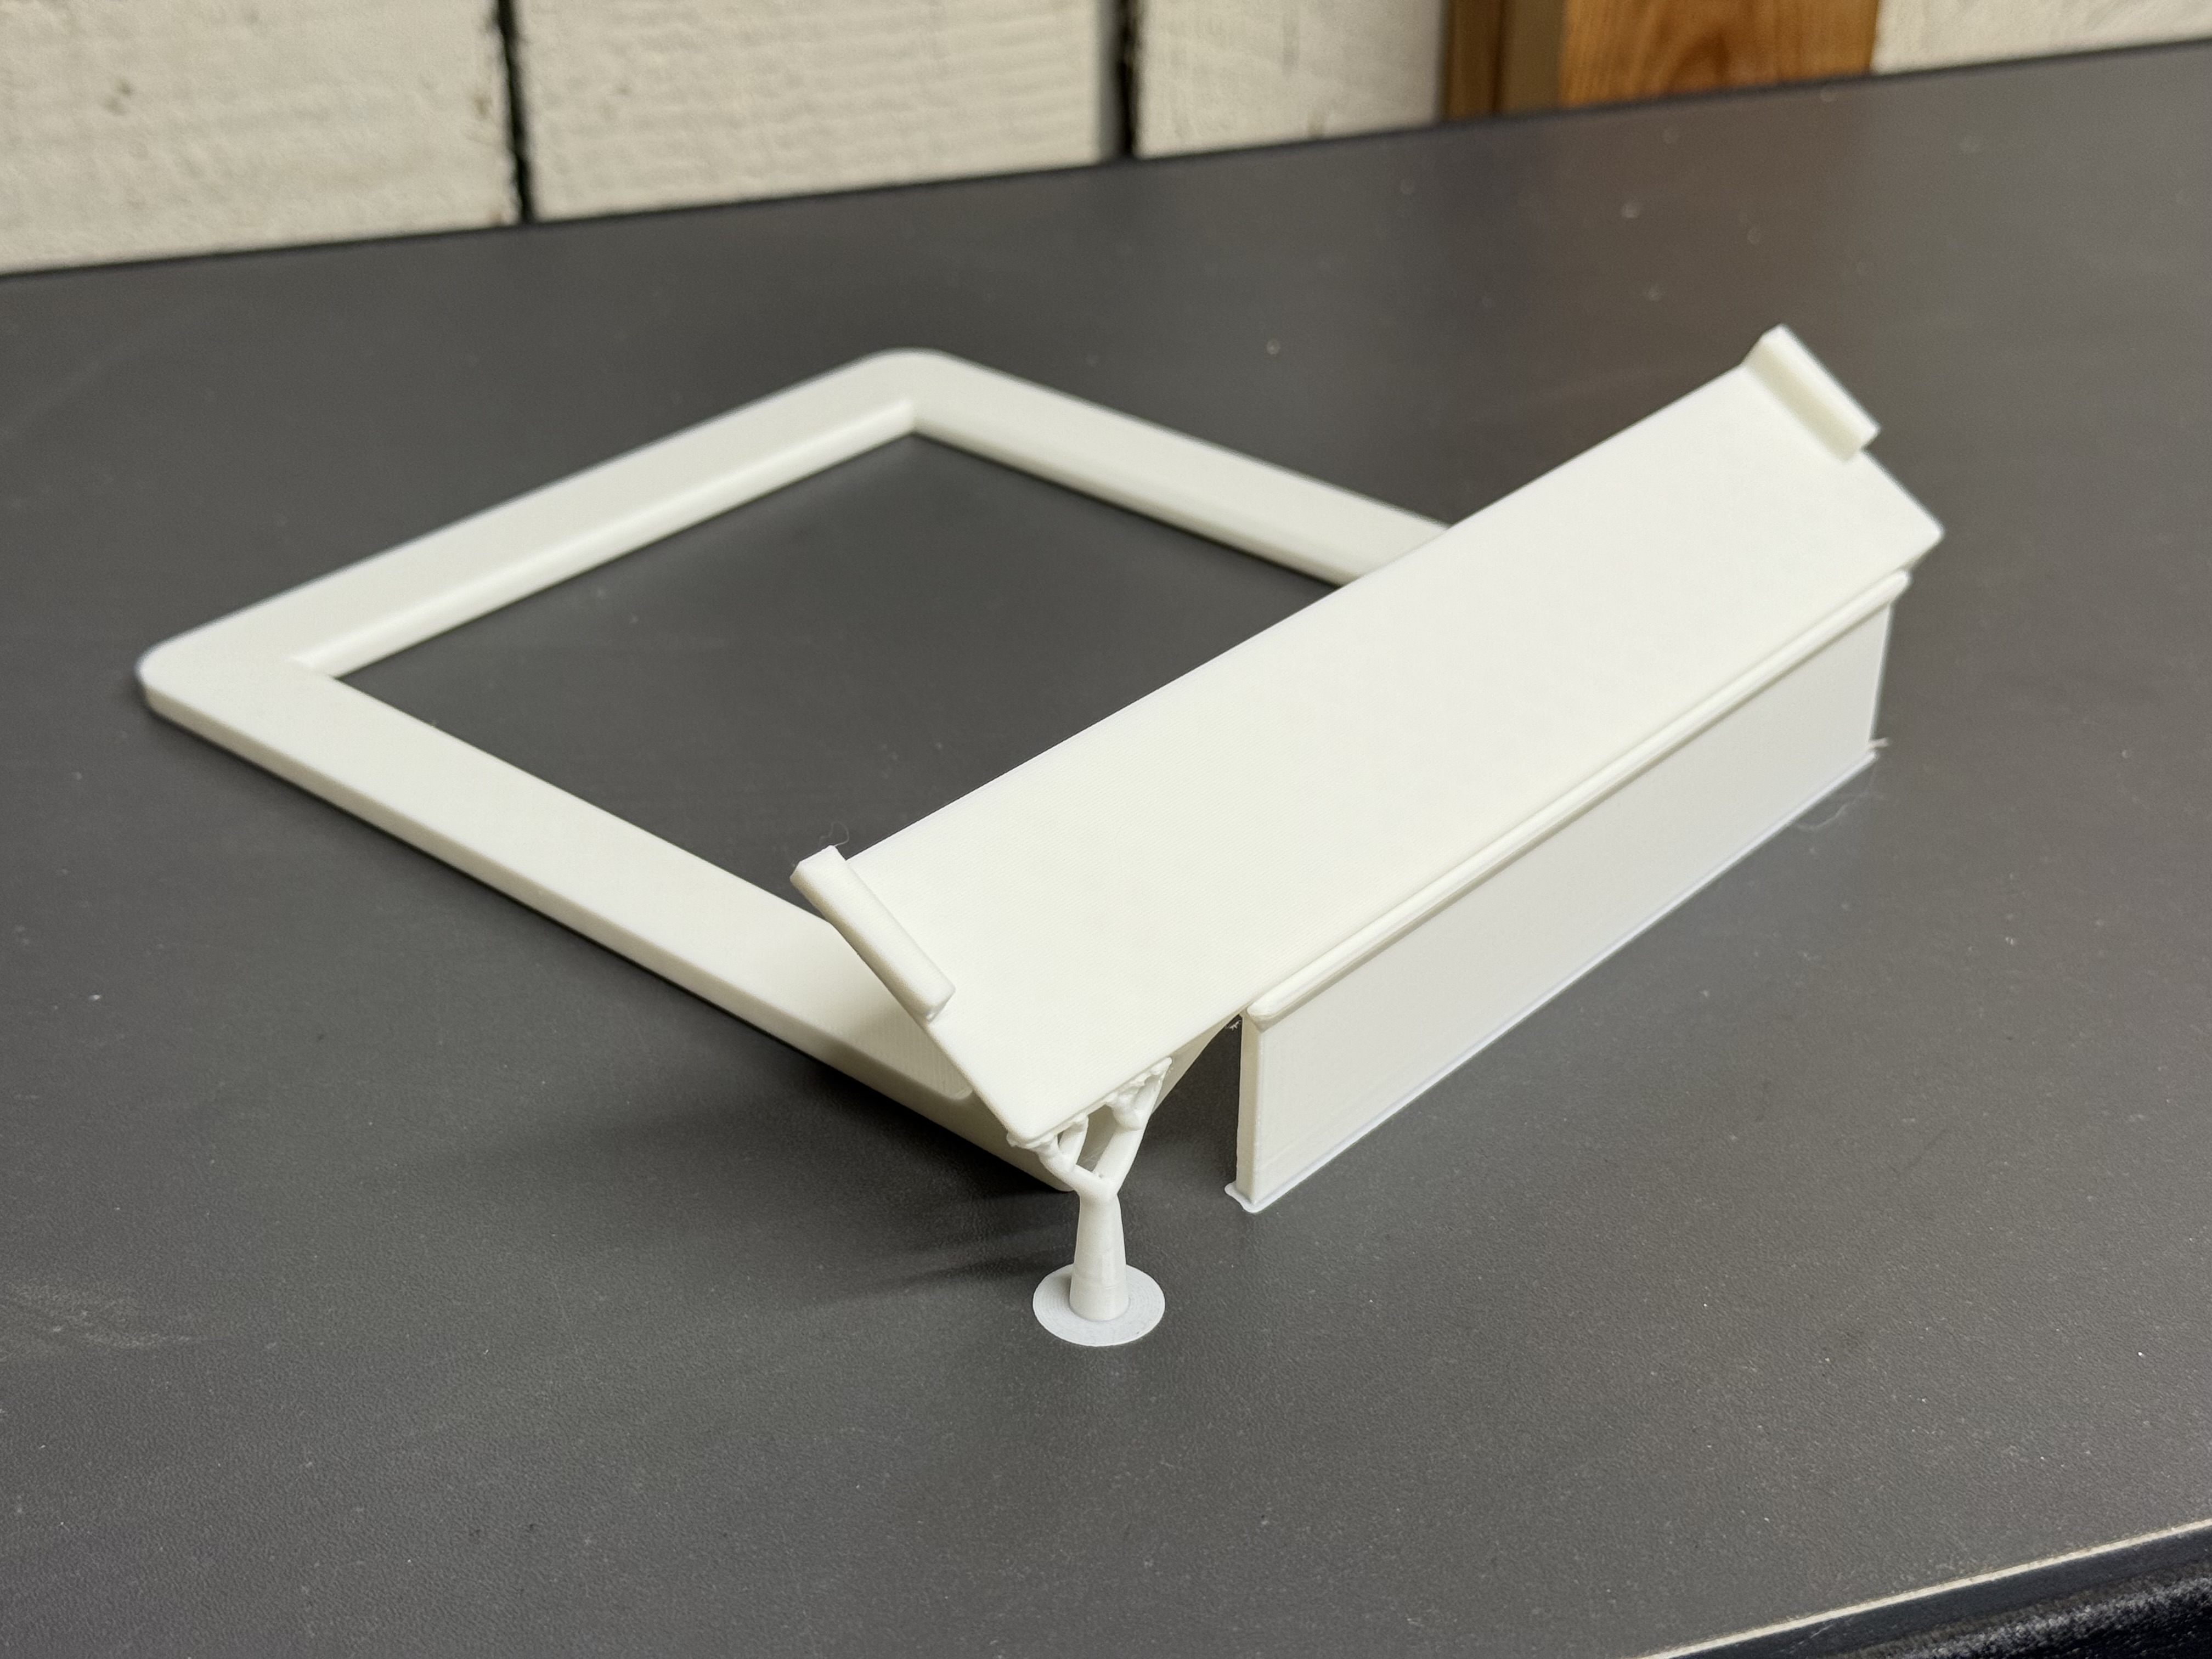
My first version was just a flat plate:
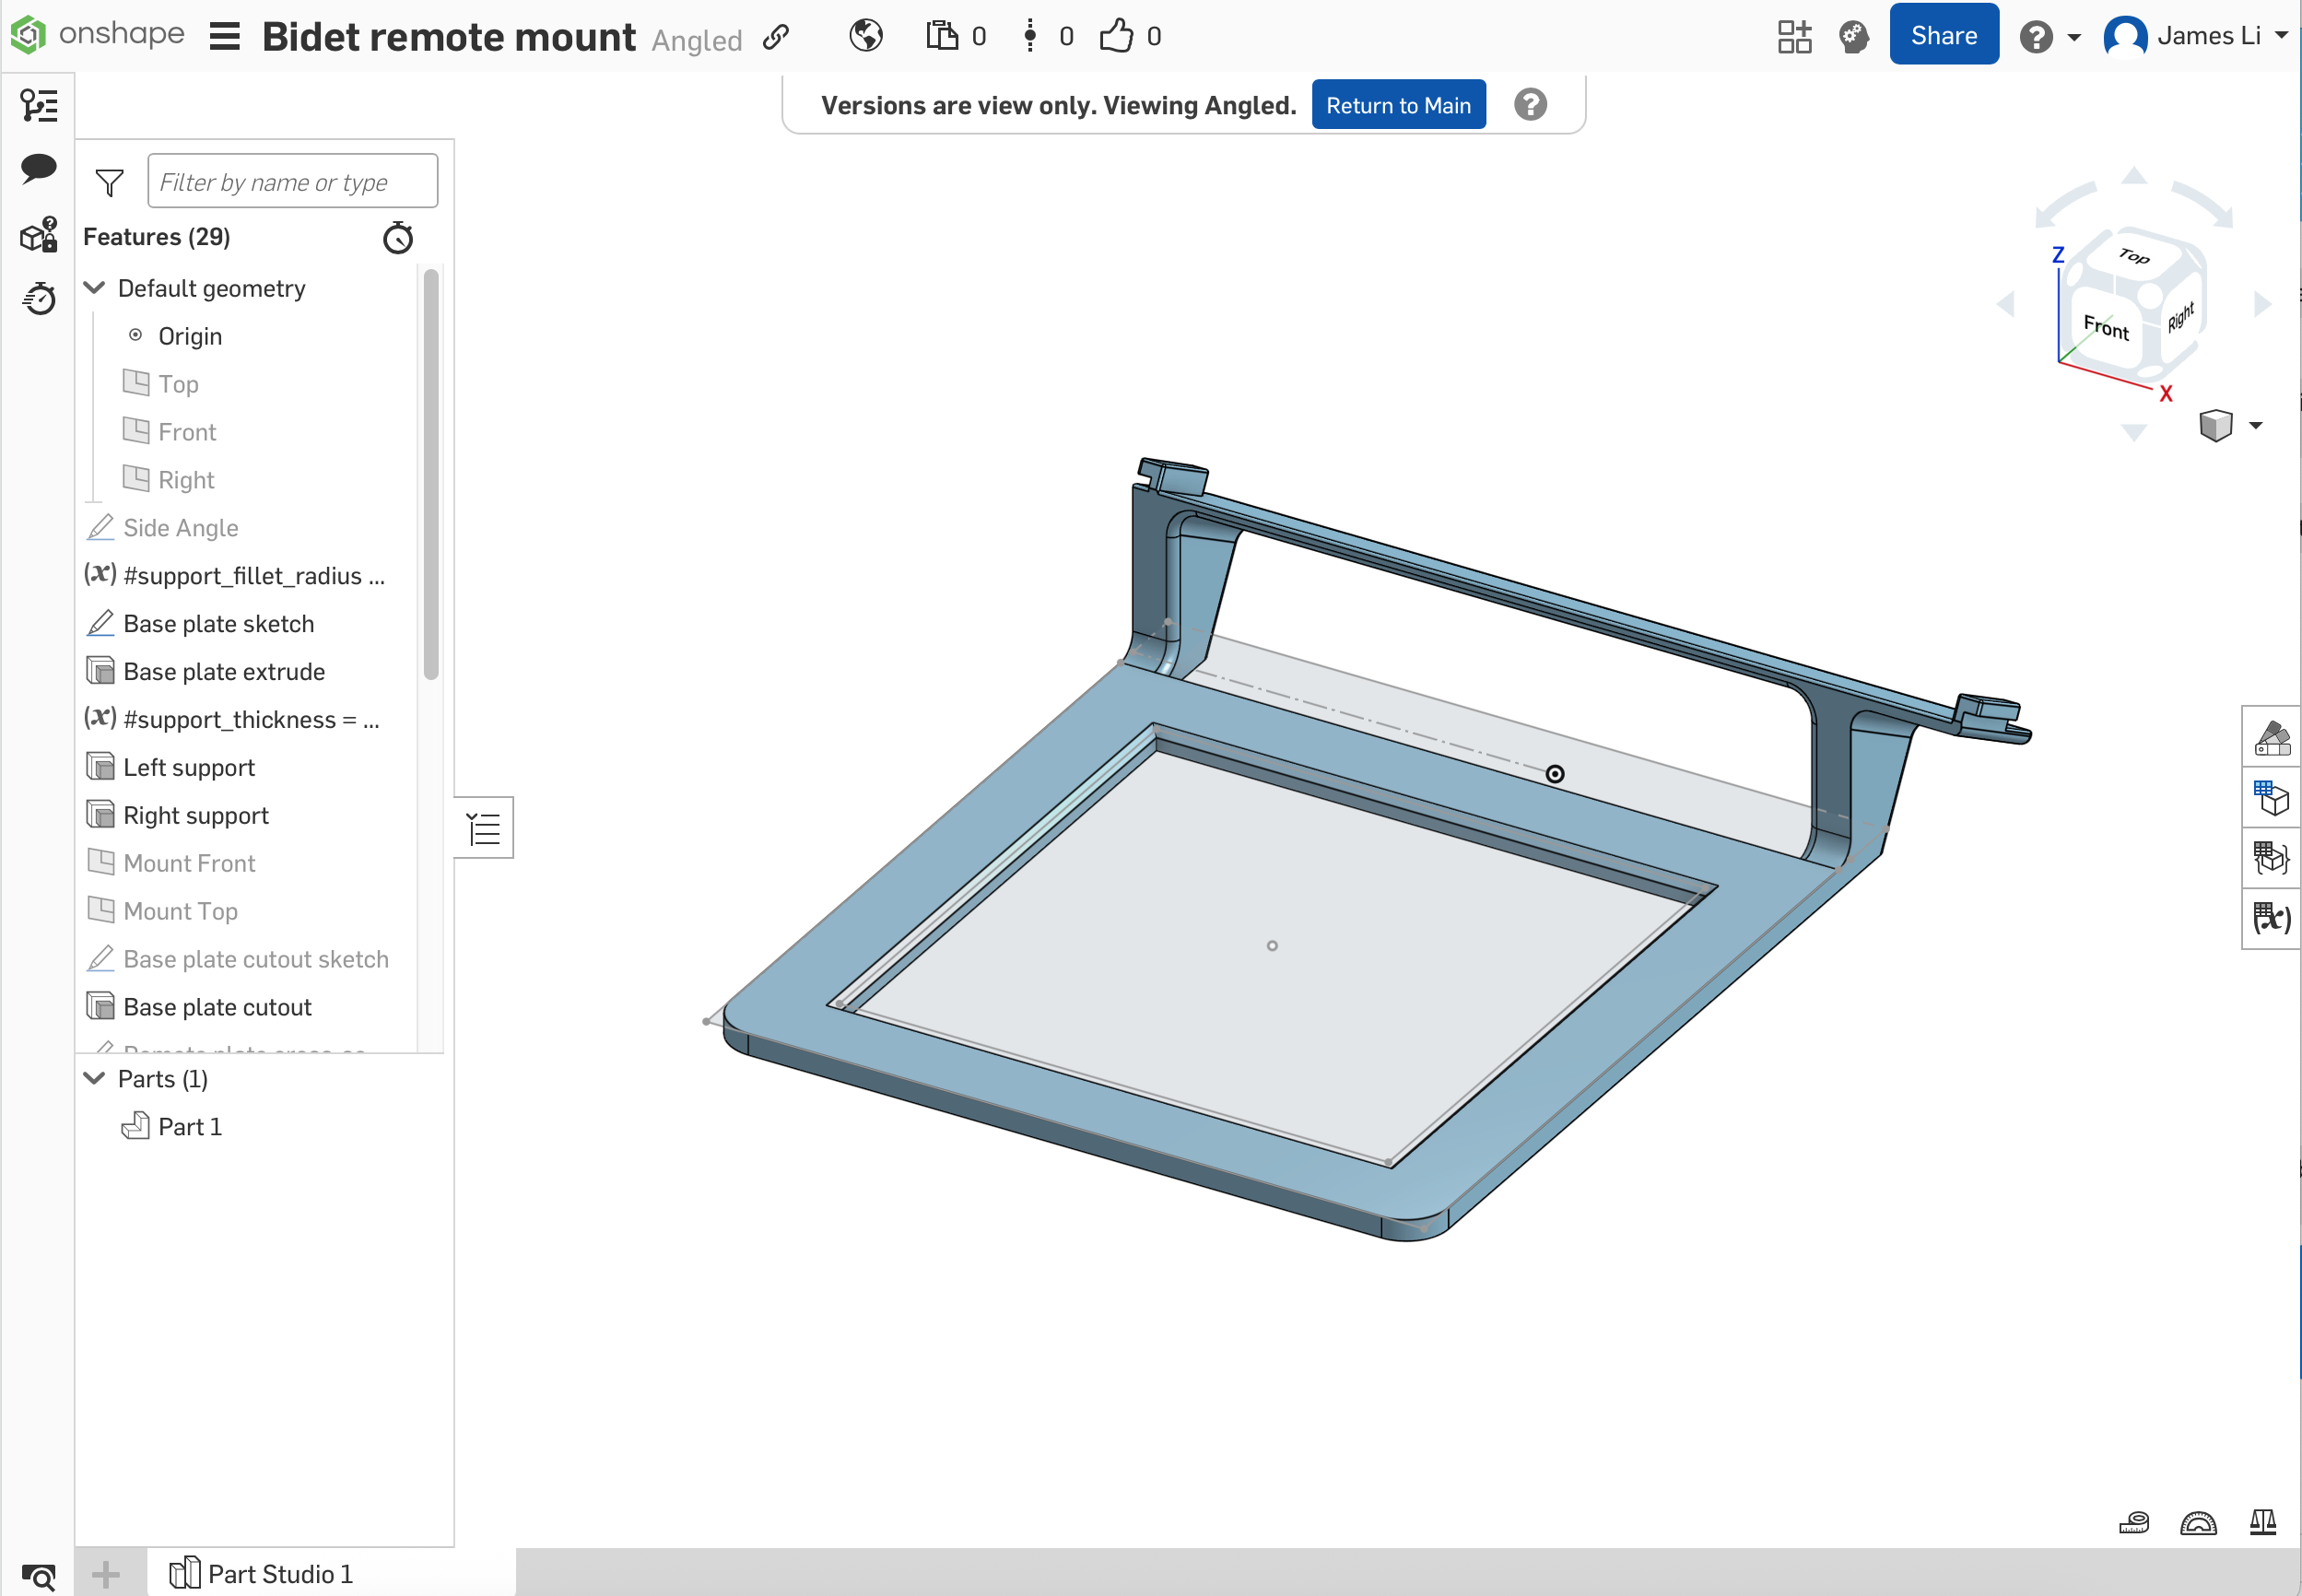
I then had the idea to float the mount at an angle away from the wall, which I think looks and feels a lot nicer:
Here's the part right after it came out of the printer:
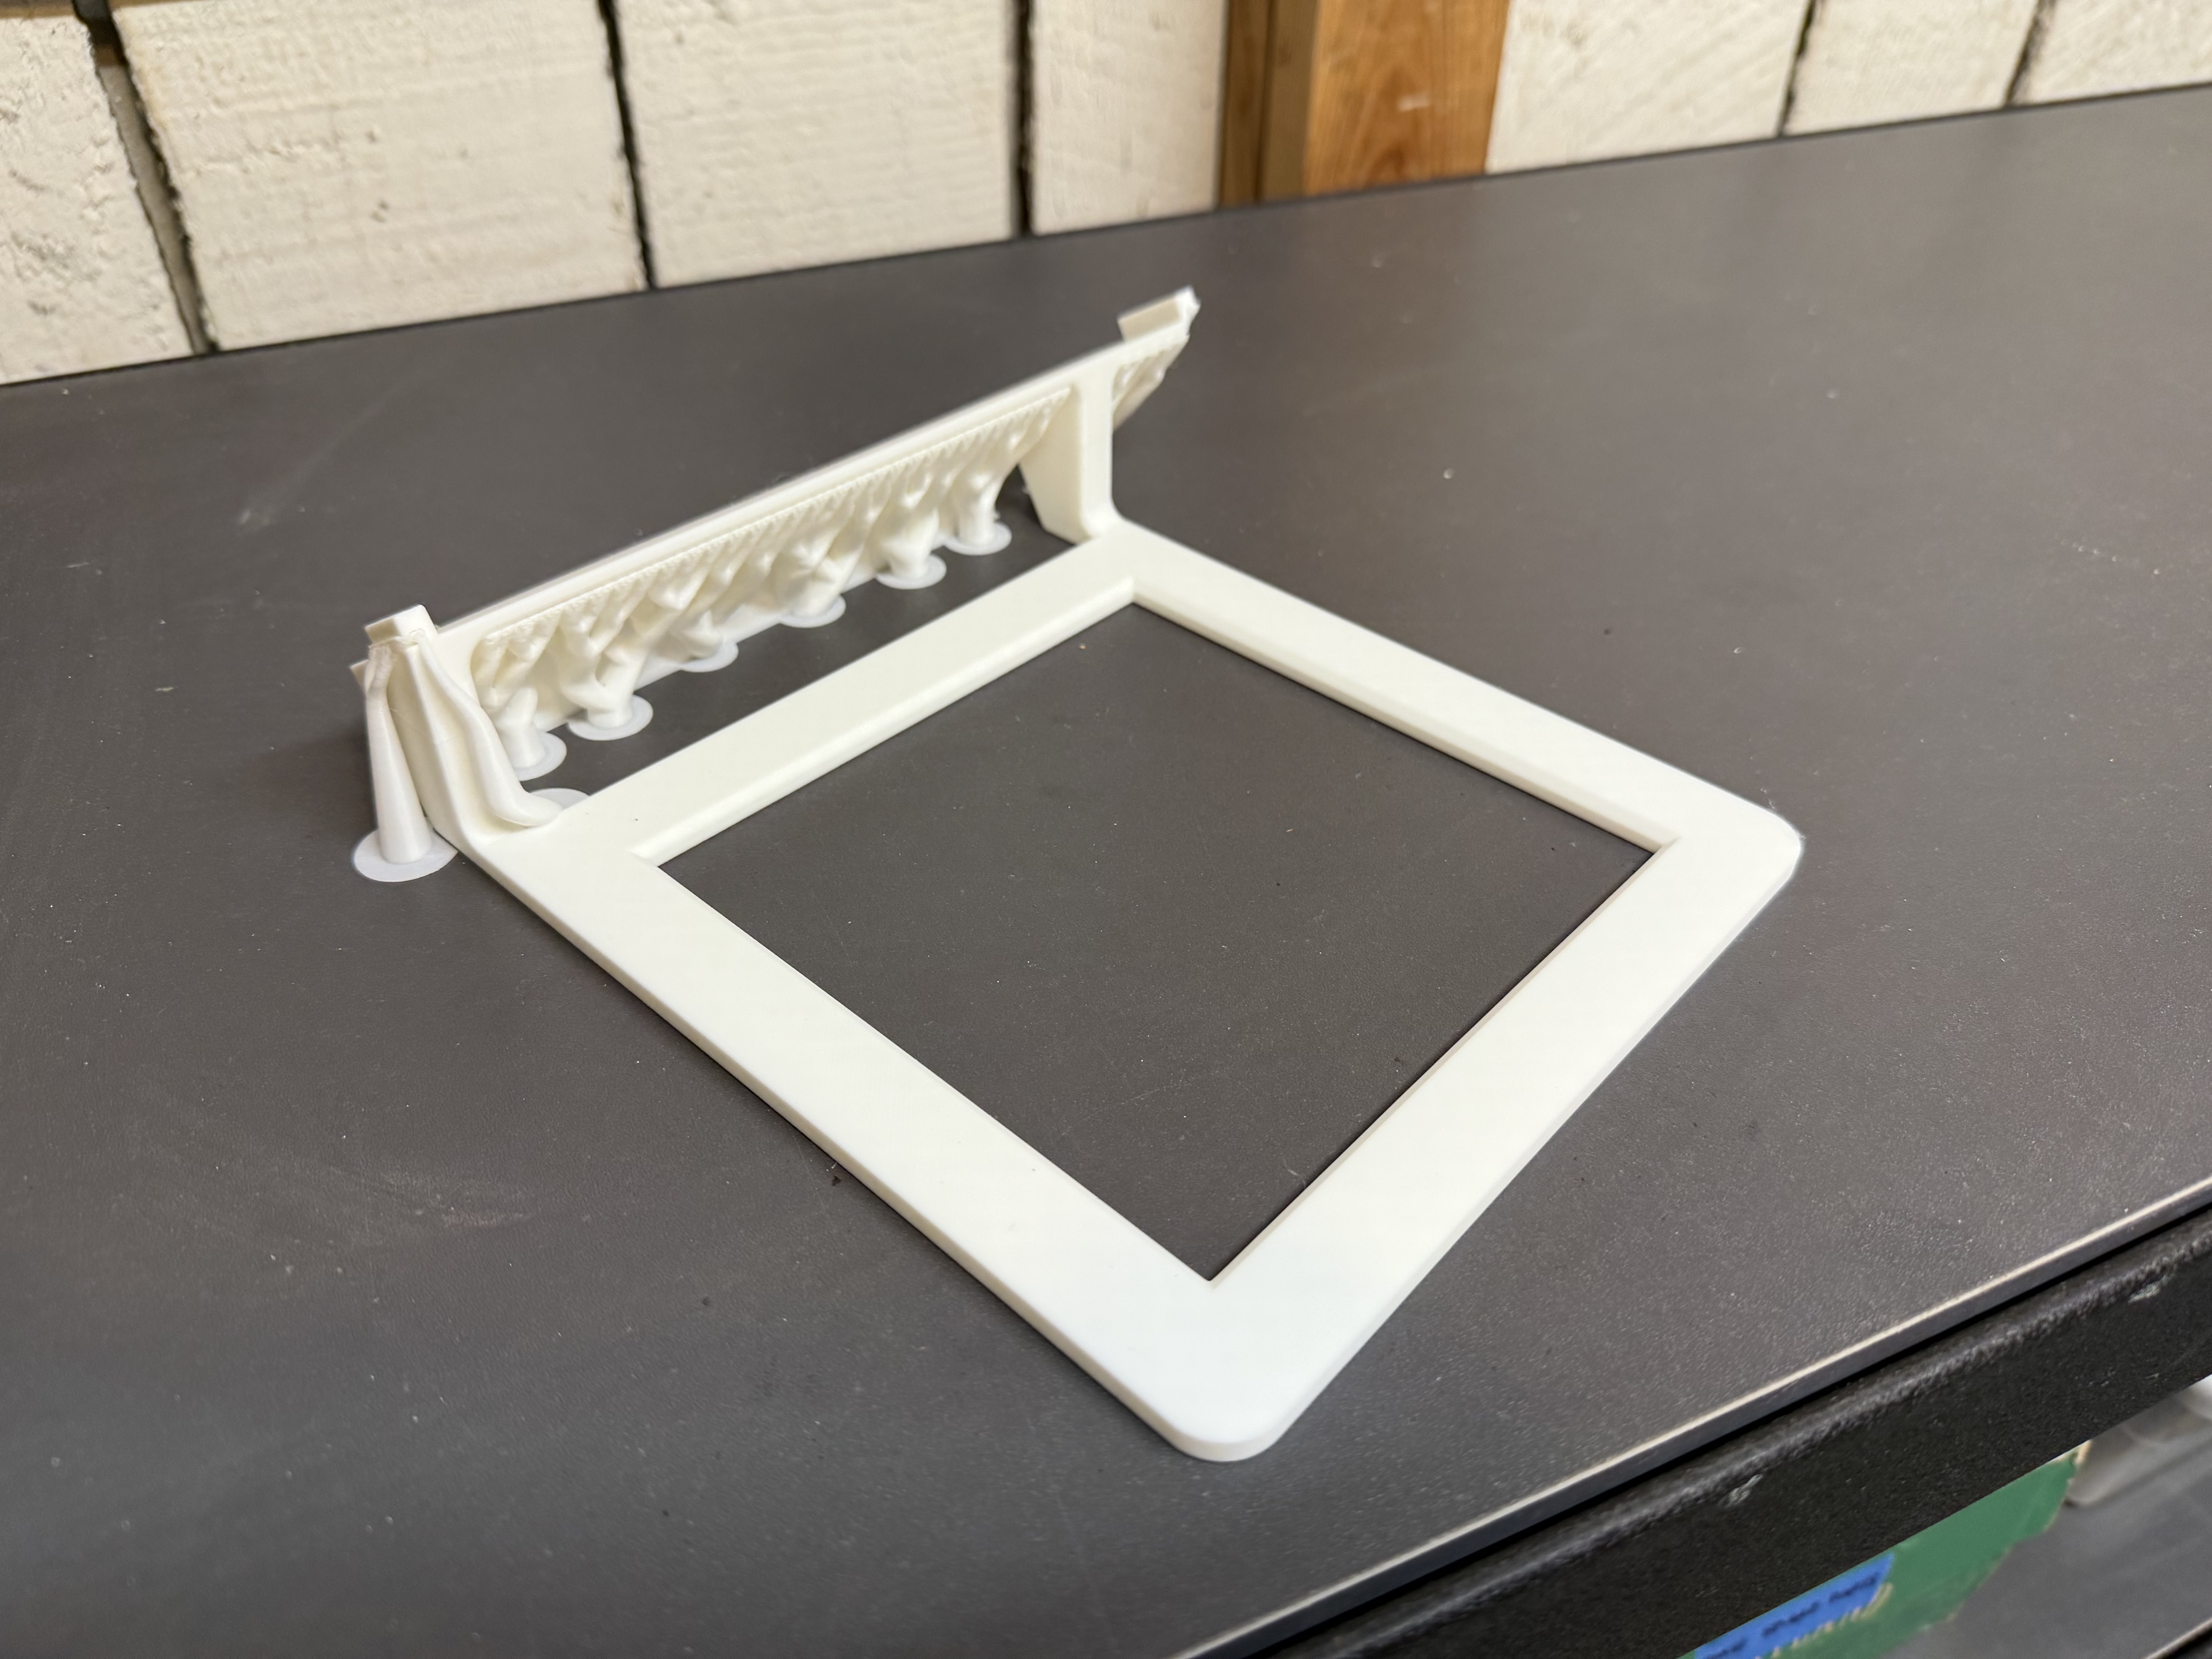
The support material took some fiddling but came away cleanly, leaving just the actual part:
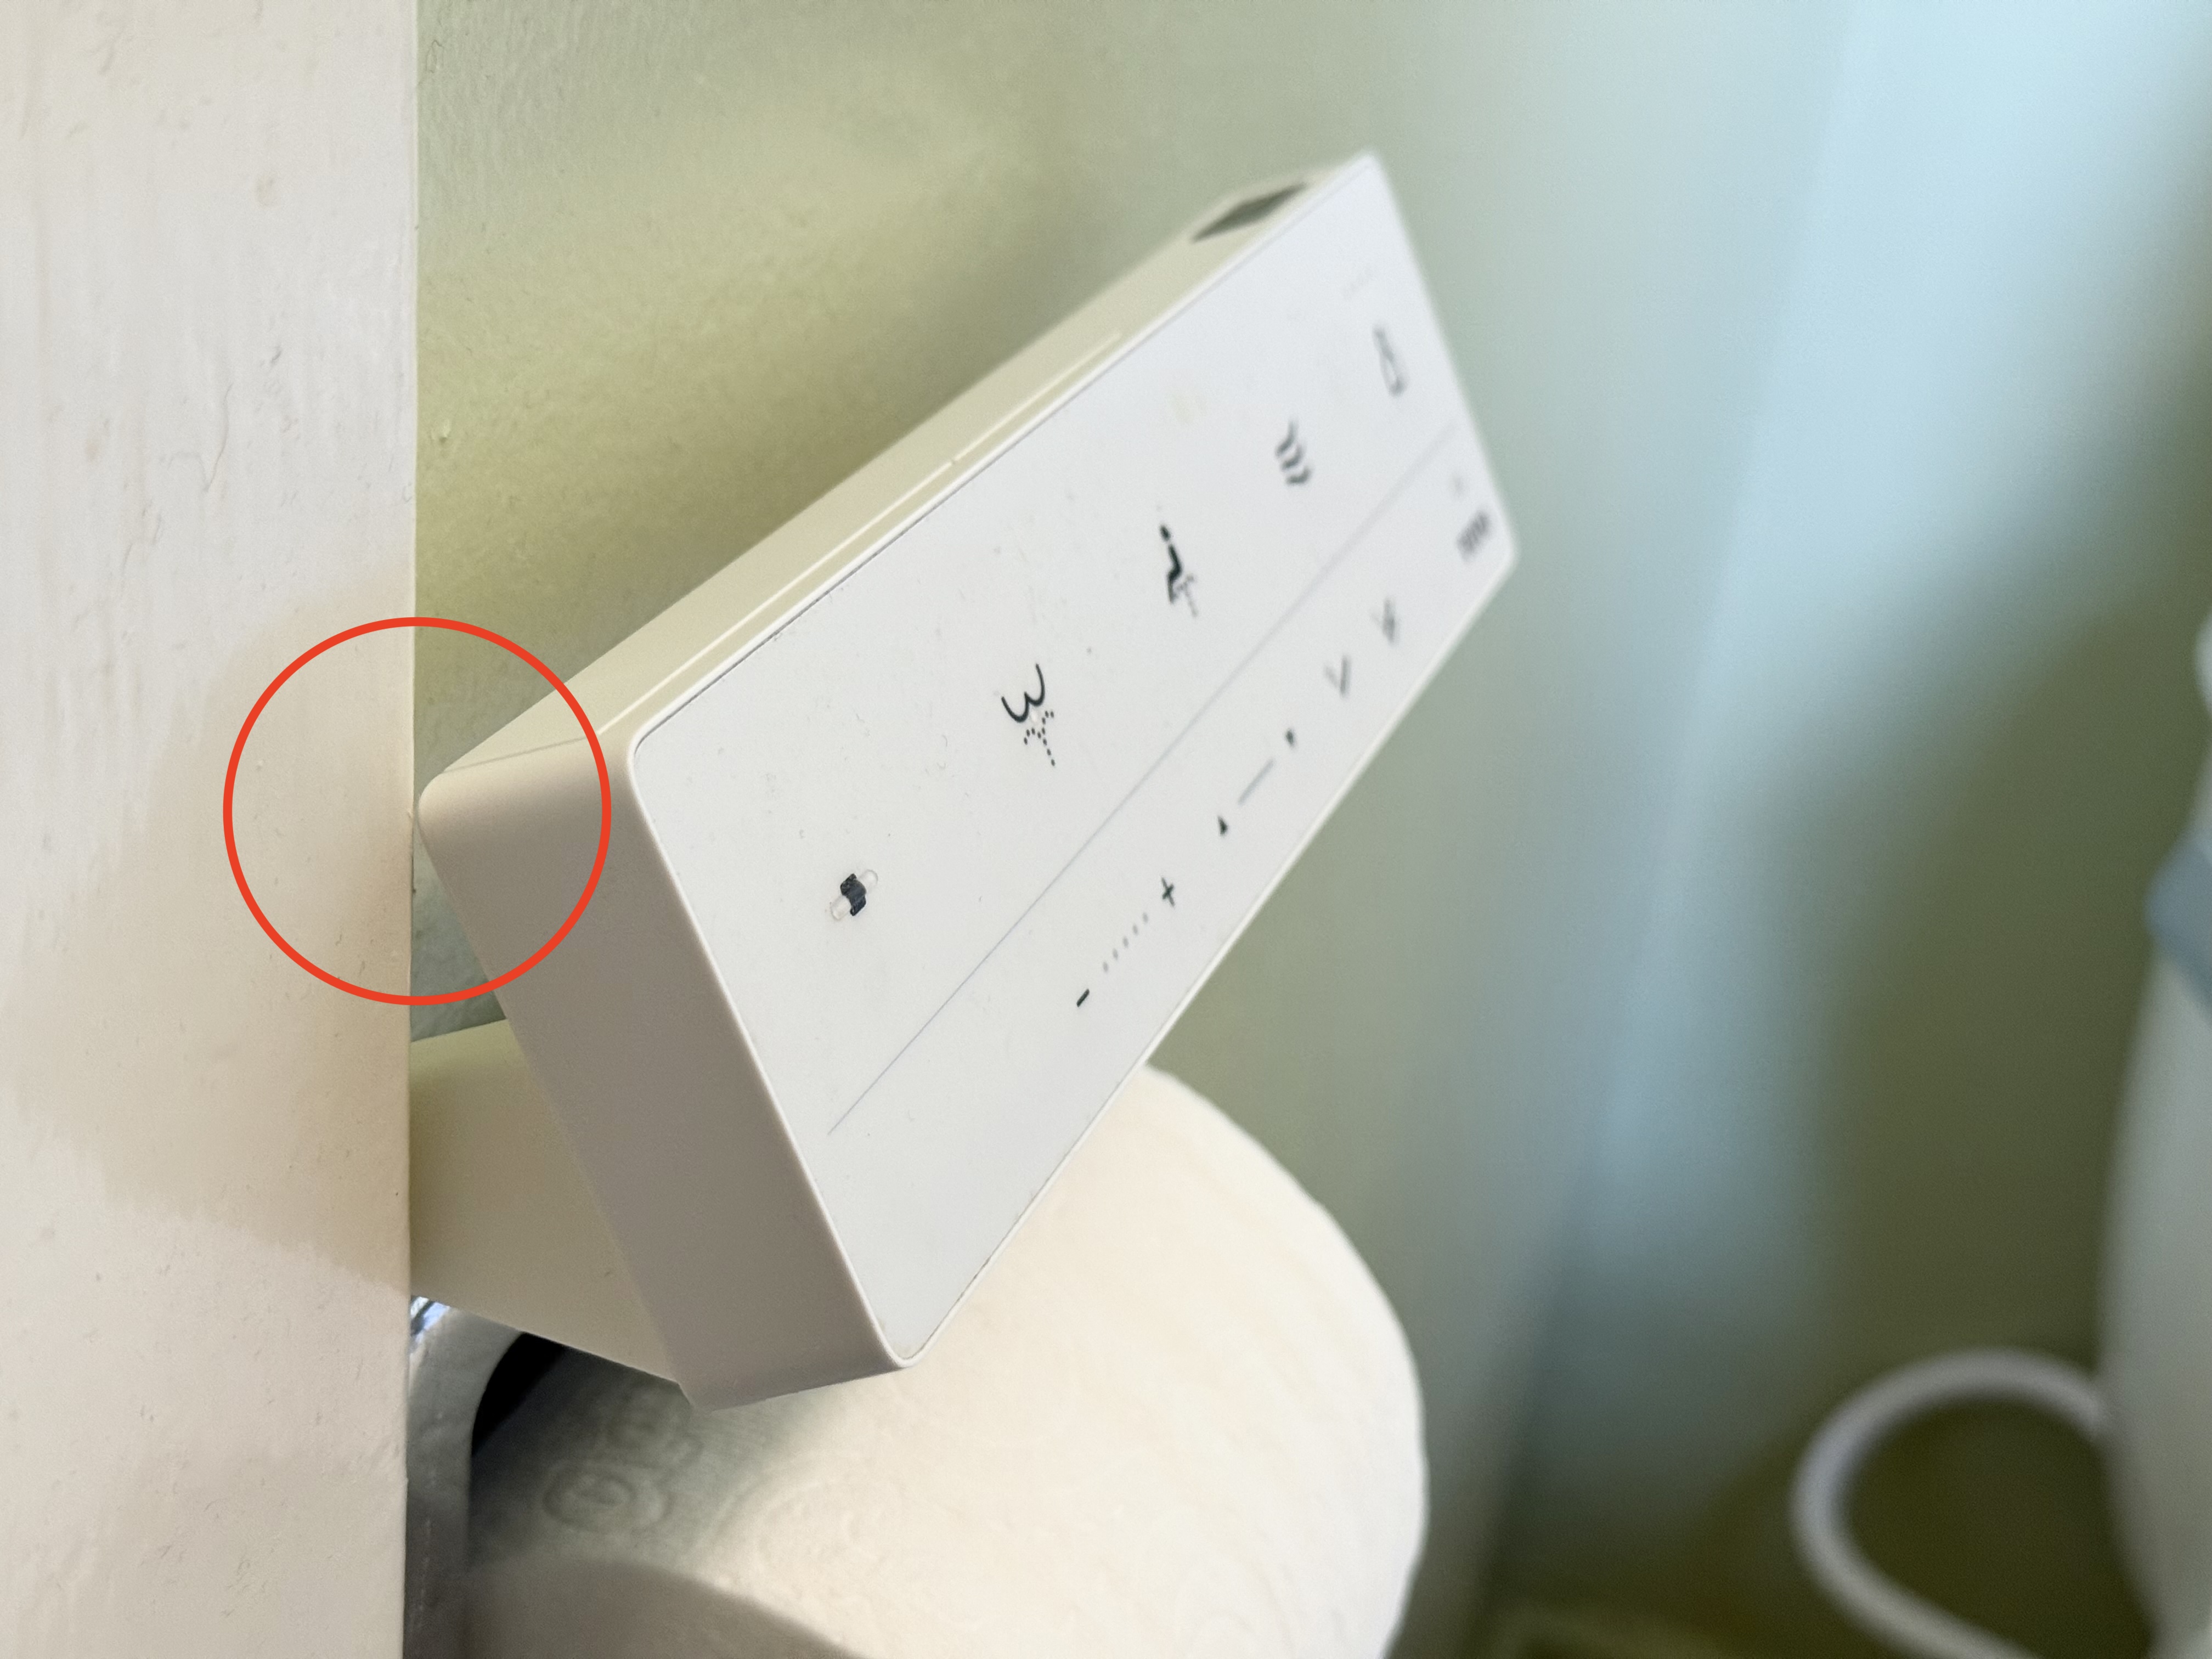
After installing it for the first time, I found that it basically worked, but the upper left corner of the remote contacted the wall, making the remote hard to remove:
So I increased the height of the mount above the wall surface by 5 mm, and ran a second print. I also reduced the amount of support in this second print, with no adverse effects on the print:
I think this project is a great example of how 3D printing can be a fun way to create custom solutions for small household annoyances. Now our apartment has a nicer toilet-sitting experience, with no more loose remote floating around the bathroom!
Update 2025-09-03
I ended up making a few more iterations of the mount before finally deciding I was happy. Honestly, my first version was probably "good enough," and the v2 shown above definitely was, but having the printer and CAD at my disposal (plus some free time and a tendency for perfectionism) made it hard to stop at "good enough"!
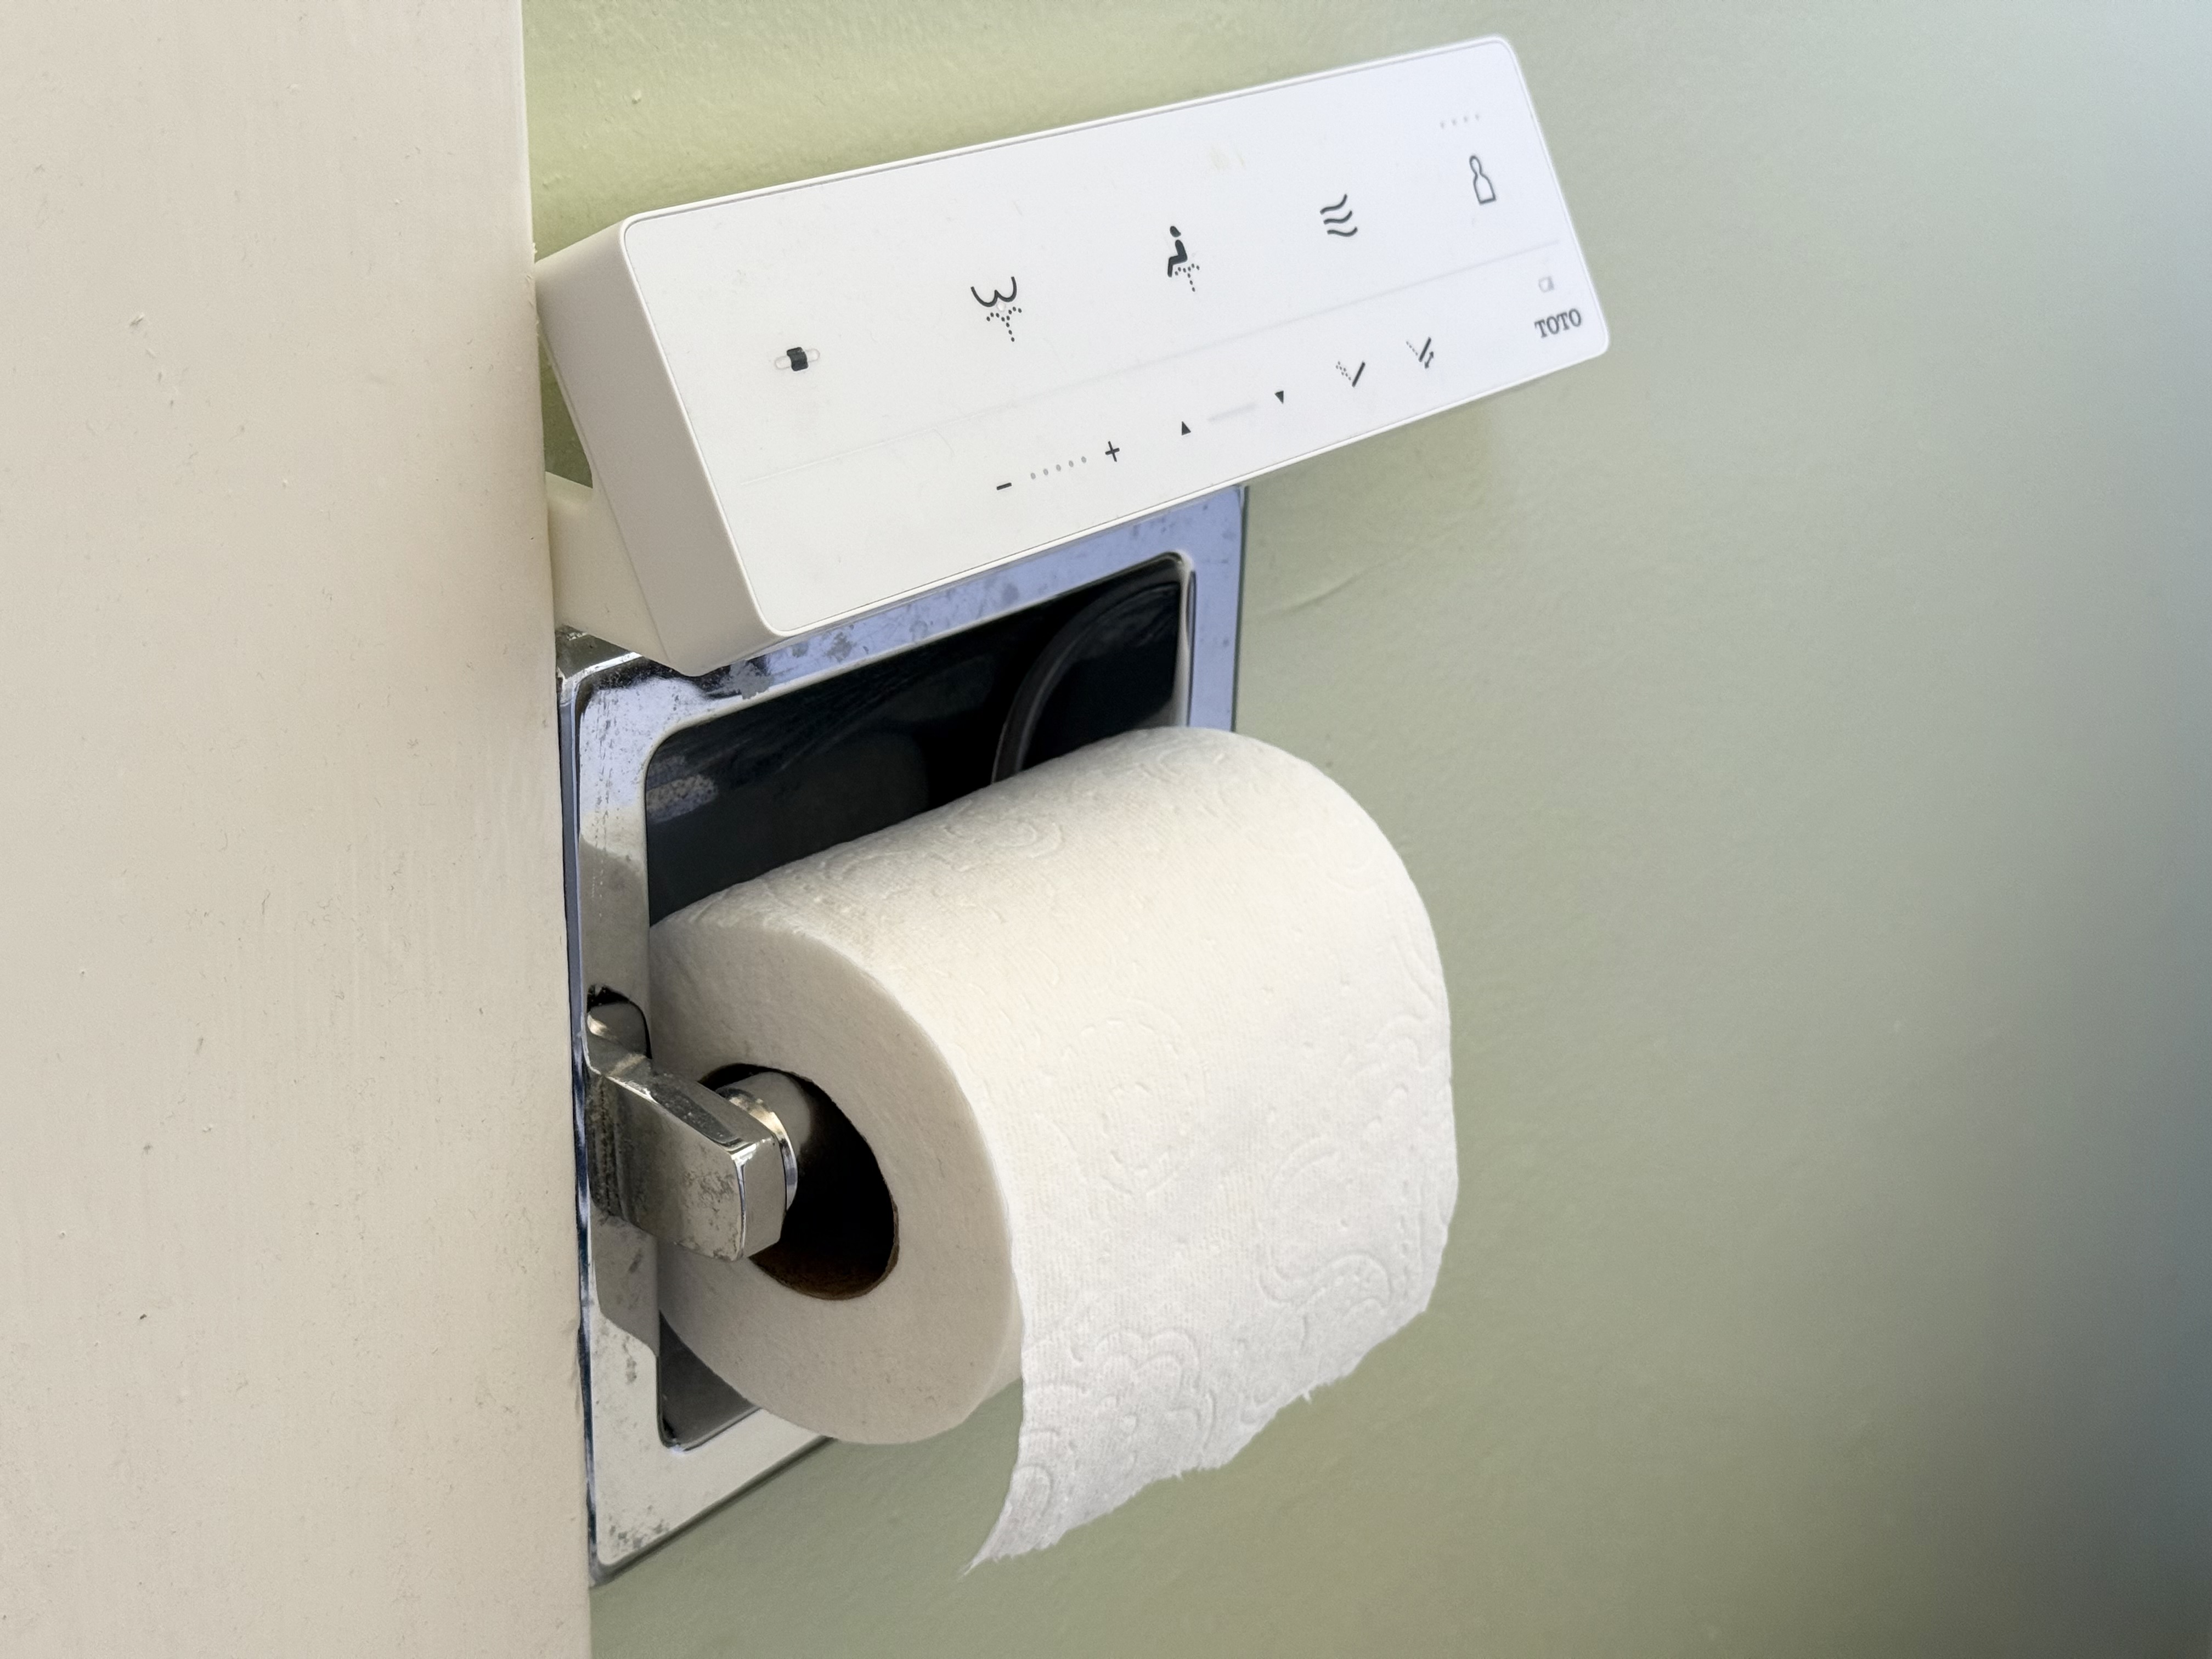
First, after a couple of days, I found that v2 floated a bit too far away from the wall for my liking. From my toilet user's perspective, I thought it obstructed the toilet paper a little bit and just felt slightly too close. So v3 brought the remote as close to the wall as possible, shifting slightly to the left to avoid v1's problem of interfering with the wall trim.
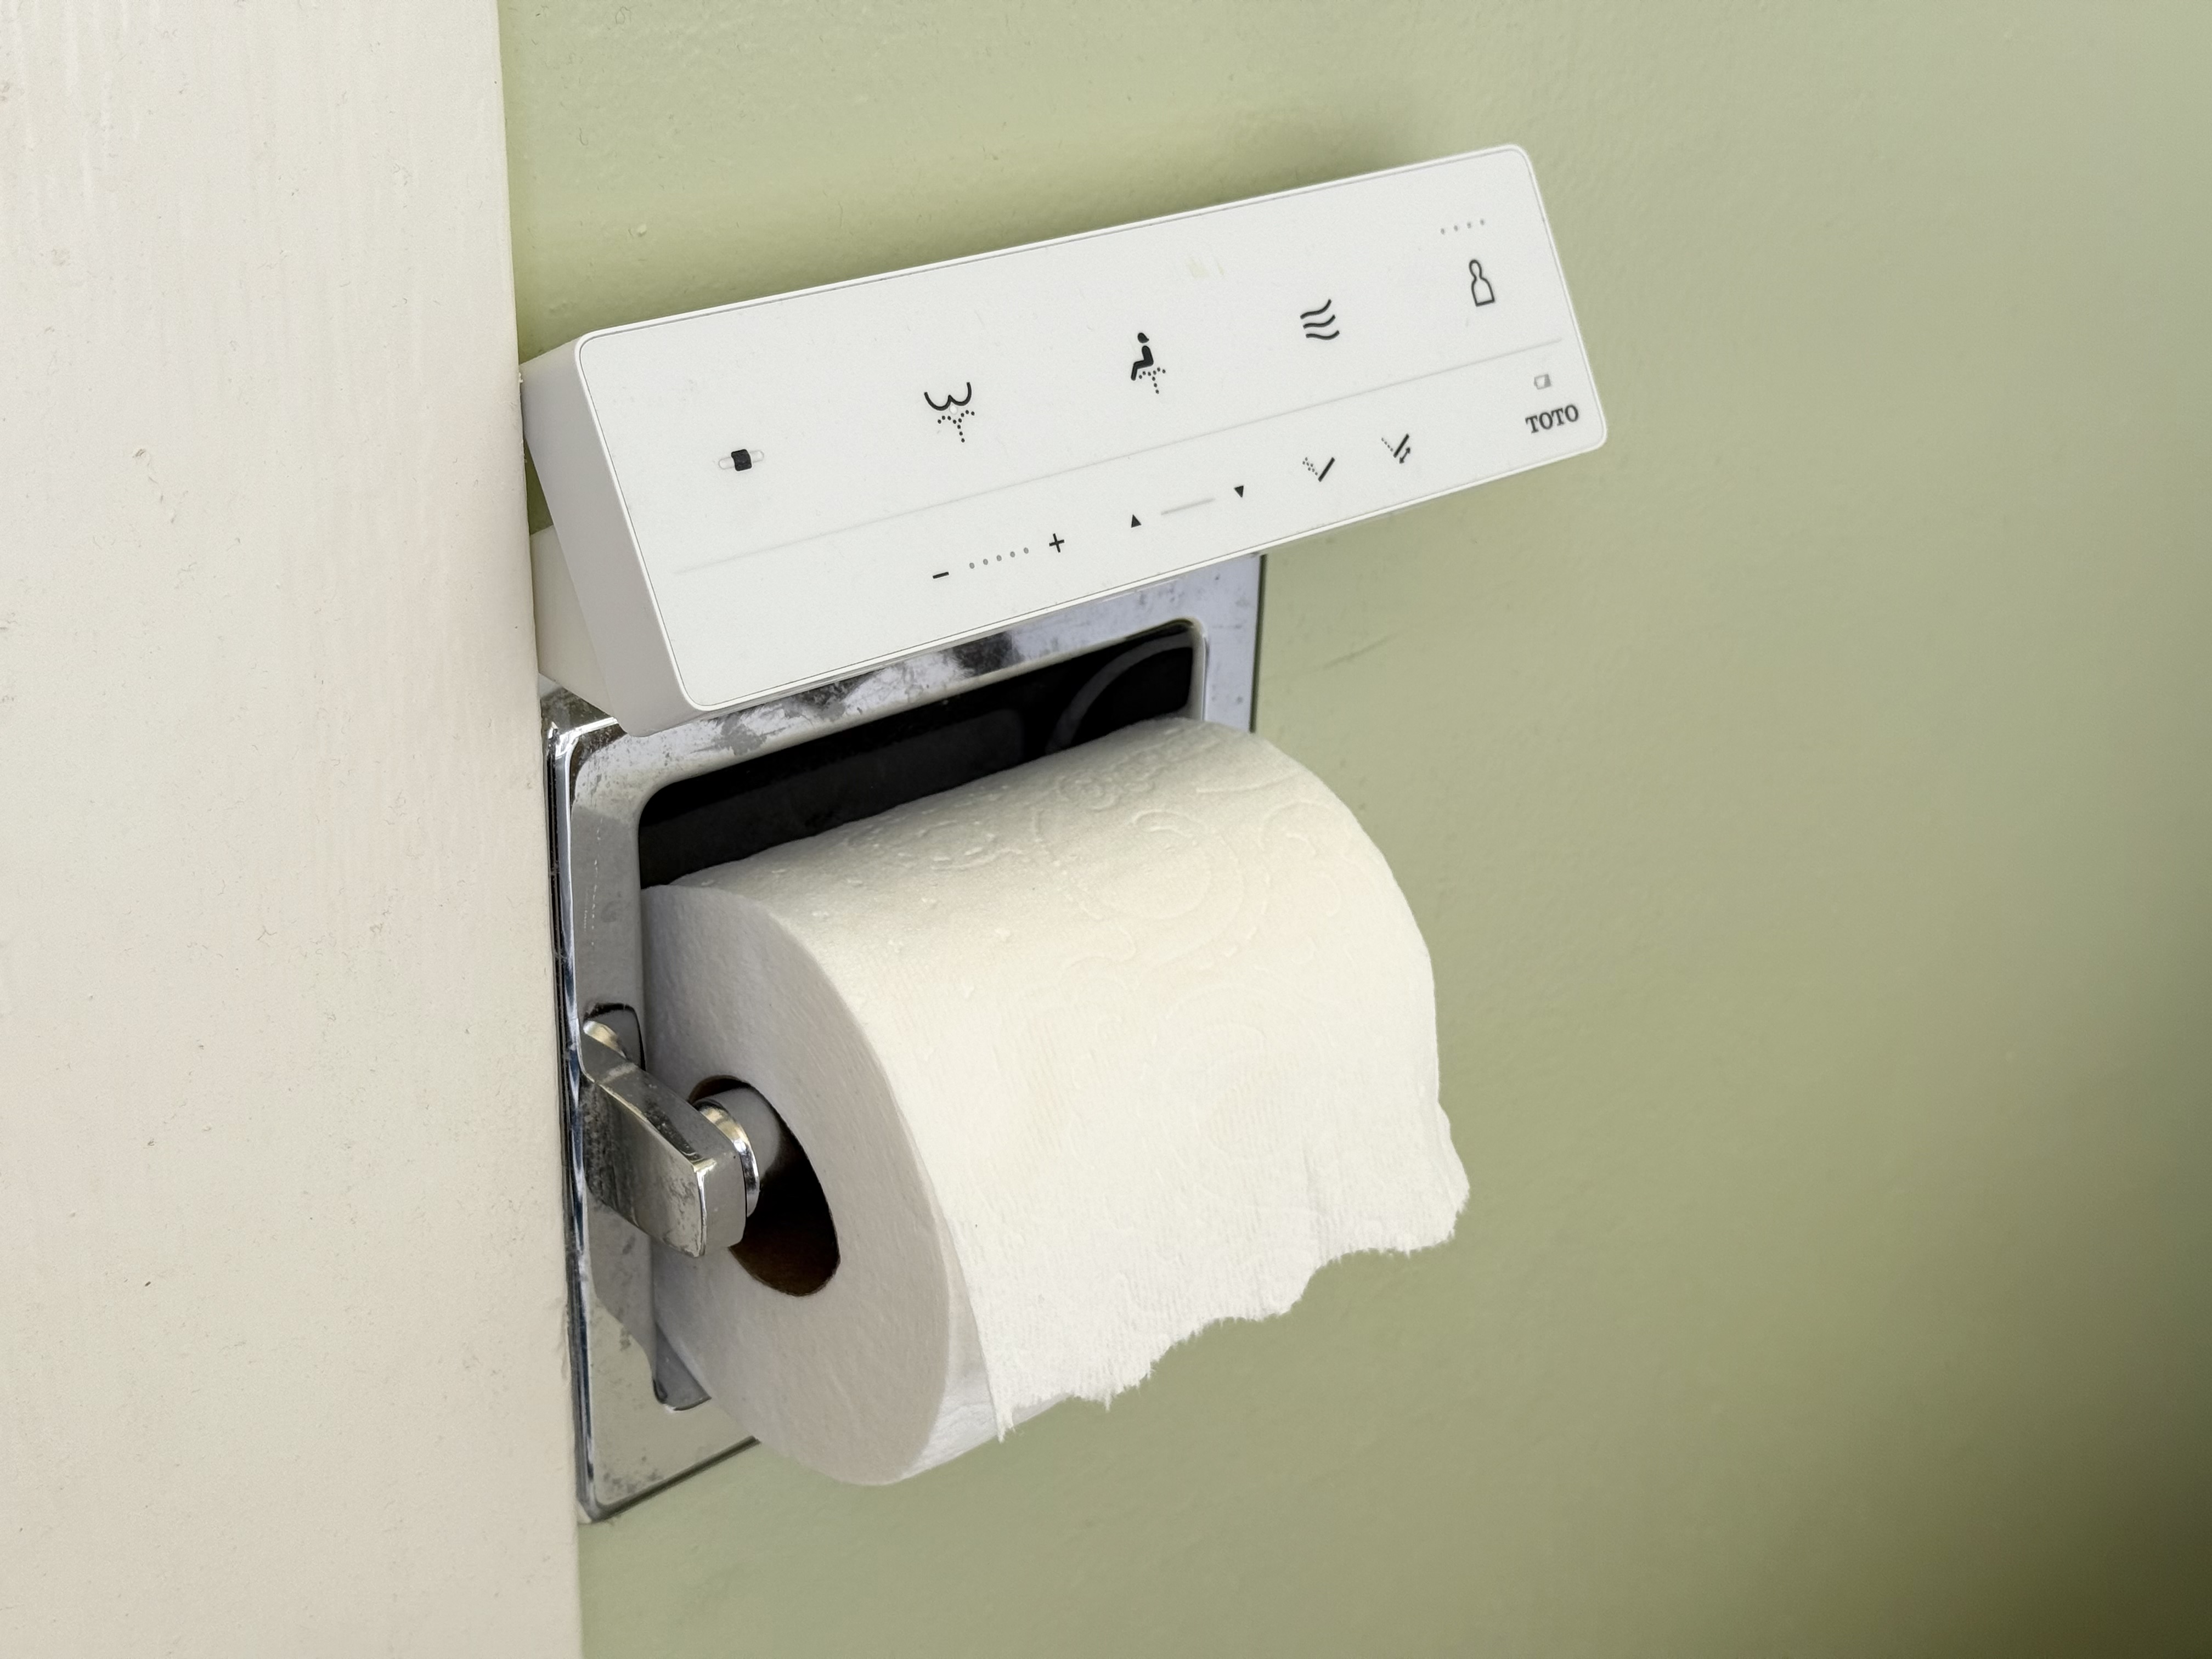
But then I was bothered by that awkward triangular gap formed by the mount, remote, and wall trim. So I changed the design in v4, extending the left arm of the mount upwards to fill in the gap. However, I was surprised to find that I actually didn't like how this looked in real life. Having a clear and discrete visible left "arm" had served as an explanation of how the hidden right side of the mount worked, and by covering the gap and blending the left arm into the remote, I'd obscured the underlying structure and logic of the mount. I found that this lack of transparency gave me a slight vague feeling of distrust, since now I couldn't clearly see how it supported the remote.
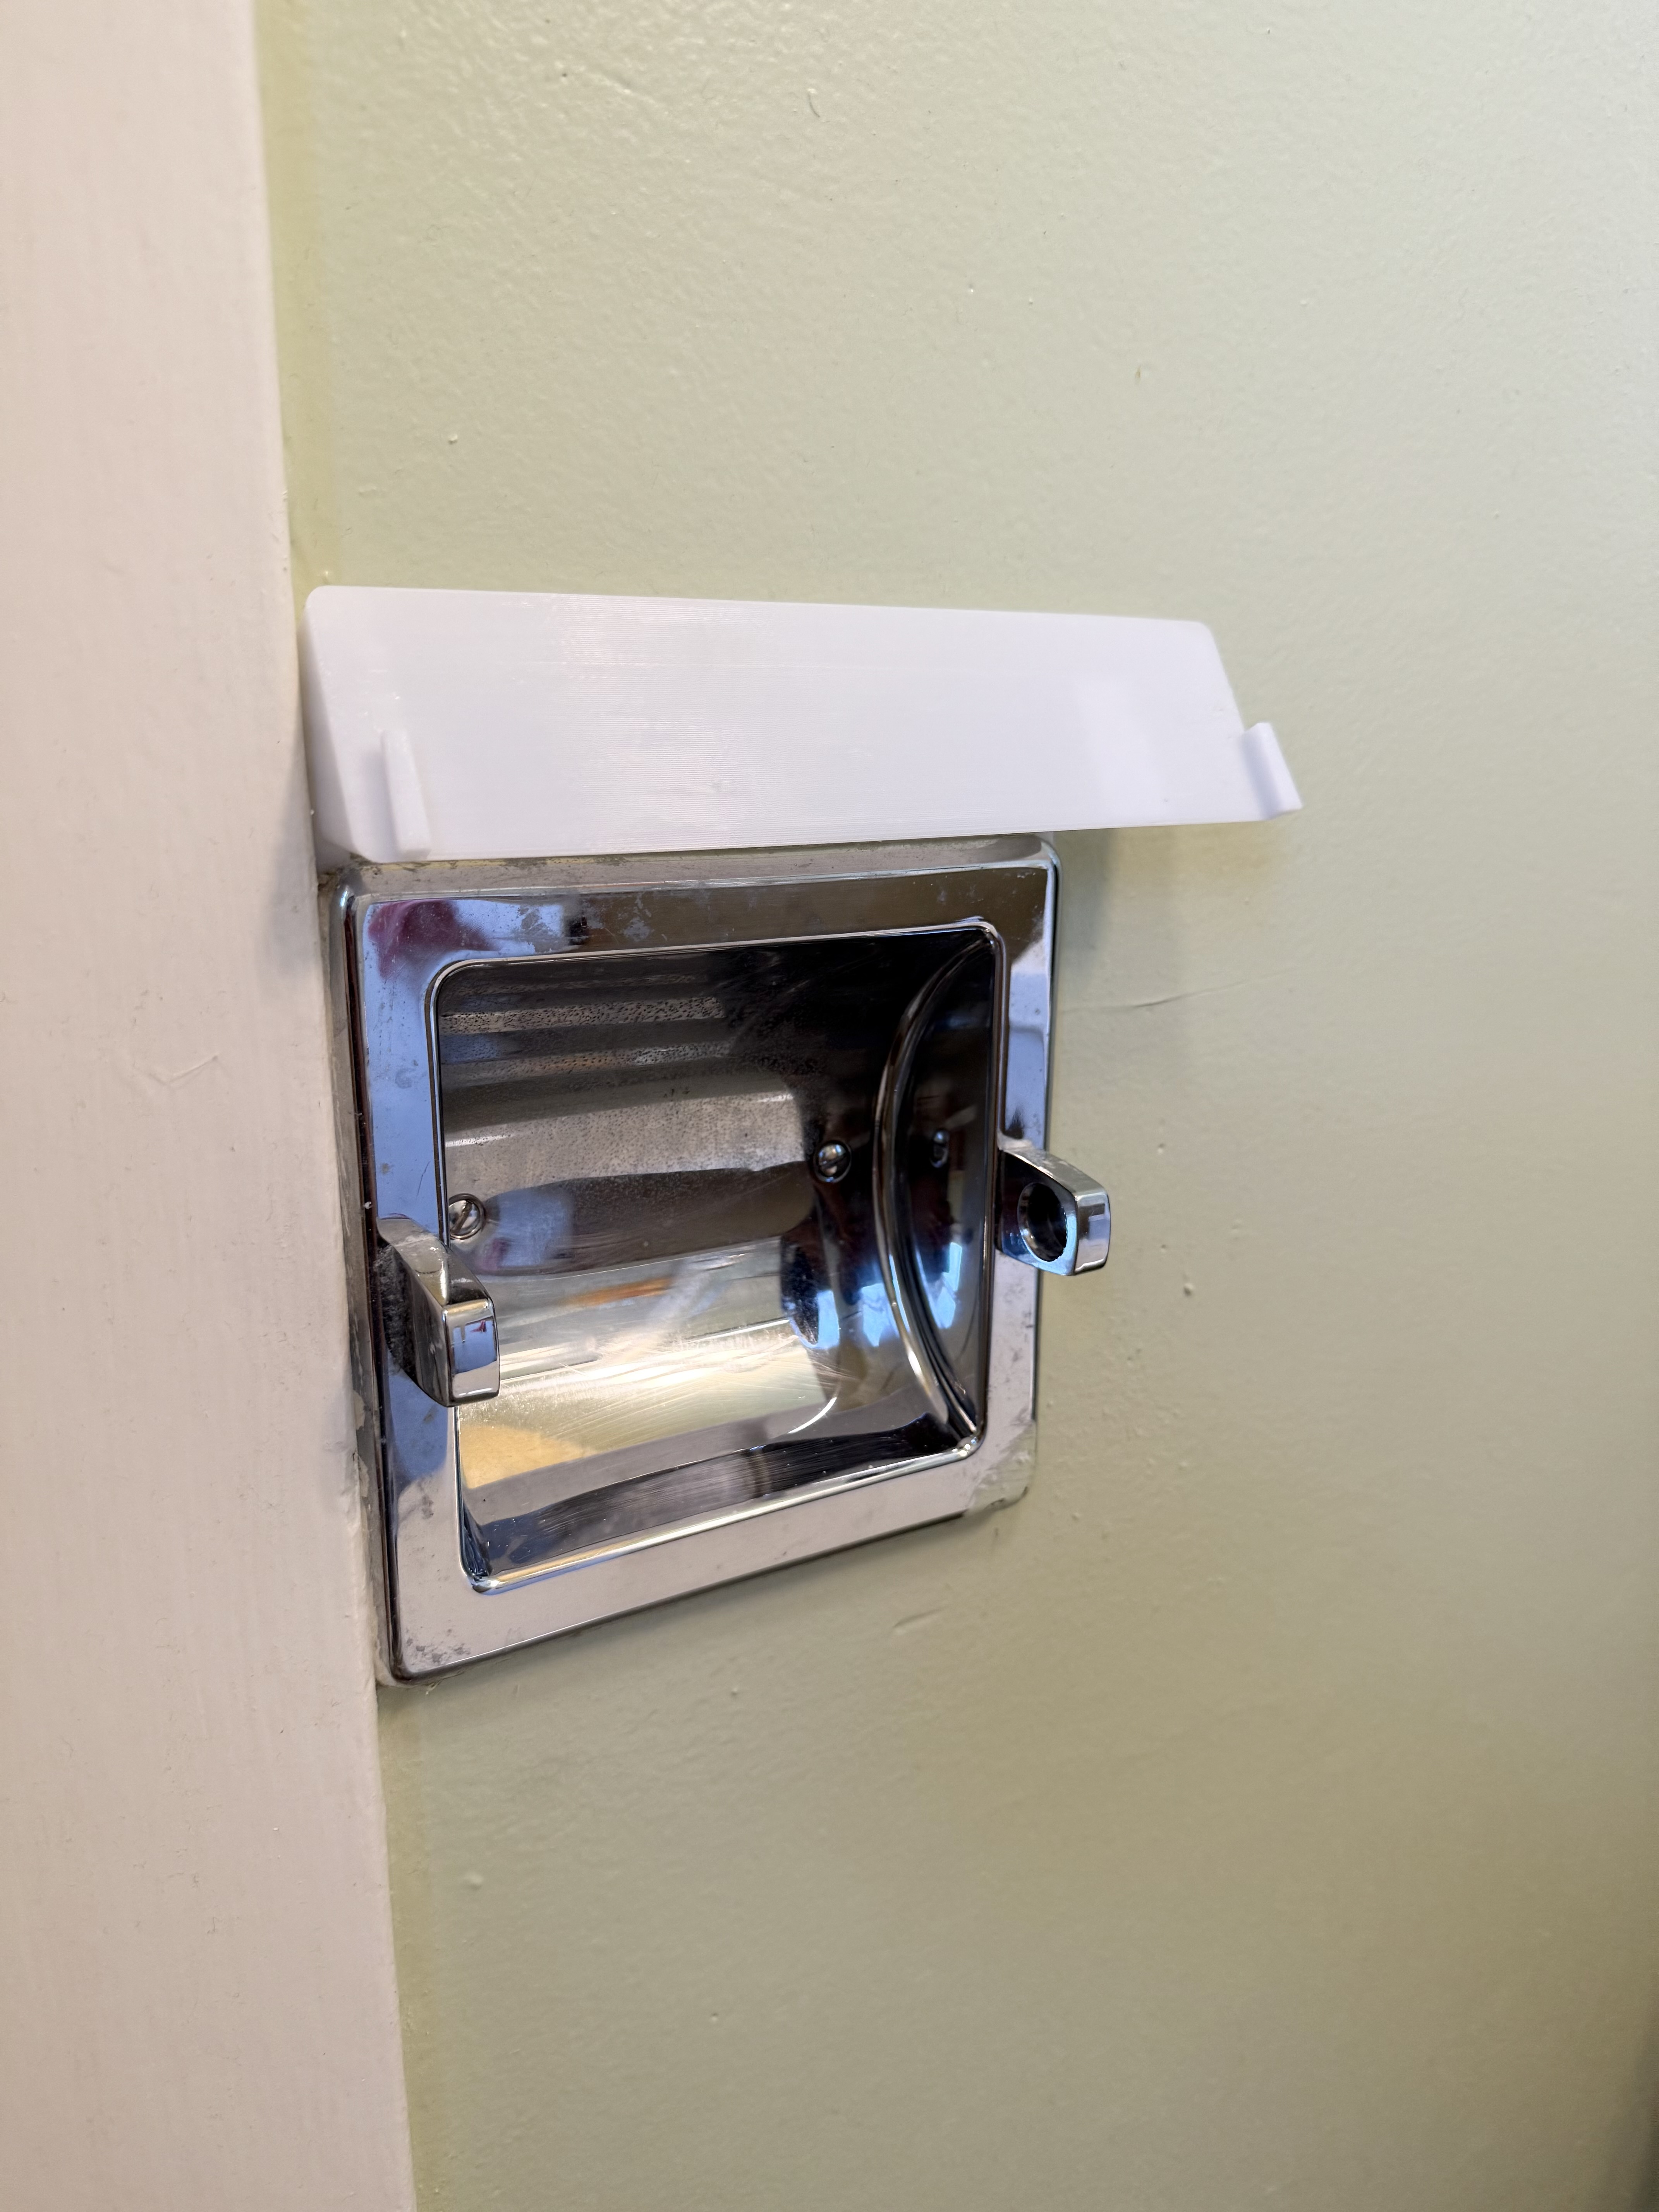
So I decided to try expanding that triangular gap instead, making the mount arm smaller and changing its shape a bit. I felt a slight sense of relief swapping this version in—that small change in the arm design restores the feeling of simplicity and honesty. This was a pretty interesting design learning experience! This version is the one that I'm keeping.
I first encountered OnShape back in 2016, but at the time it was missing features compared to Fusion 360 or my preferred SolidWorks, so I never really used it. Now in 2025, I'm finding OnShape to be a pretty mature and compelling product. It was very easy to learn and did everything I needed for this simple part. Performance is good and I like that the free tier is feature-complete except for the limitation that your files have to be public—I think this is a smart limitation, since for hobby use, I don't care that my files are public. ↩︎
