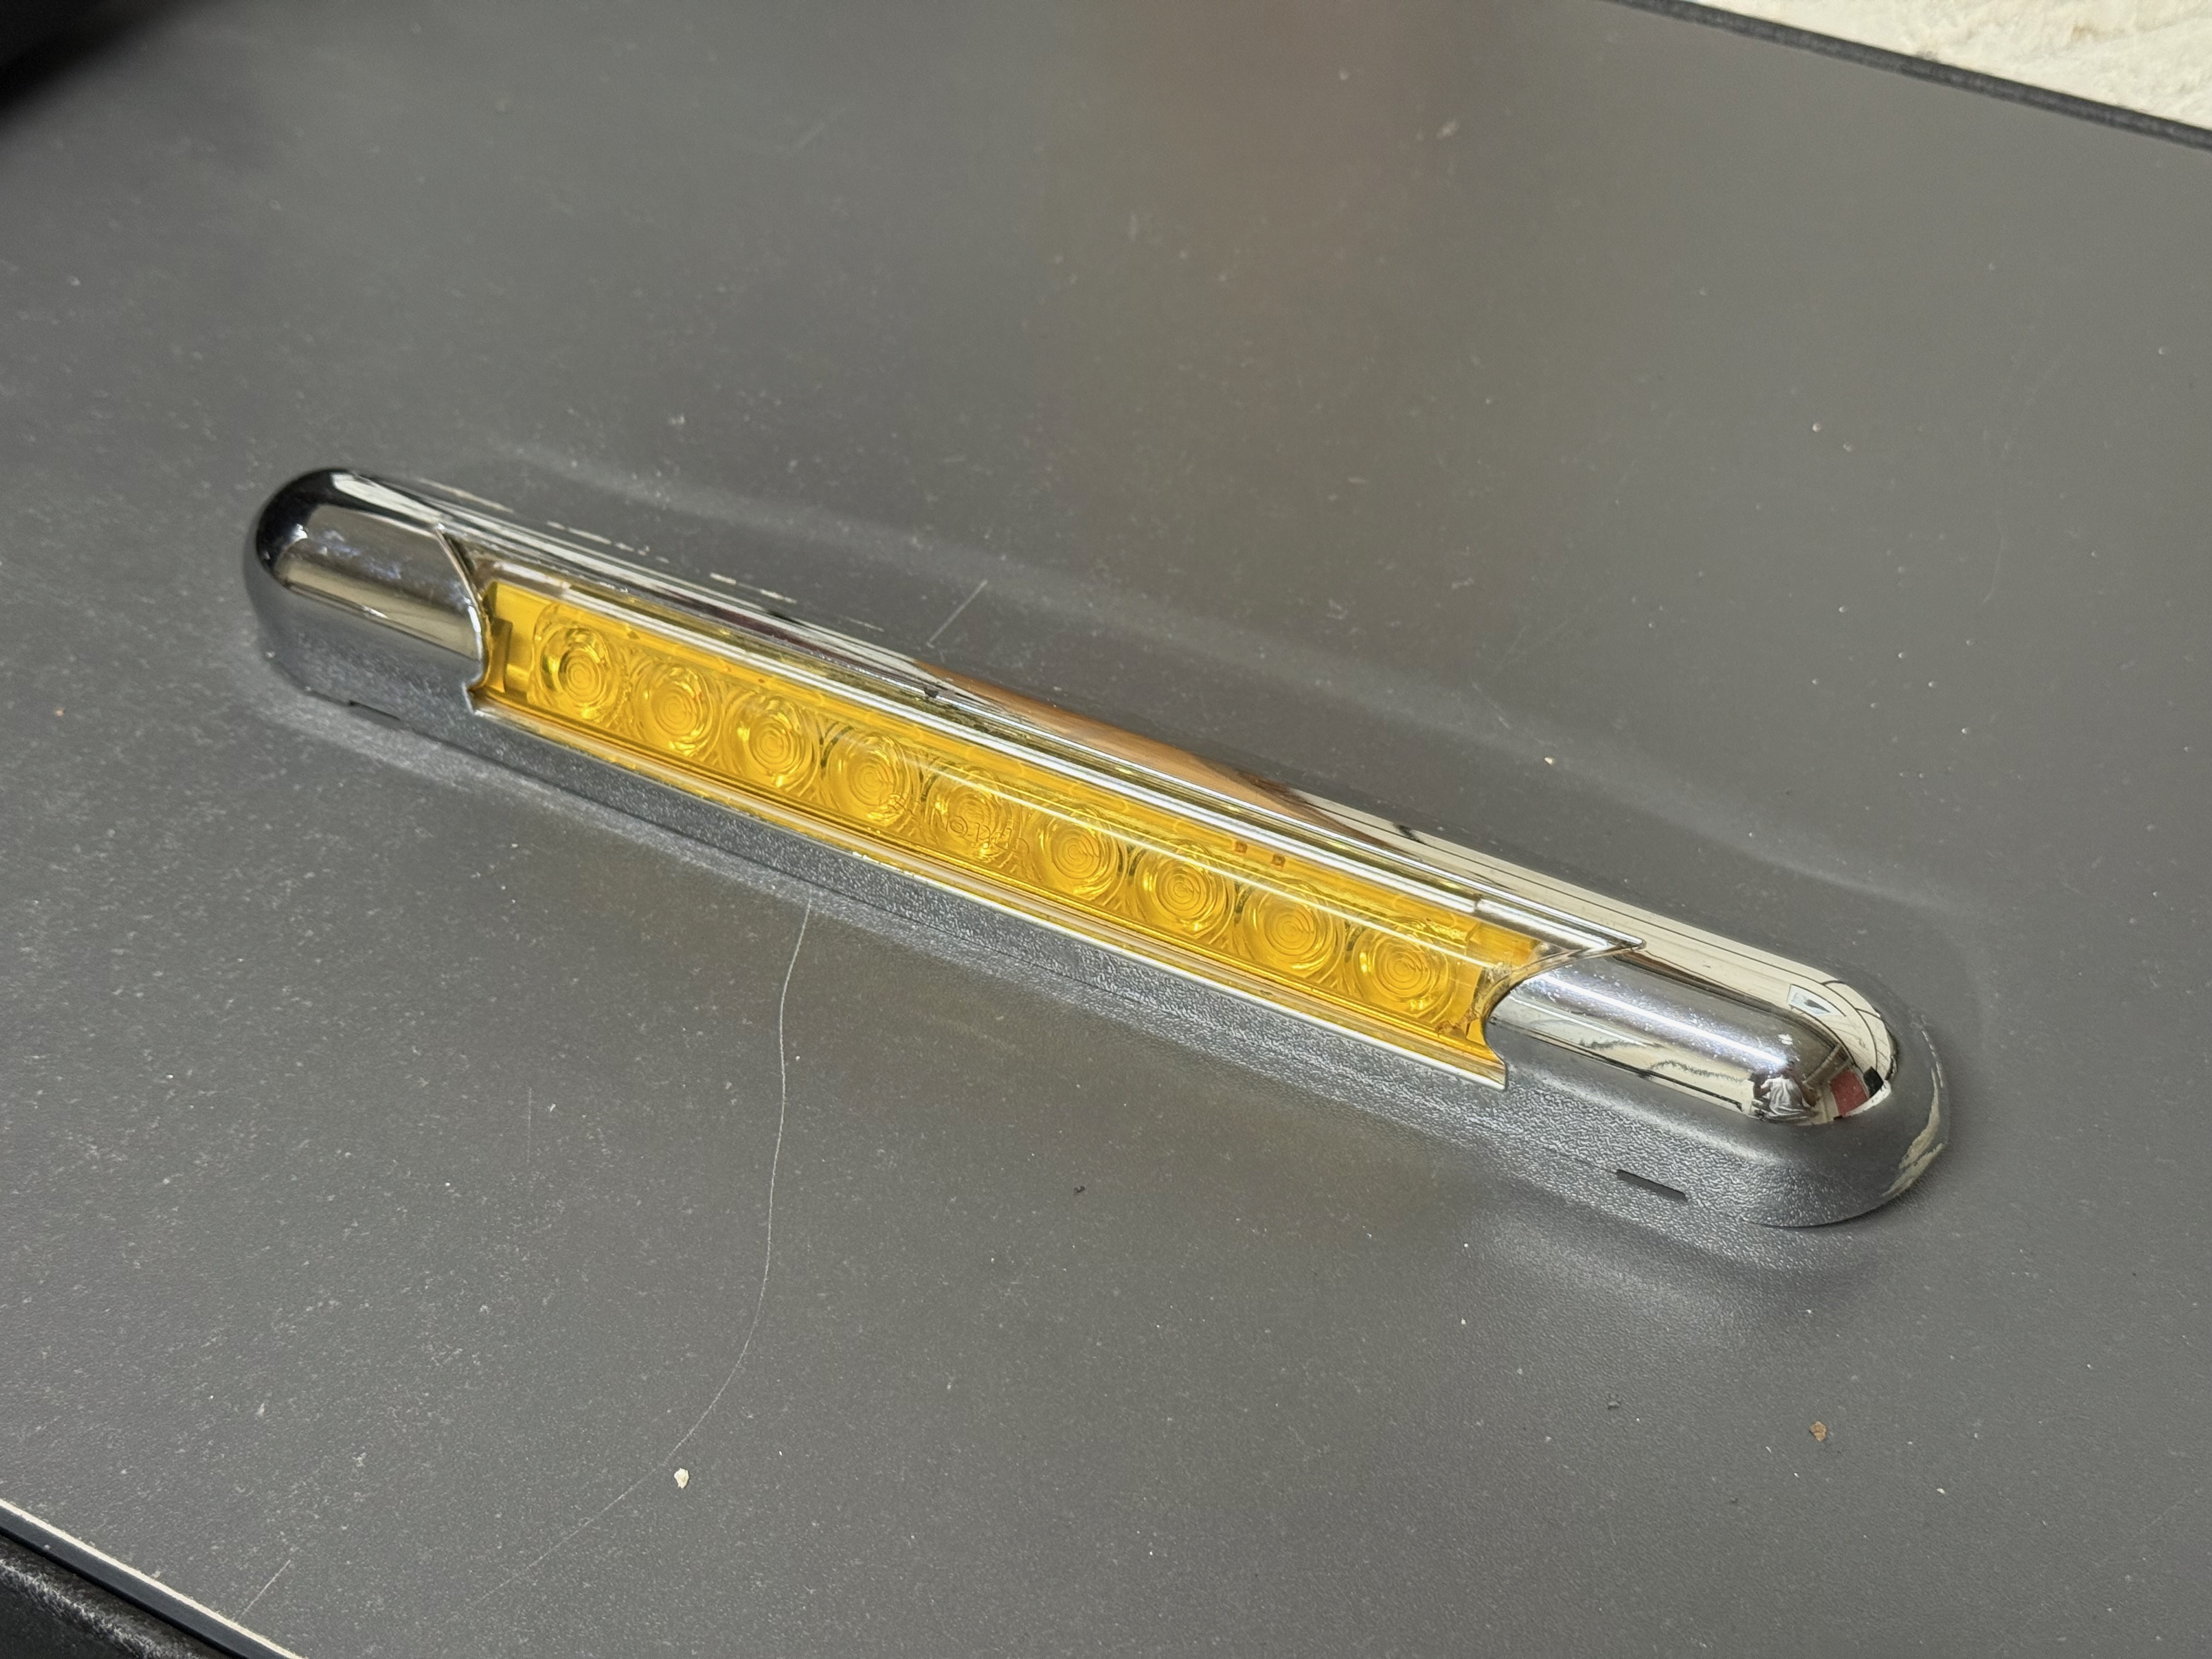
A few months ago, I noticed that the passenger side exterior porch light on our Winnebago Solis 59P camper van was starting to peel and lift away from the van body at the leading edge.
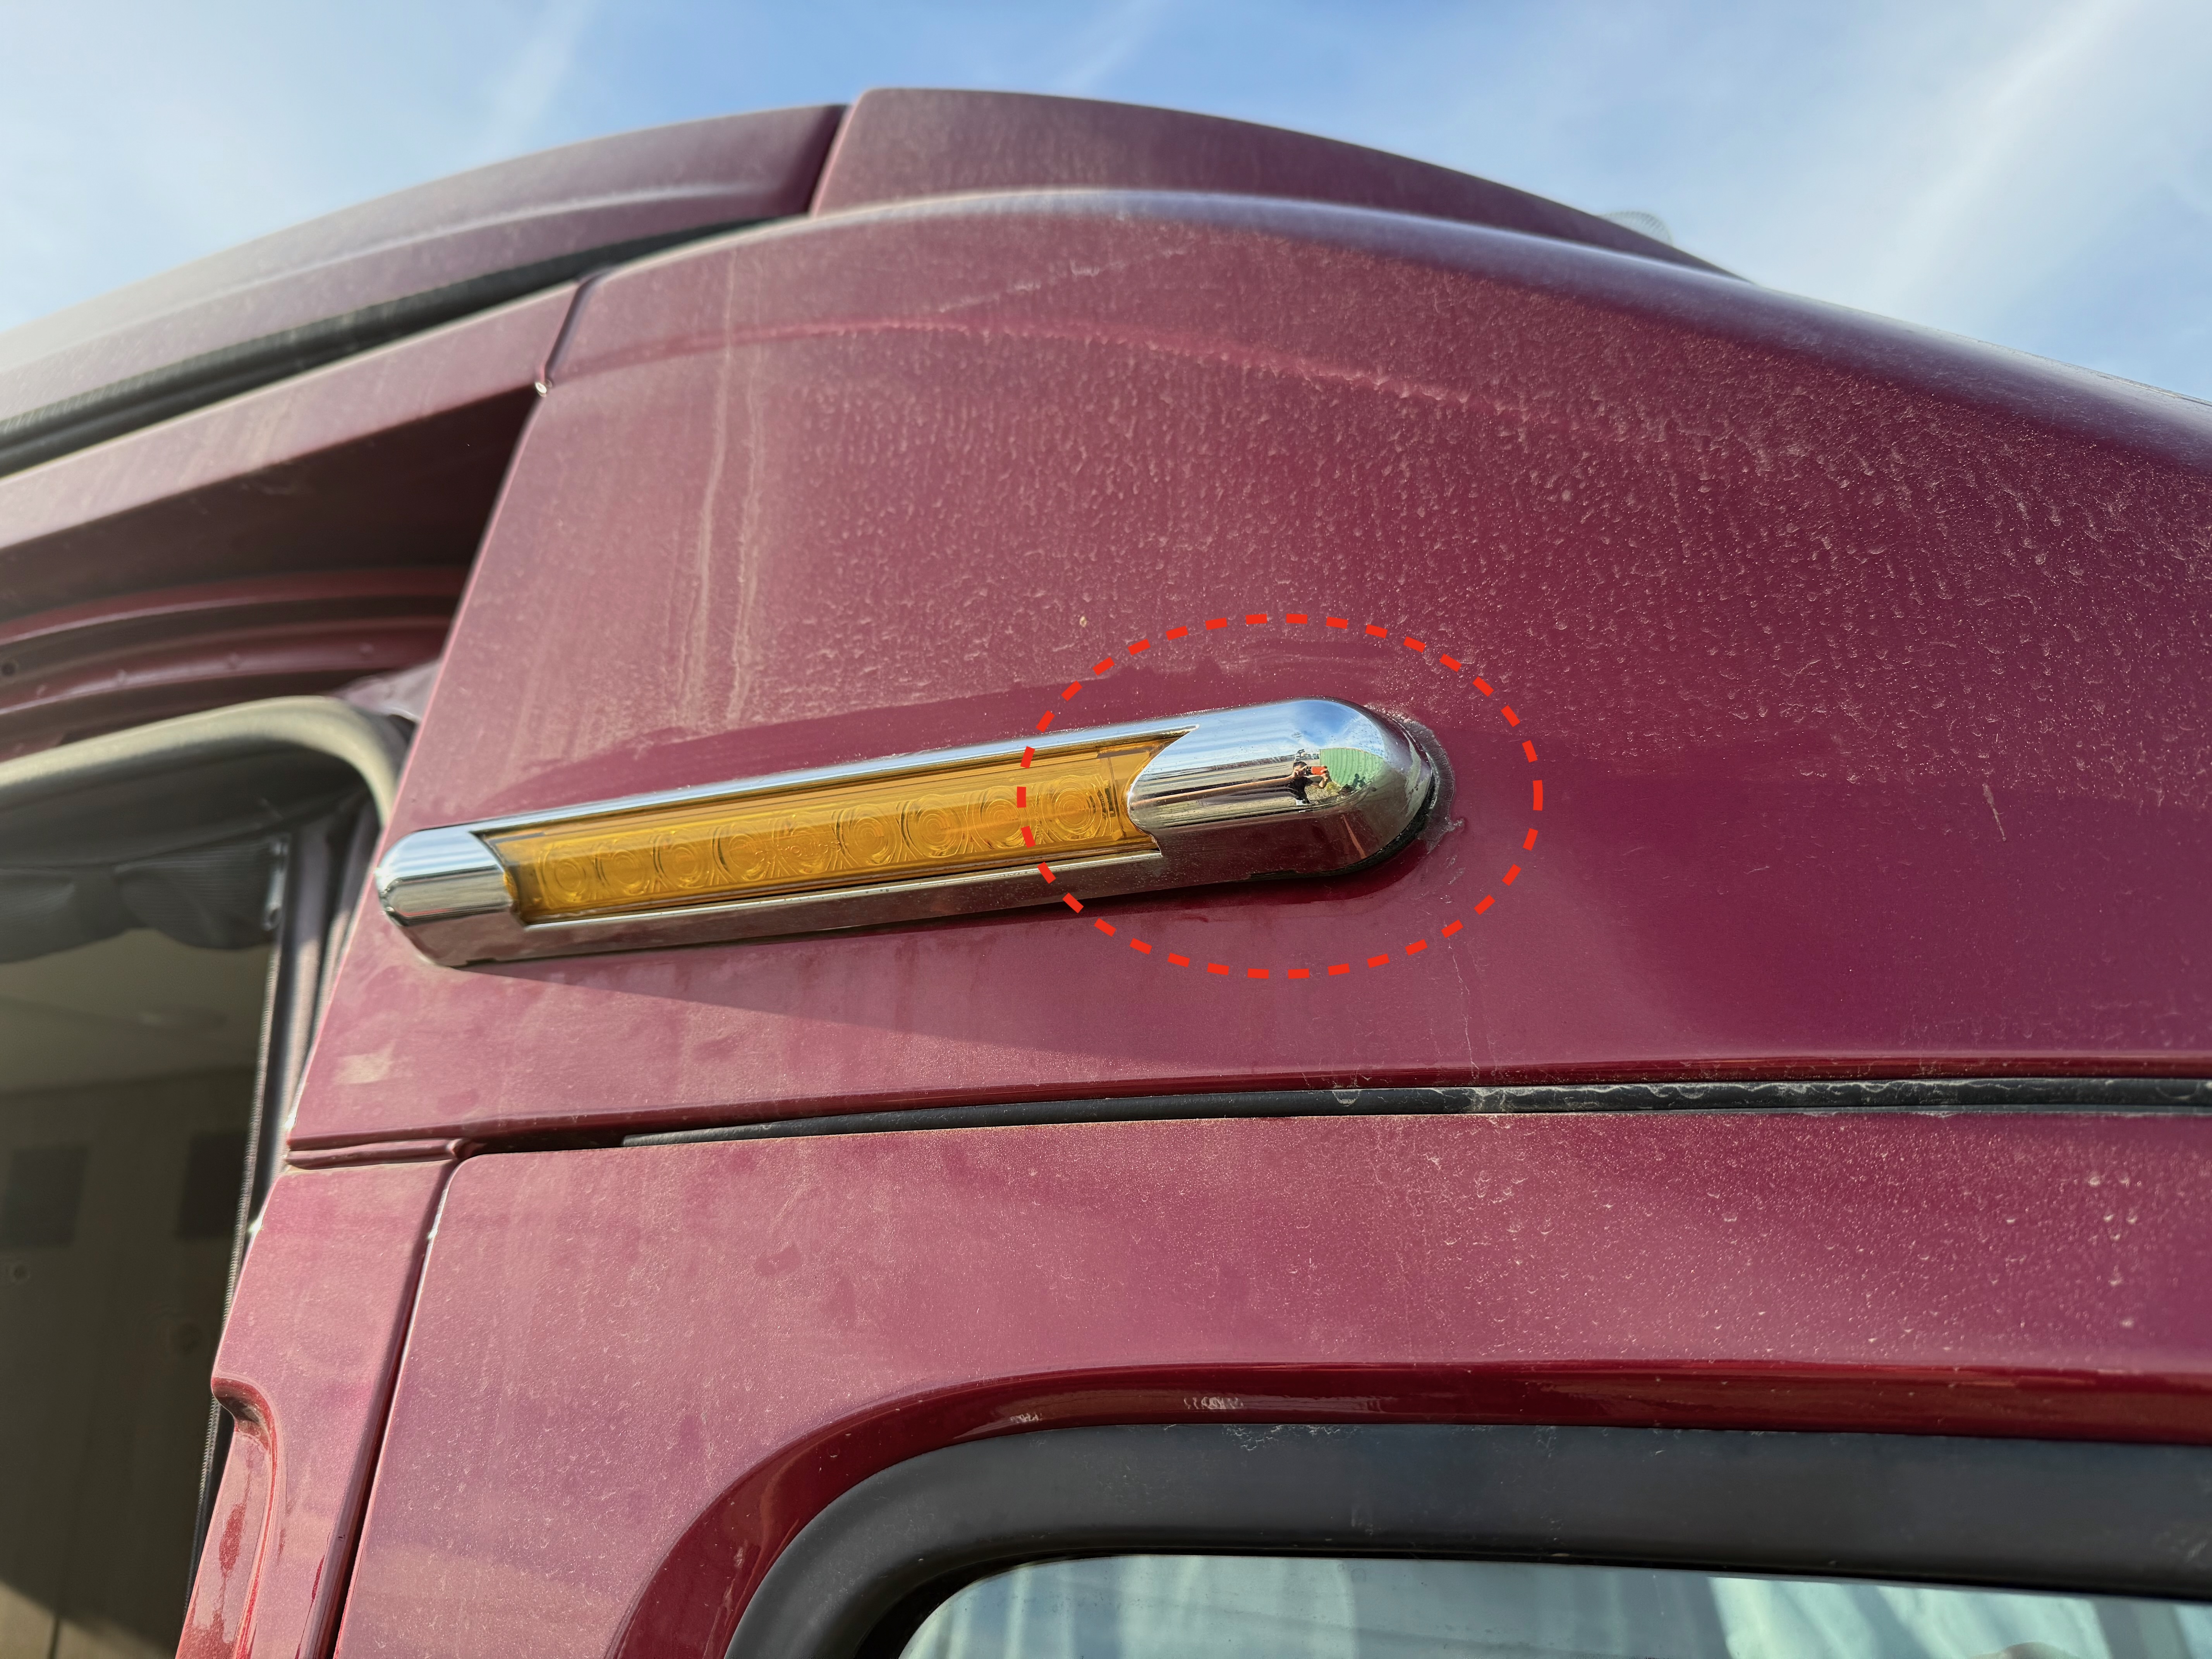
If you have this problem, you could probably just use some non-silicone sealant like Lexel to seal the gap, rather than taking the whole thing apart like I did.
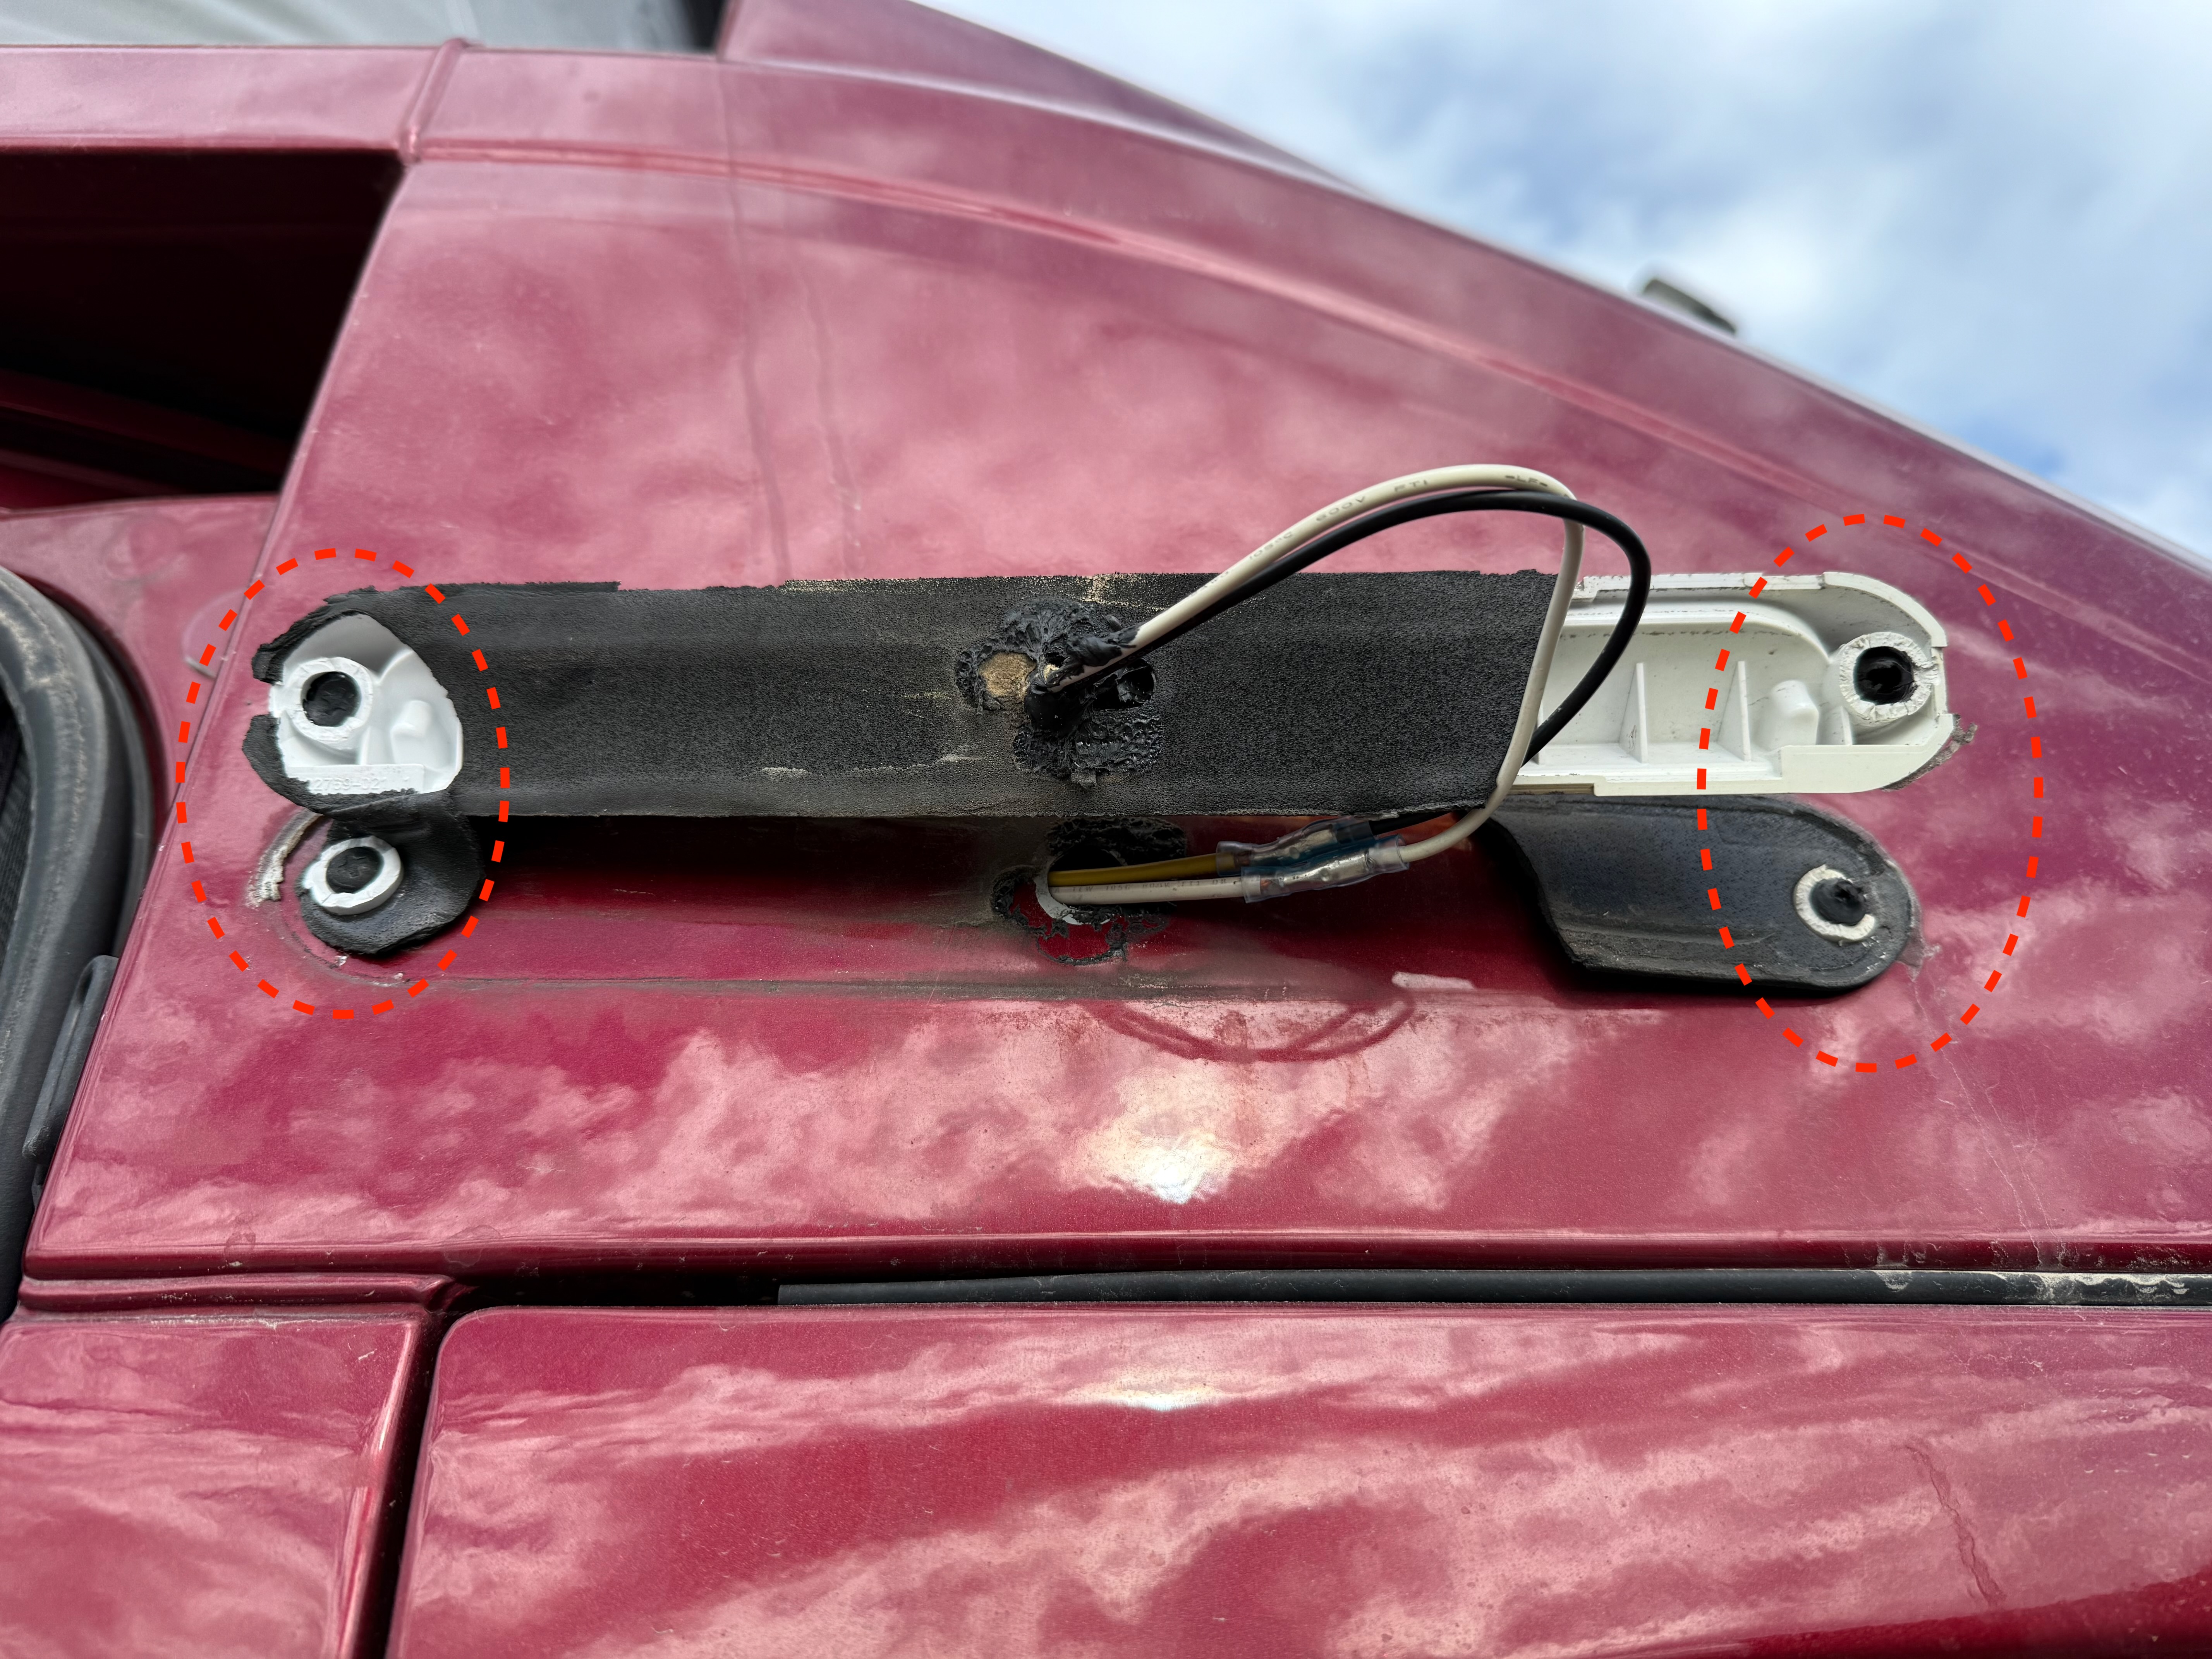
When I tried to pry off the outer cover of the porch light, the whole thing came off because the brittle plastic body of the light broke at the screw mounts. I think the van body is slightly curved, so the porch light is in bending when mounted, and the stress and environmental exposure over time caused the plastic at the front screw mount to break.
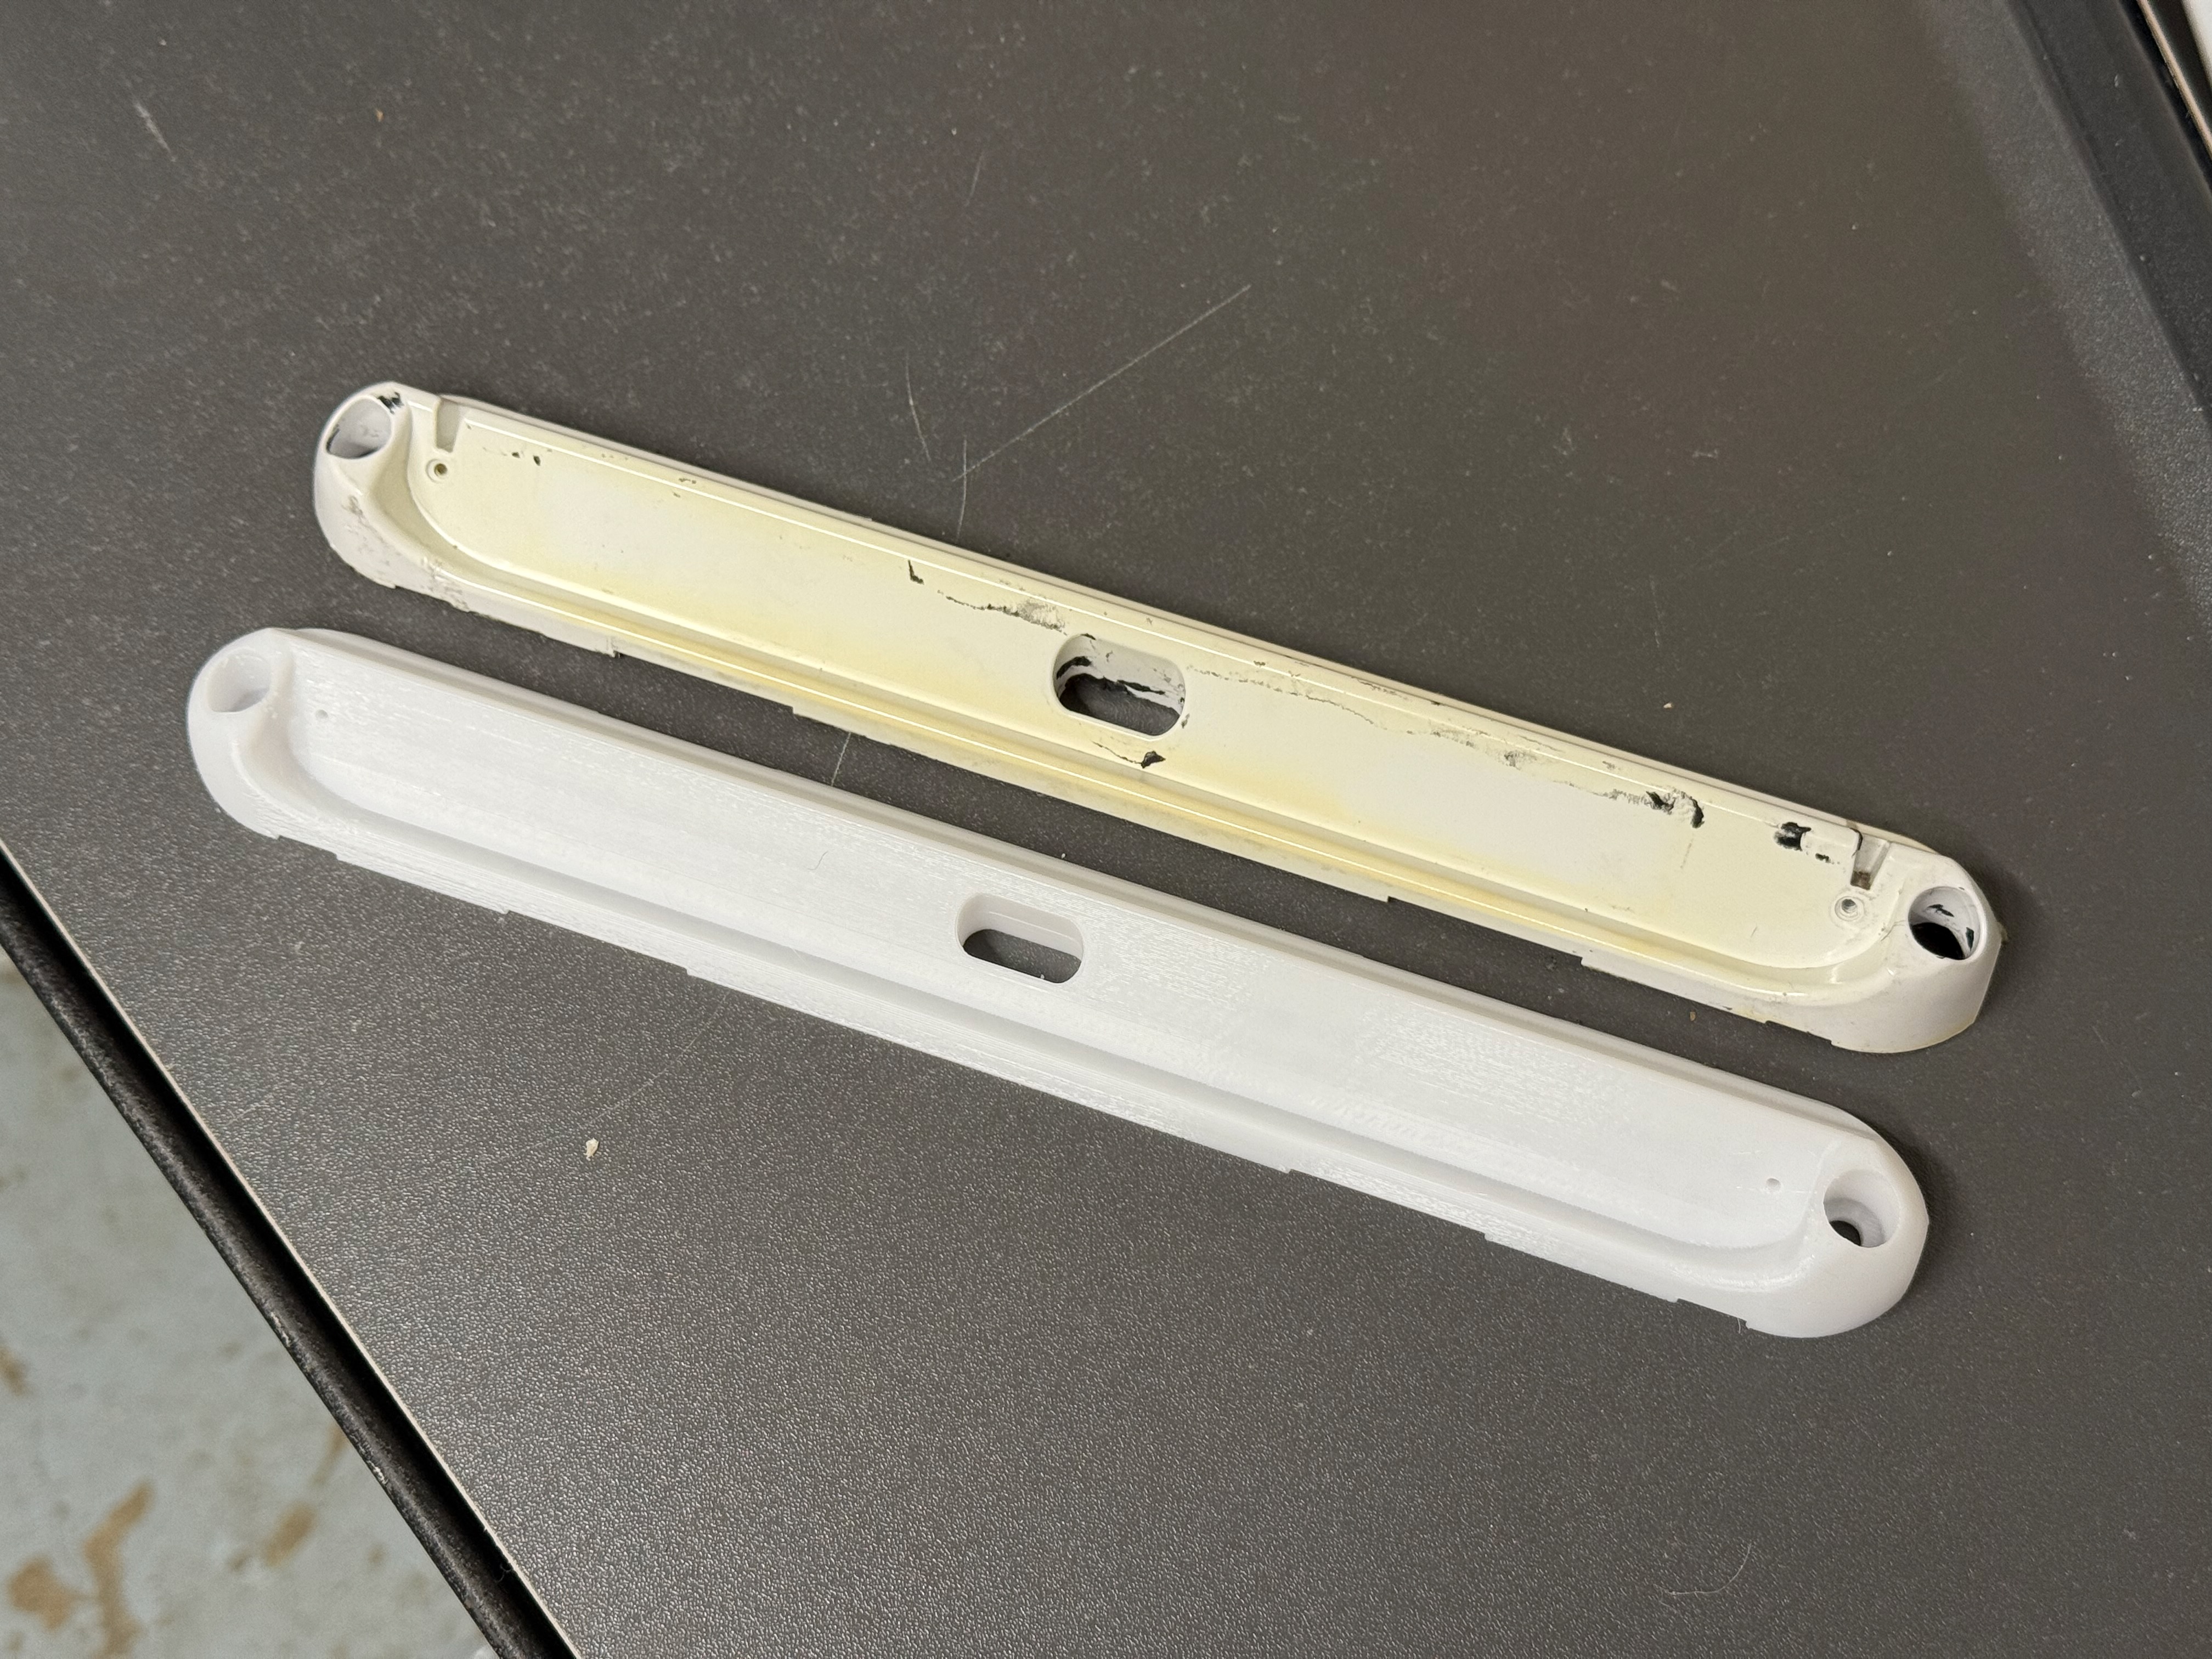
The porch light part number is Optronics ILL70CBAWNP. It's readily available on Amazon for $26 at time of writing. But my actual light worked fine, and only the plastic part was broken, so it seemed a little wasteful to replace the whole thing. I had some free time, and a 3D printer at home, and I felt I could use some CAD practice, so I decided to try to model and print the part I needed.
For anybody who just wants to print their own, my final STL file can be downloaded here.
I printed in PETG for temperature resistance and toughness. PLA is not a good choice for this due to its lower melting point.
Modeling and printing
This was actually my first time modeling a part to match an existing real-world part using photos to match curves and rounded shapes.
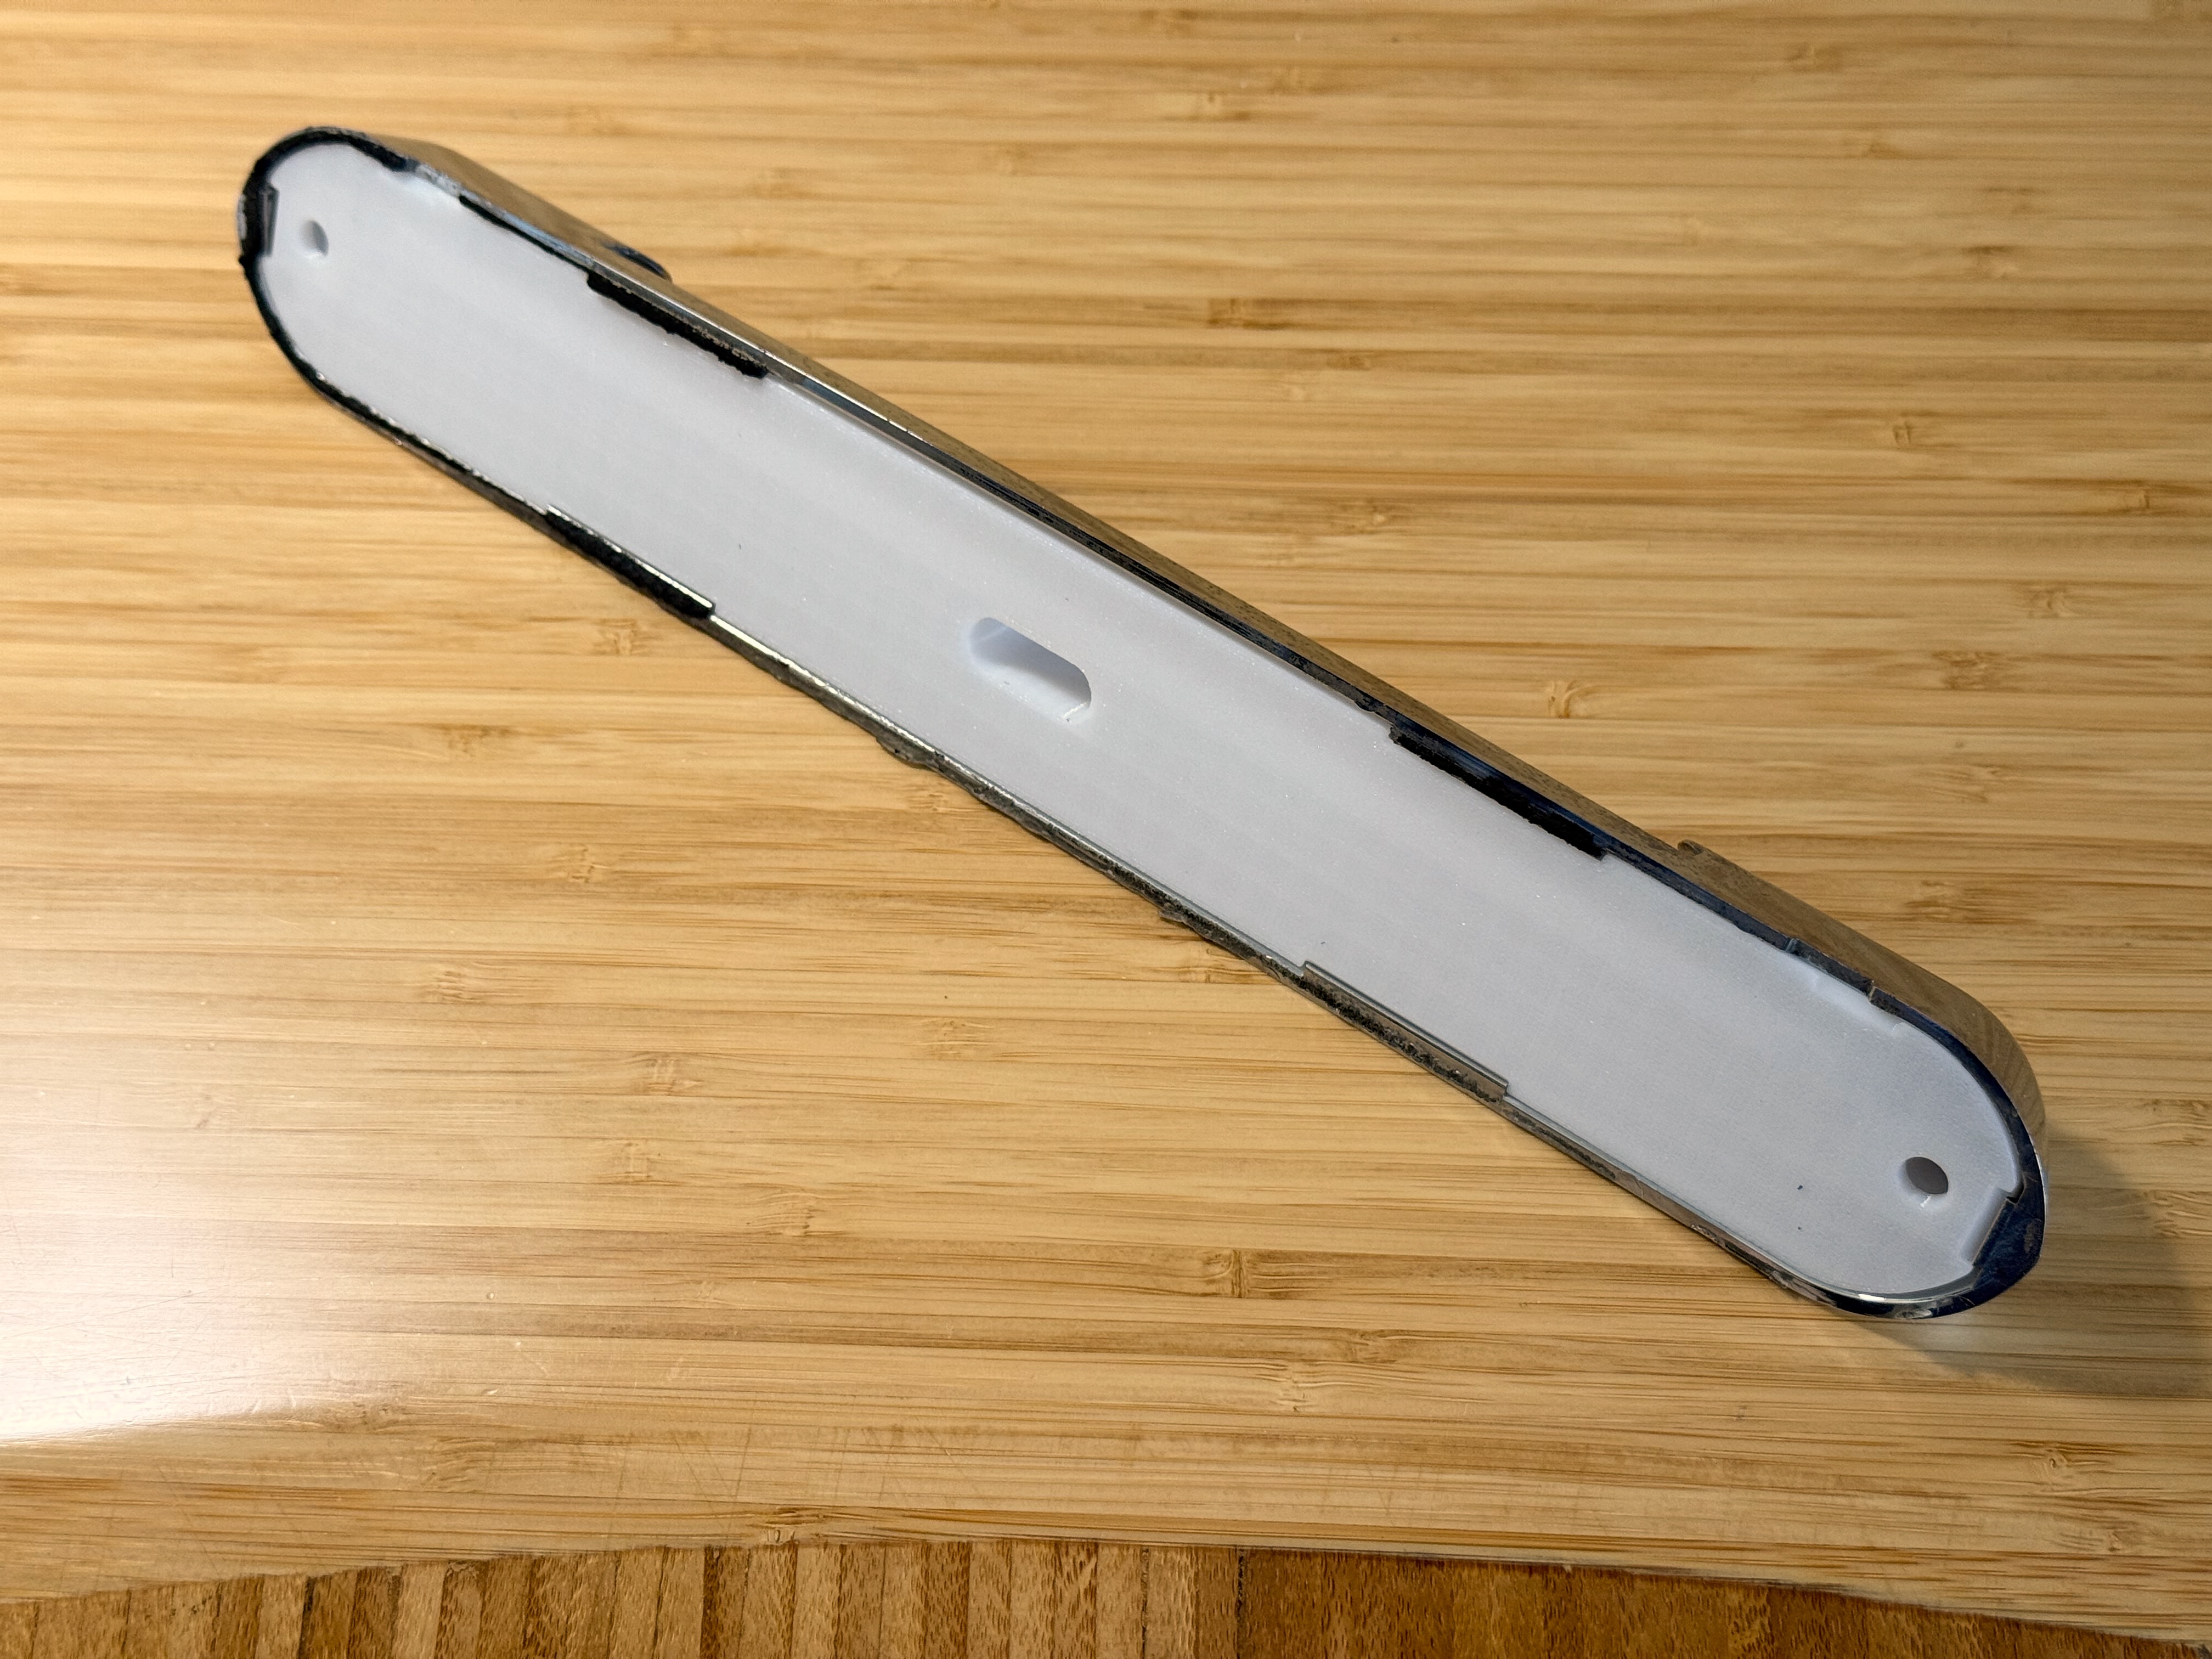
First, I took photos of each side of the part (front, side, top), using the 5x telephoto lens on my iPhone to try to minimize distortion. Here are the photos after cropping:


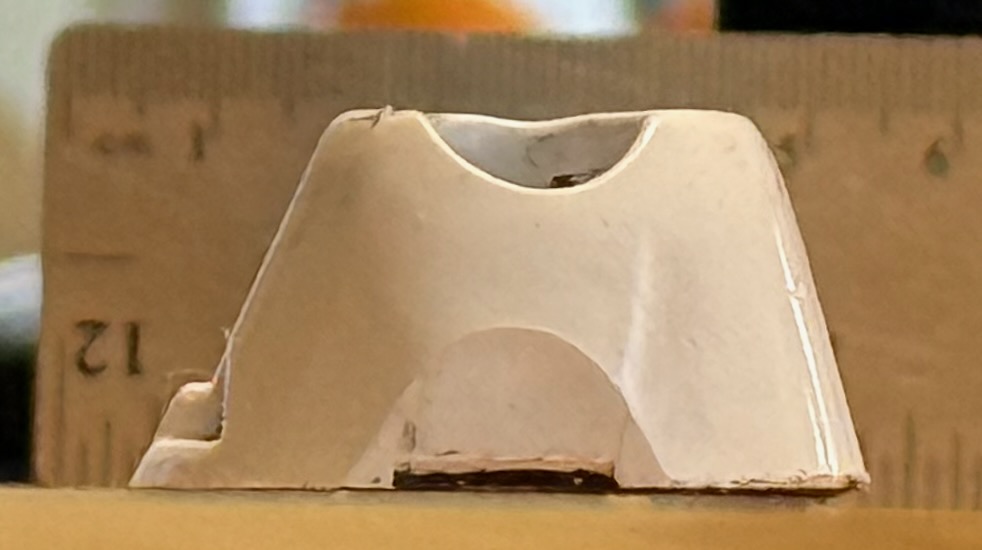
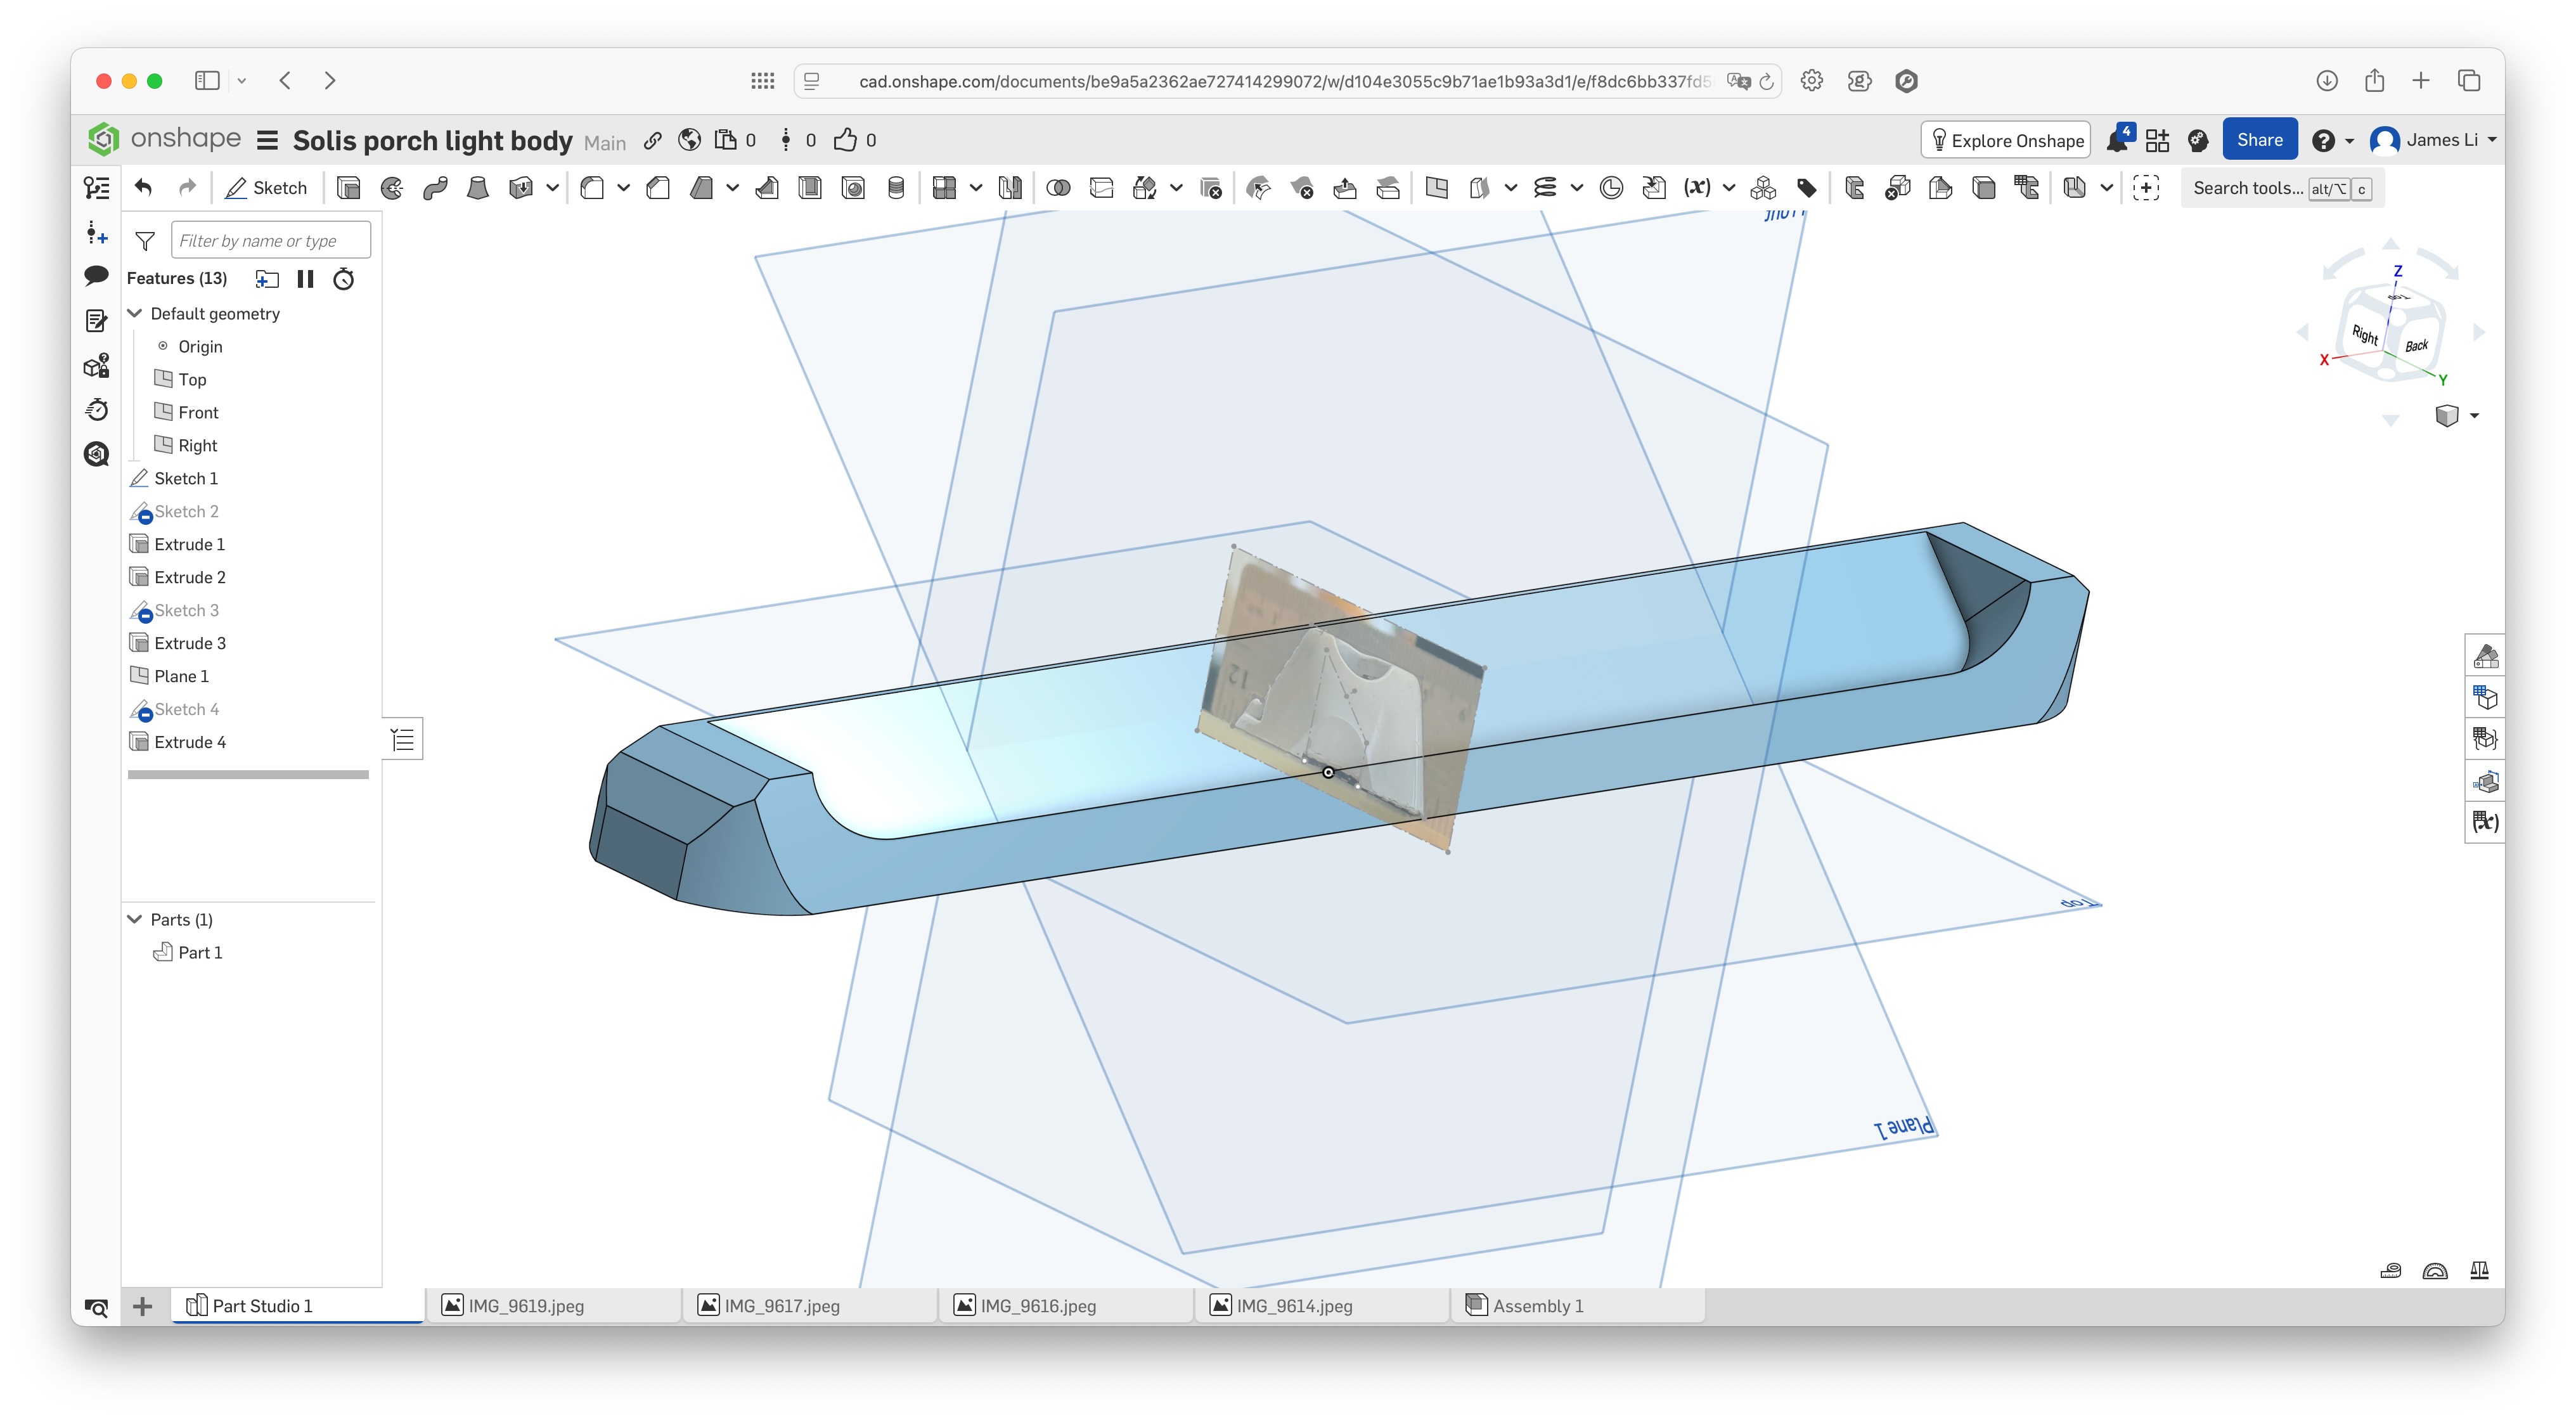
I then imported them into my sketches in OnShape and started modeling the geometry, using both the photos and real-world measurements for reference. The photos were useful for capturing angles and shapes, but I found I couldn't rely on the photos for accurate dimensions.
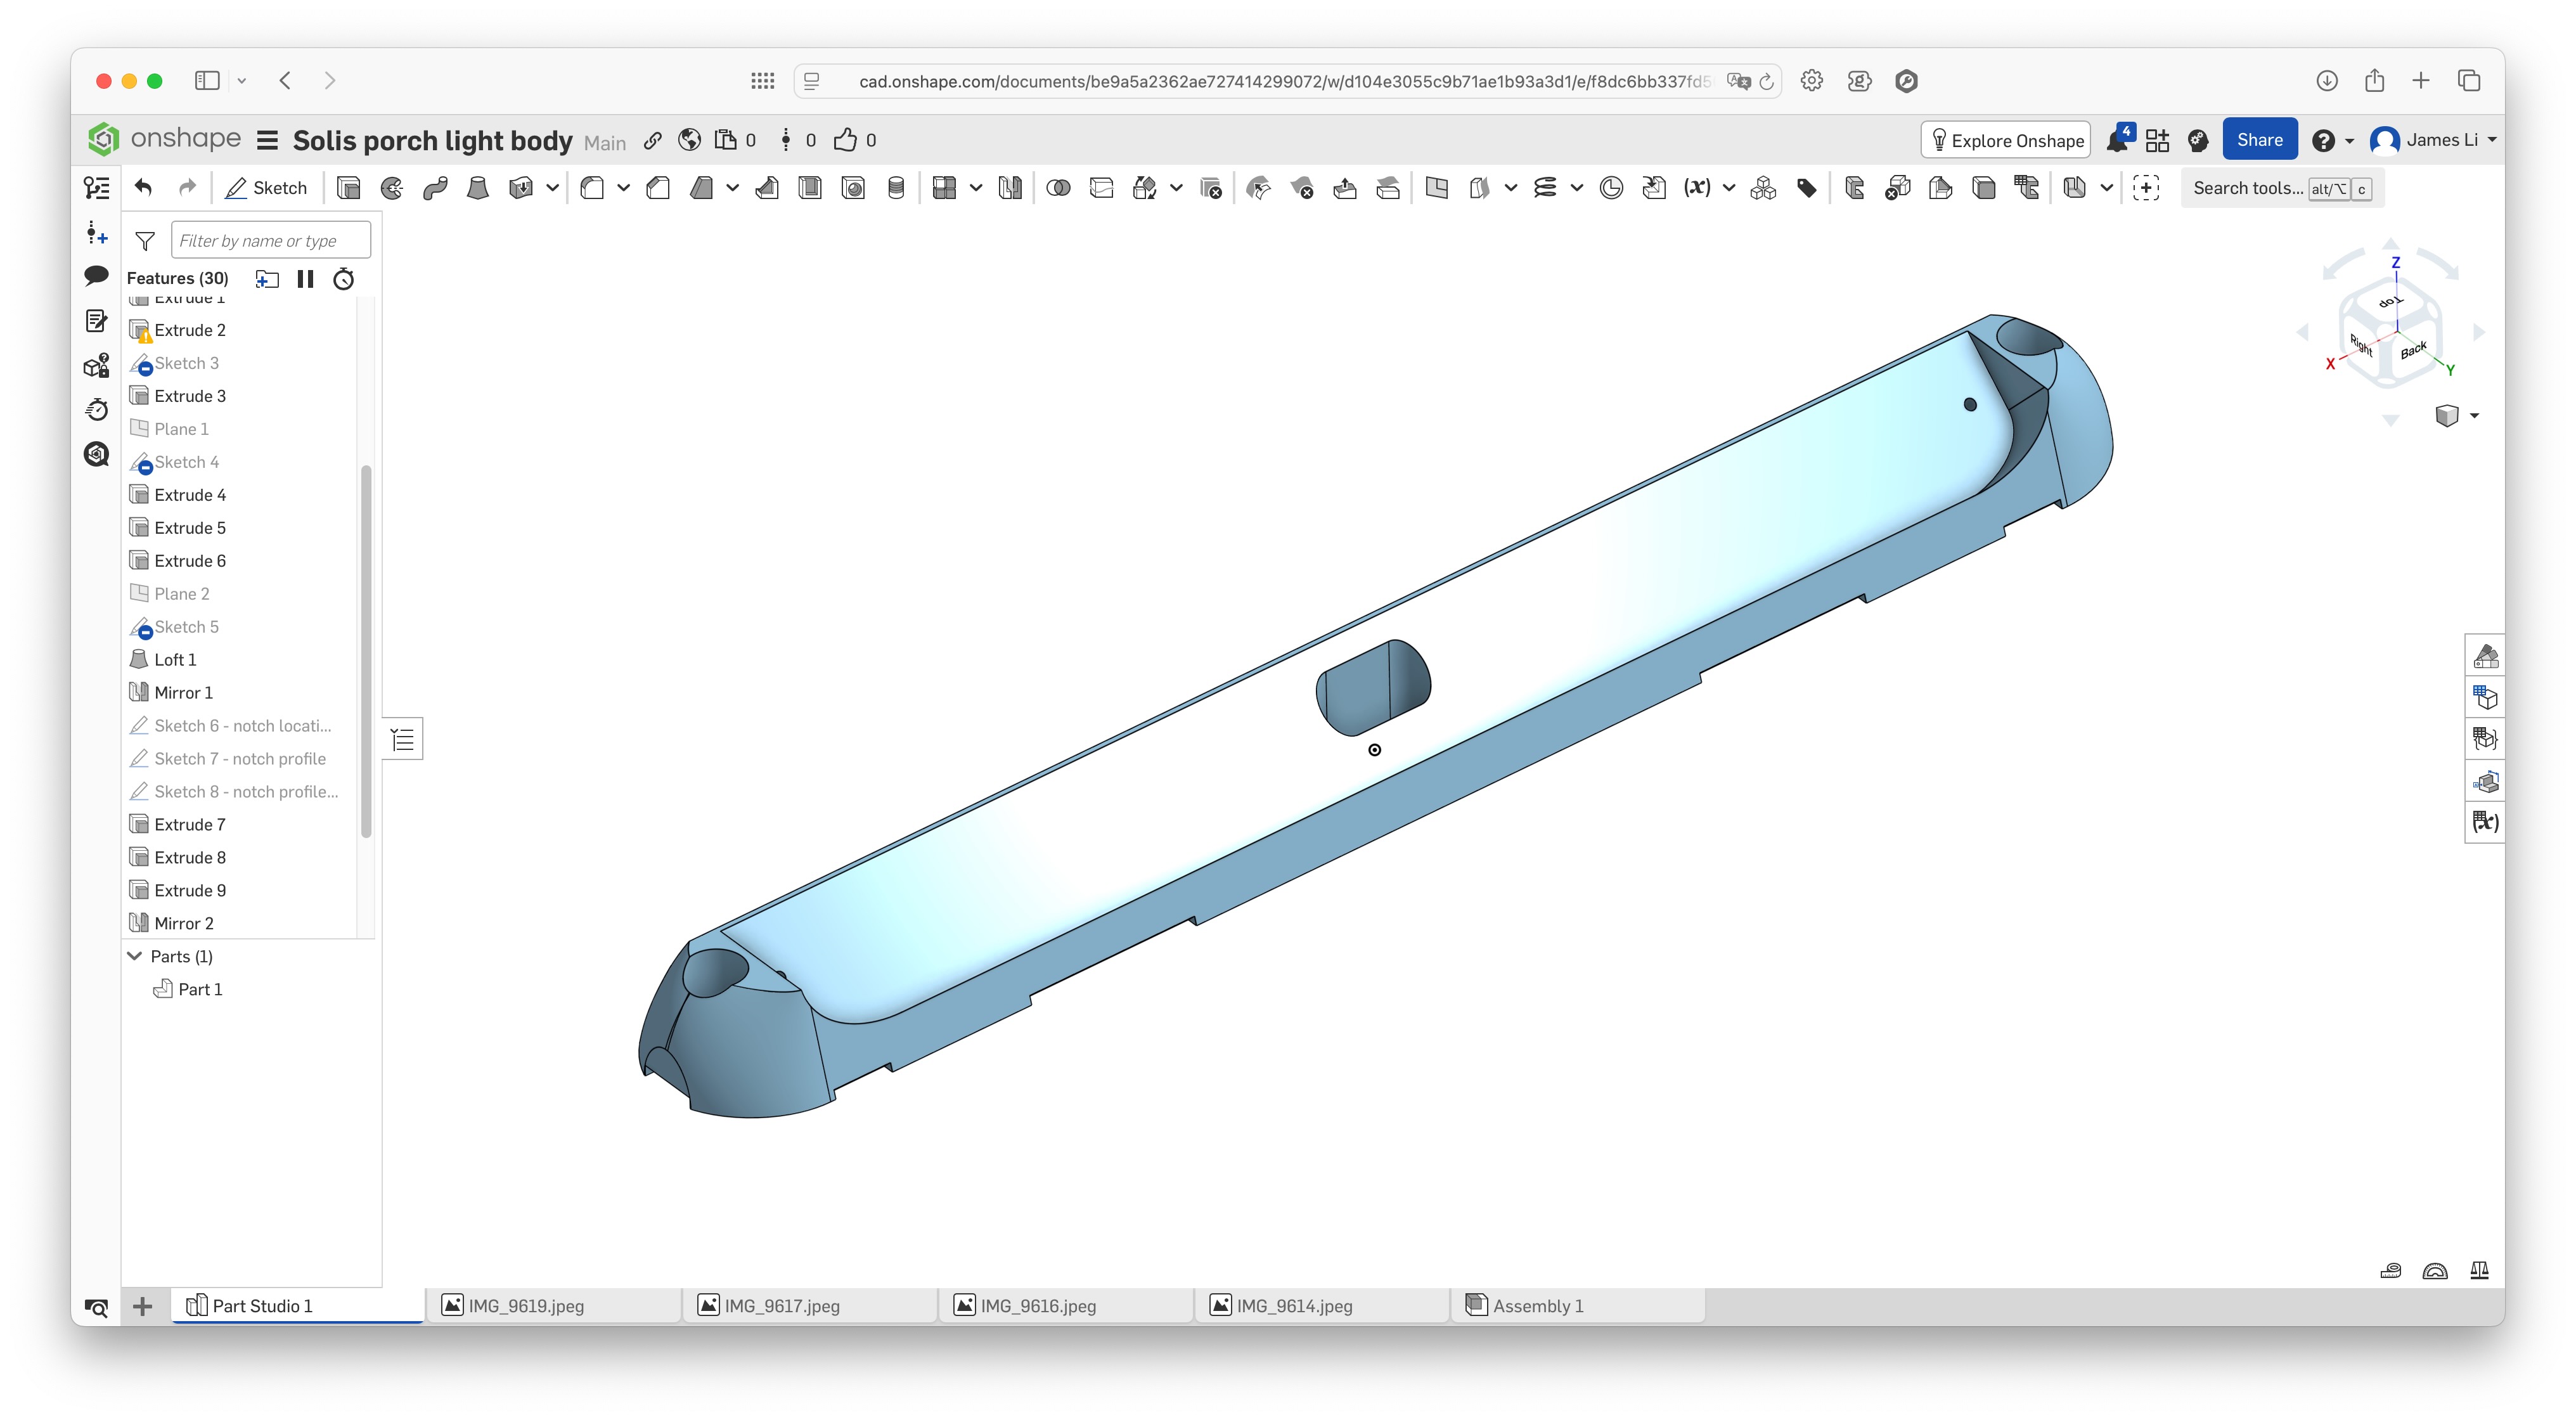
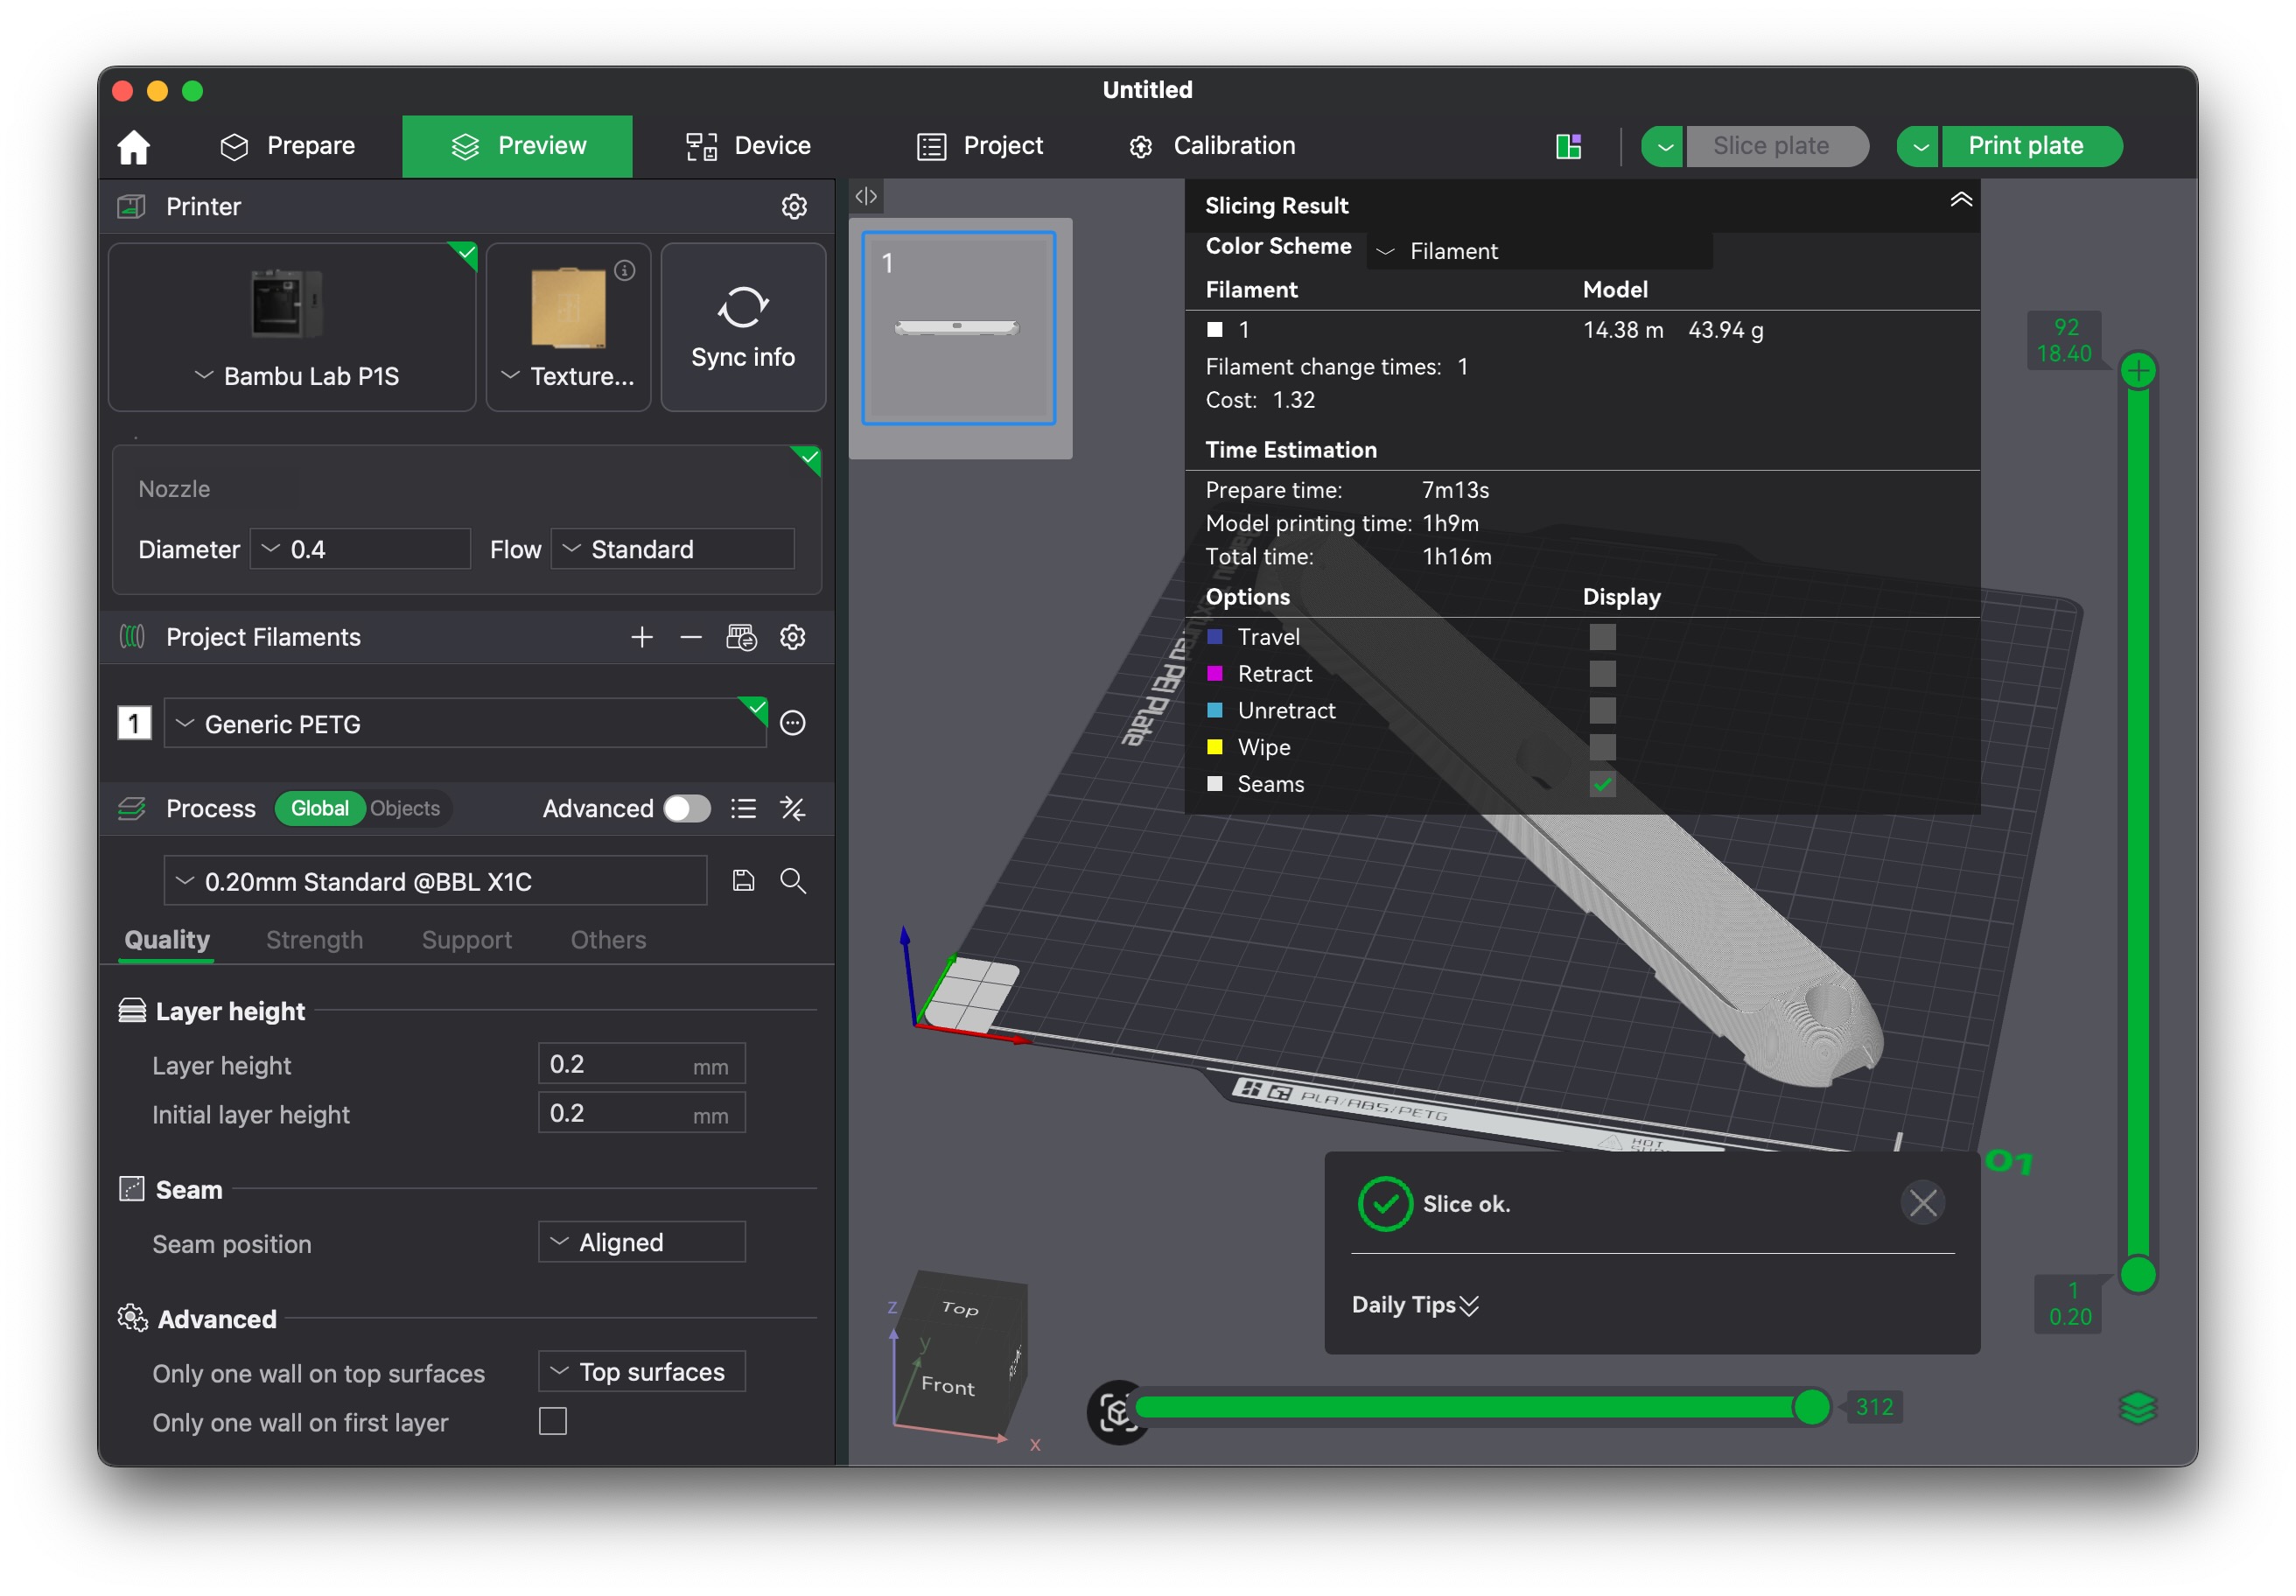
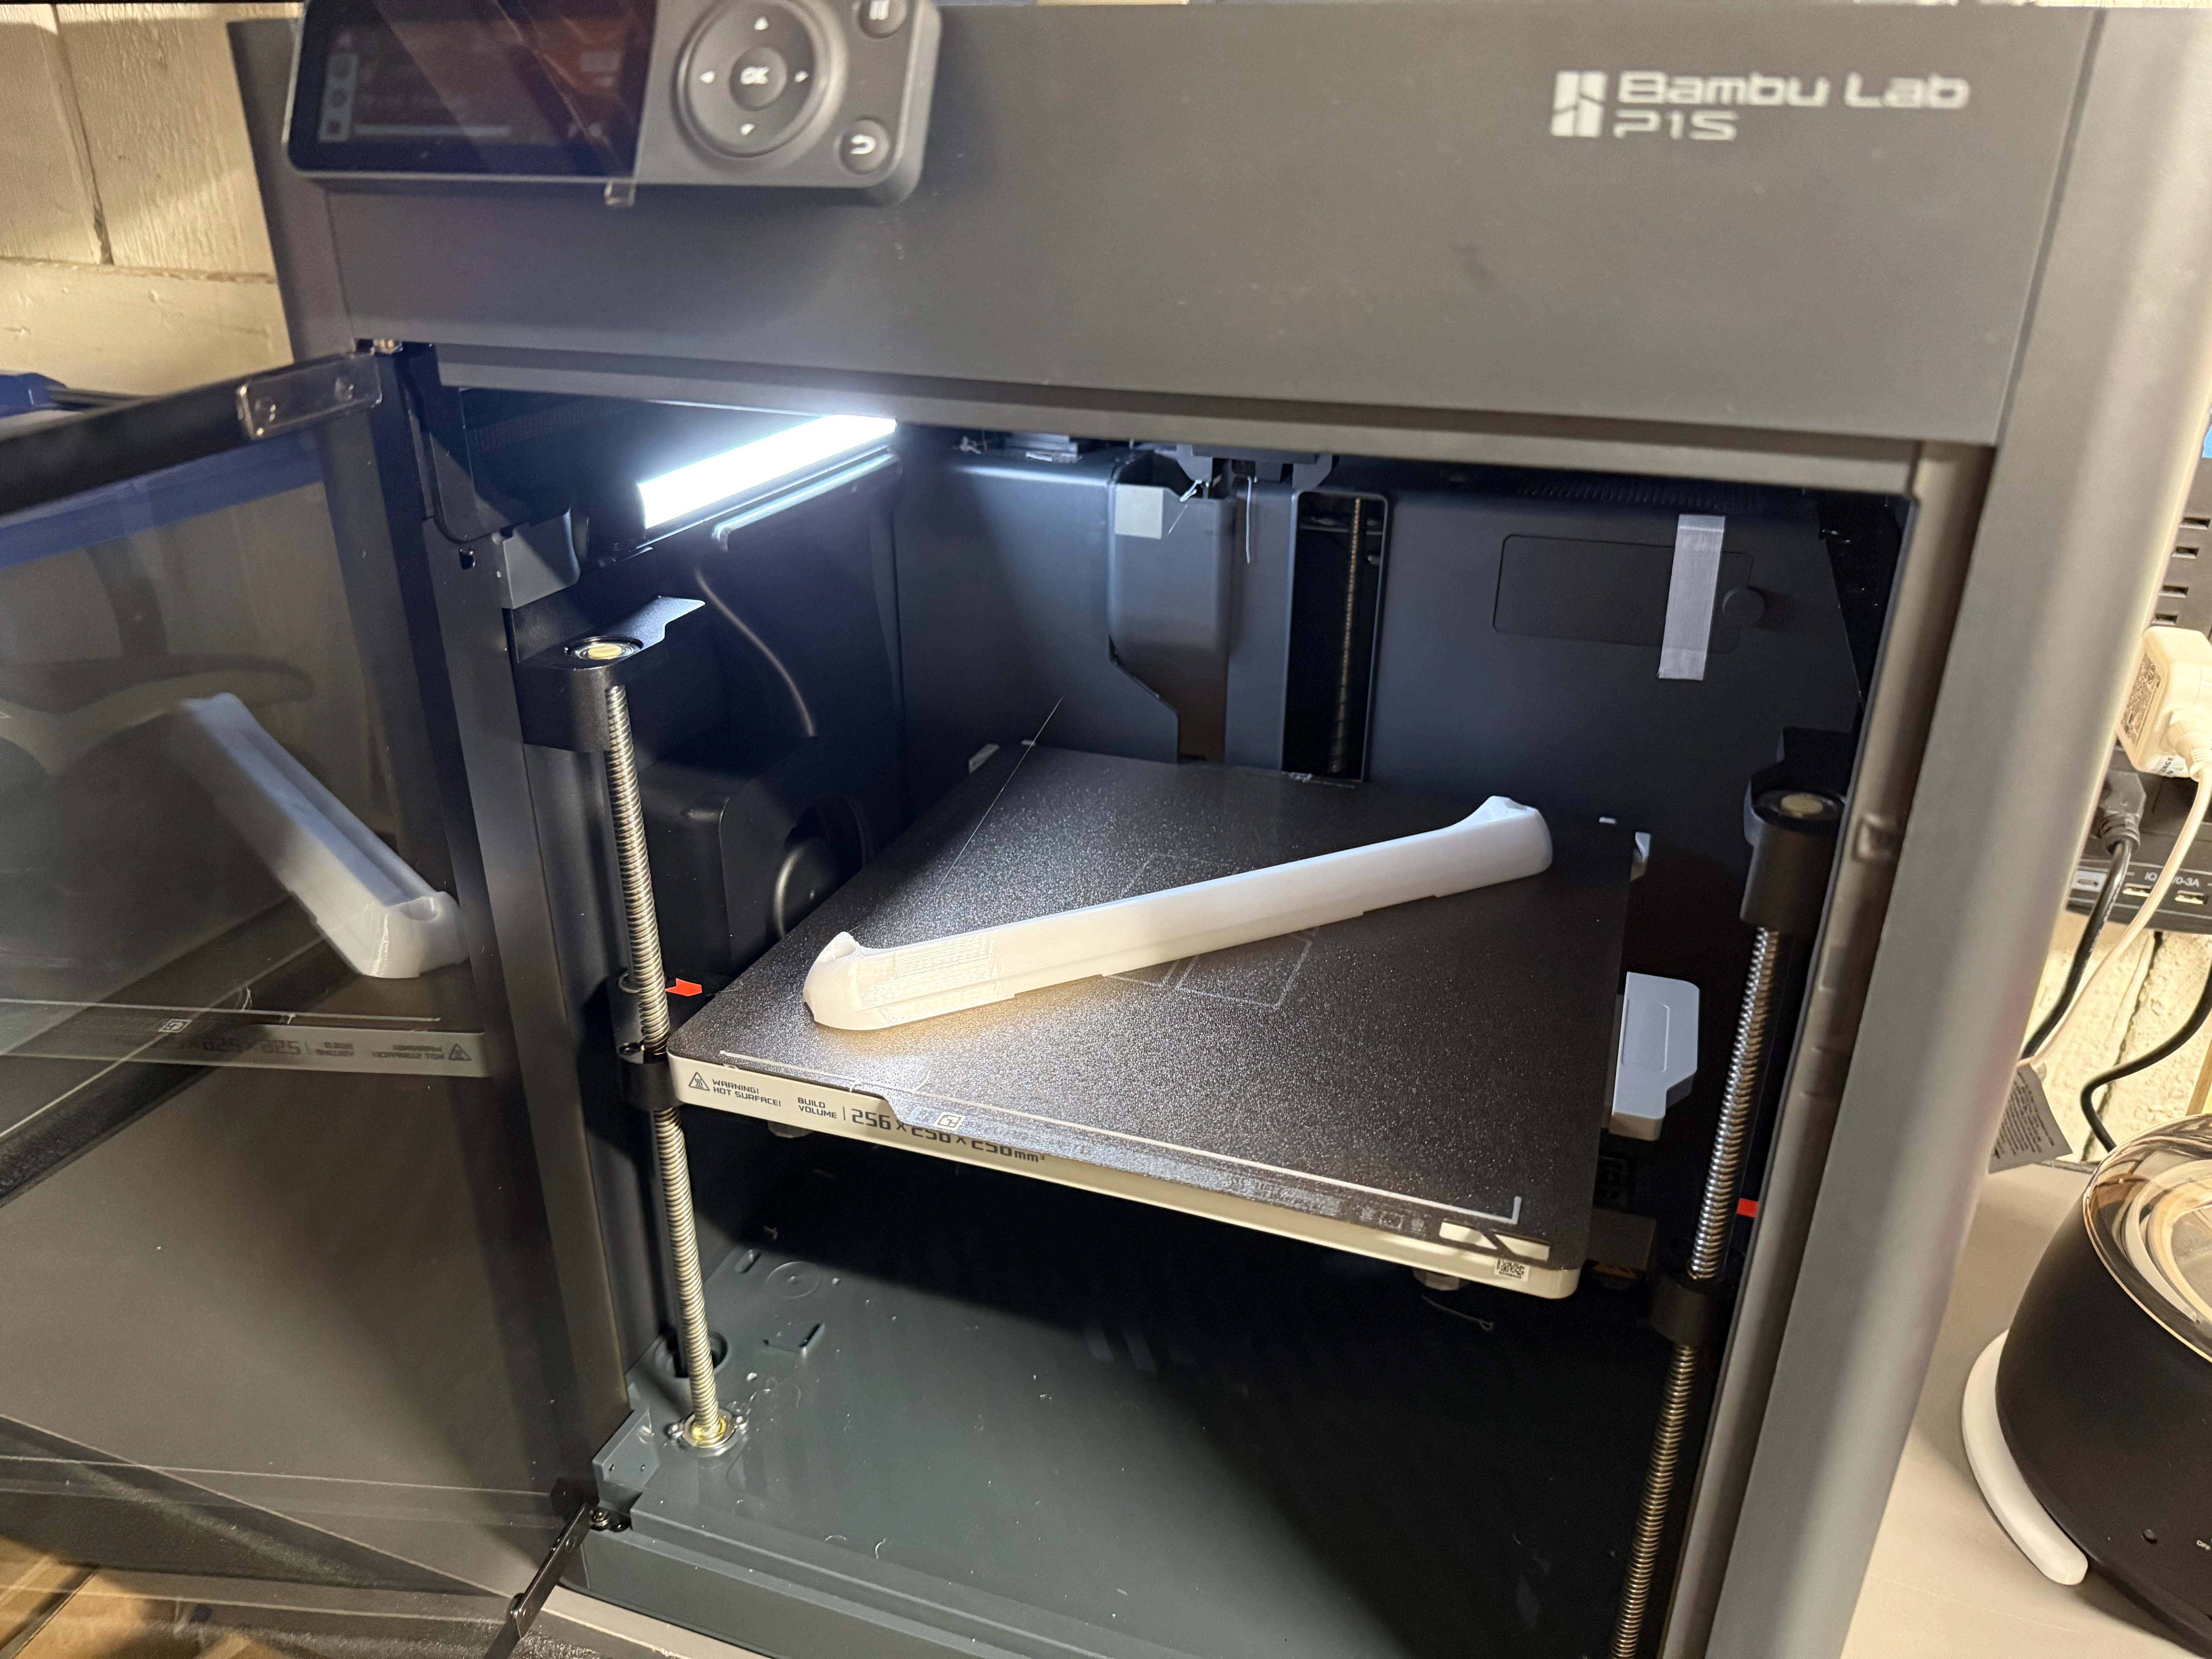
Printing was straightforward. No supports were needed and the part fit nicely on the bed of my Bambu Lab P1S, though it probably wouldn't fit on smaller printers. It used about 44 grams of filament and took 1 hour 16 minutes to print.
Iterations
To my surprise, my first print actually worked pretty well. The light screwed in without issue, and the plastic cover snapped on positively at the sides. There was a bit of looseness in the plastic cover because the overall length of the part was a bit short, and I had allowed some play in the plastic tabs at the sides. I also noticed that the main mounting holes looked a little small.
My second iteration increased the overall length slightly and enlarged the mounting screw holes. This proved to be a bit too tight of a fit for the plastic cover.
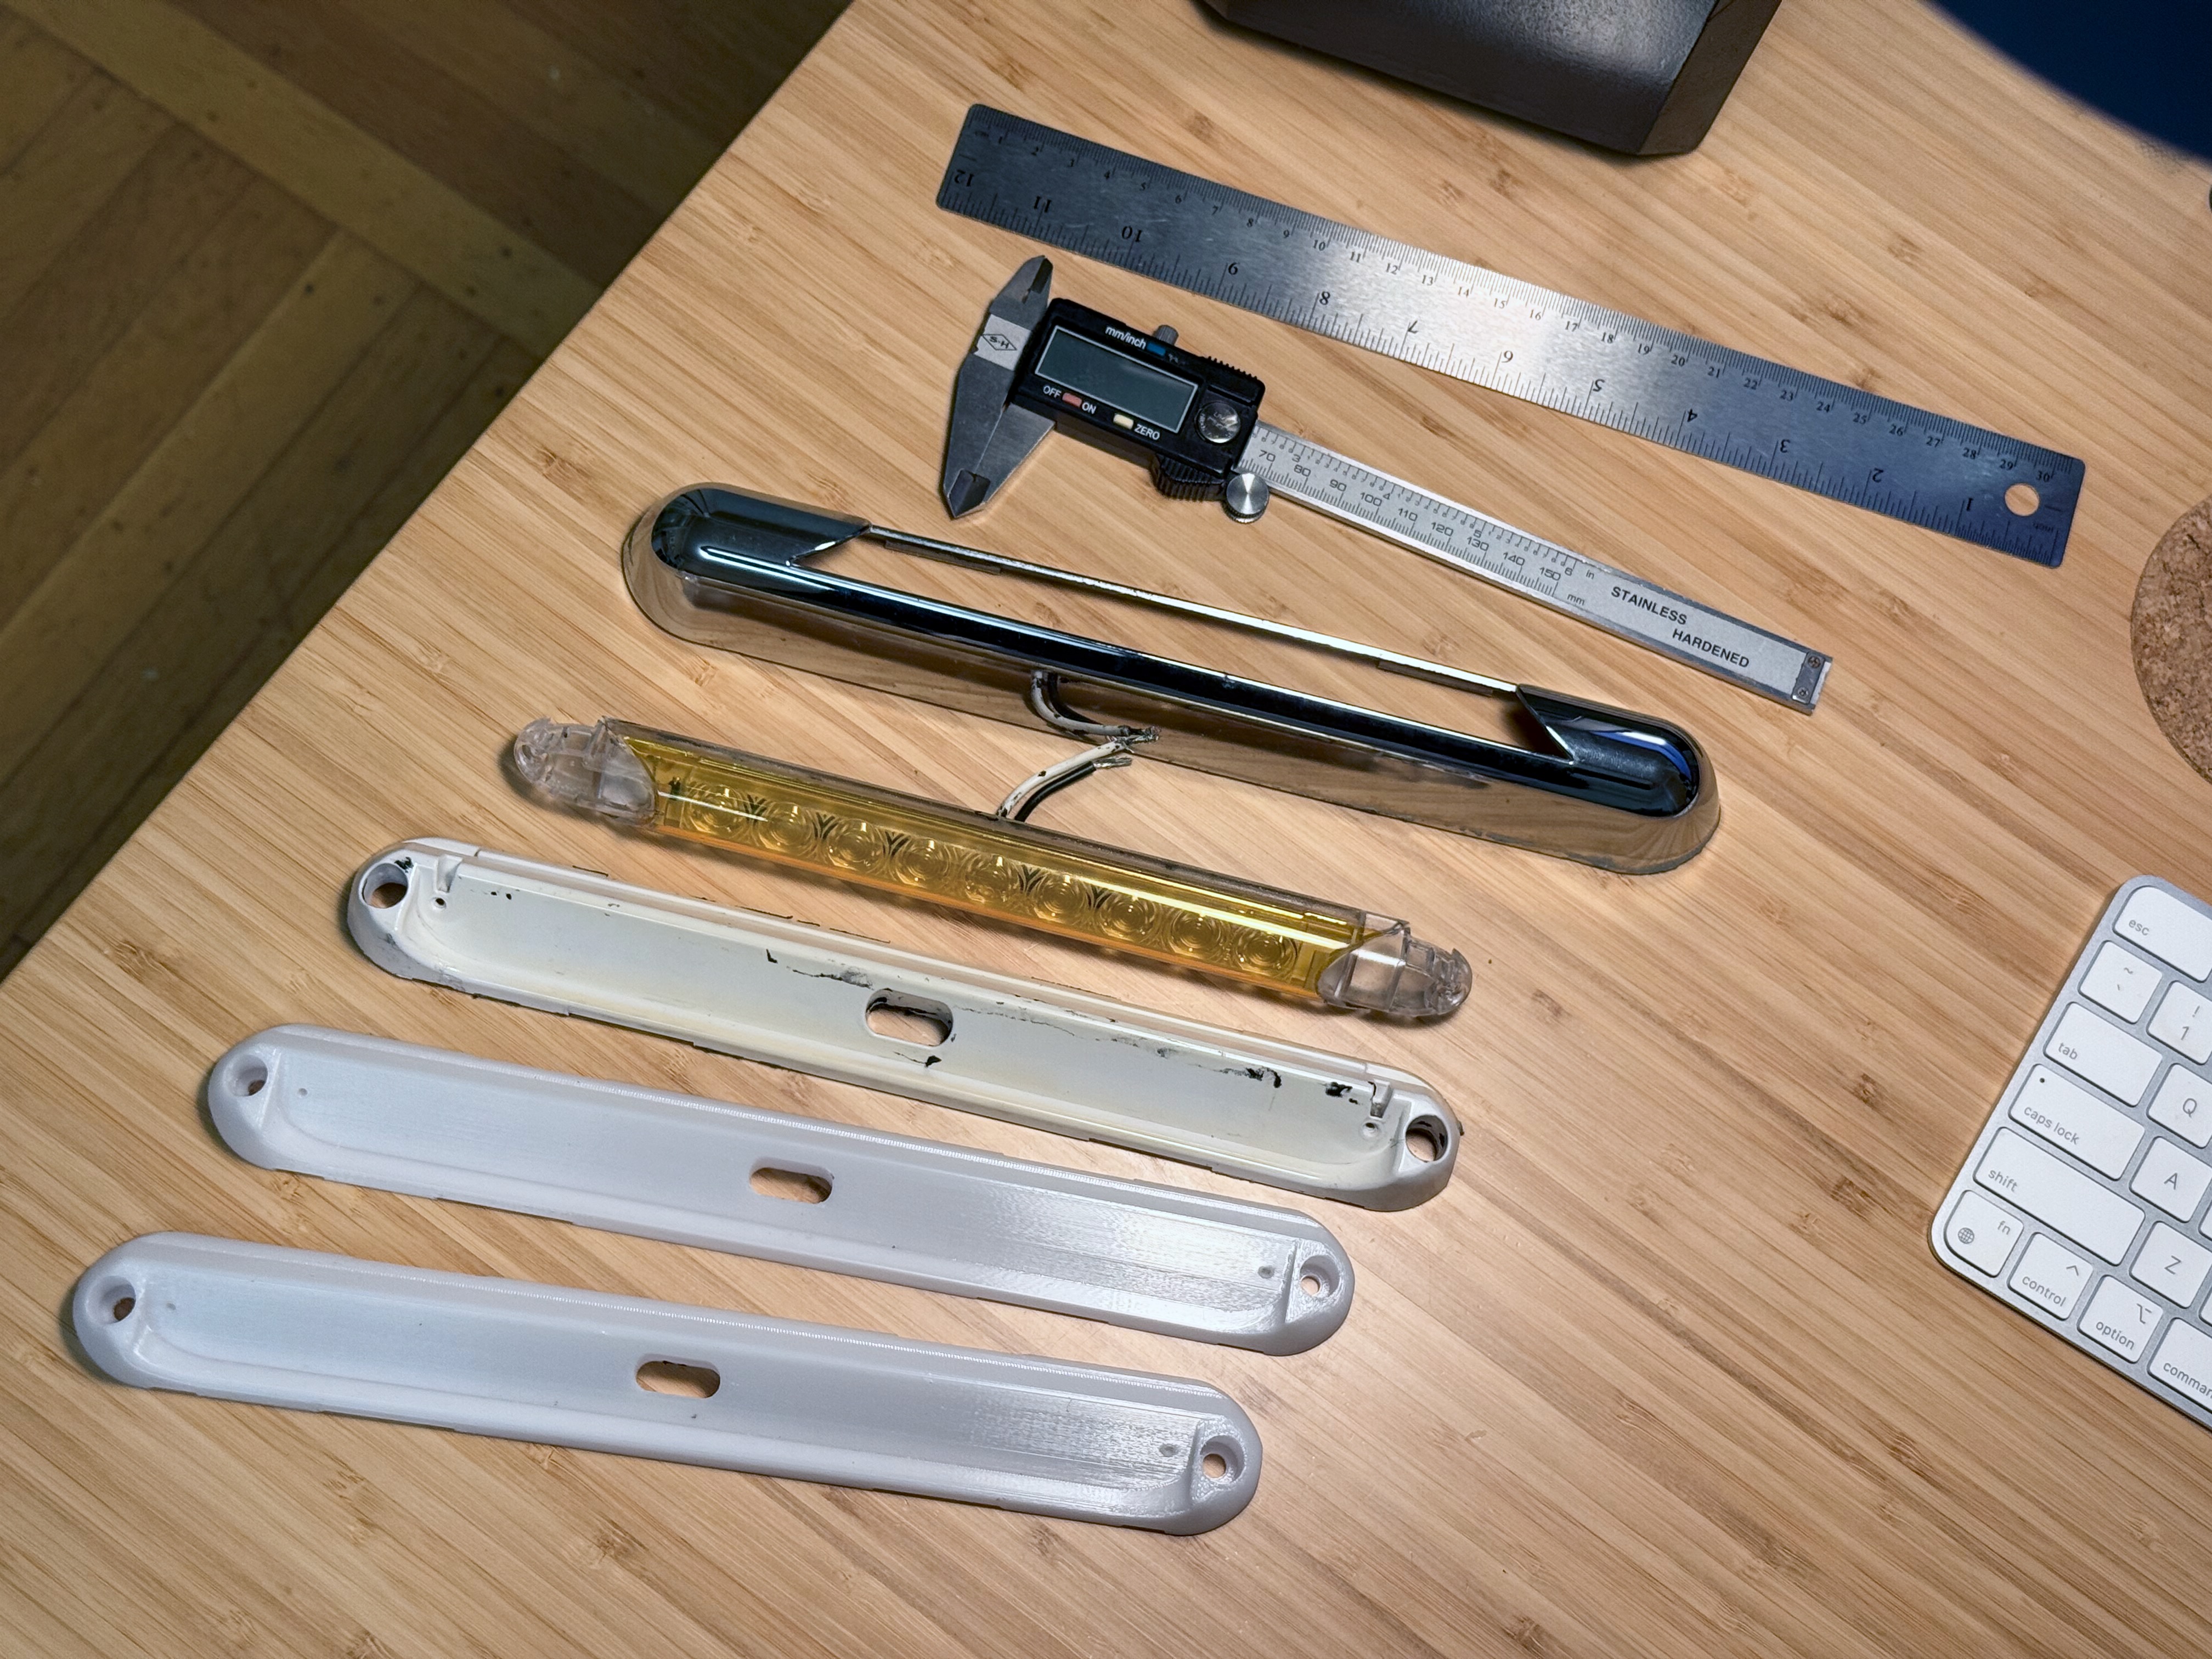
I adjusted dimensions slightly again in the third iteration and was happy with how everything fit.
Installation
My installation was not the cleanest, but I think it should hopefully hold up well.
First, I cleaned the exterior of the van where the light would go. I then put butyl tape on the back of the unit, reconnected the wires using some crimp fittings, and screwed the light back onto the van.
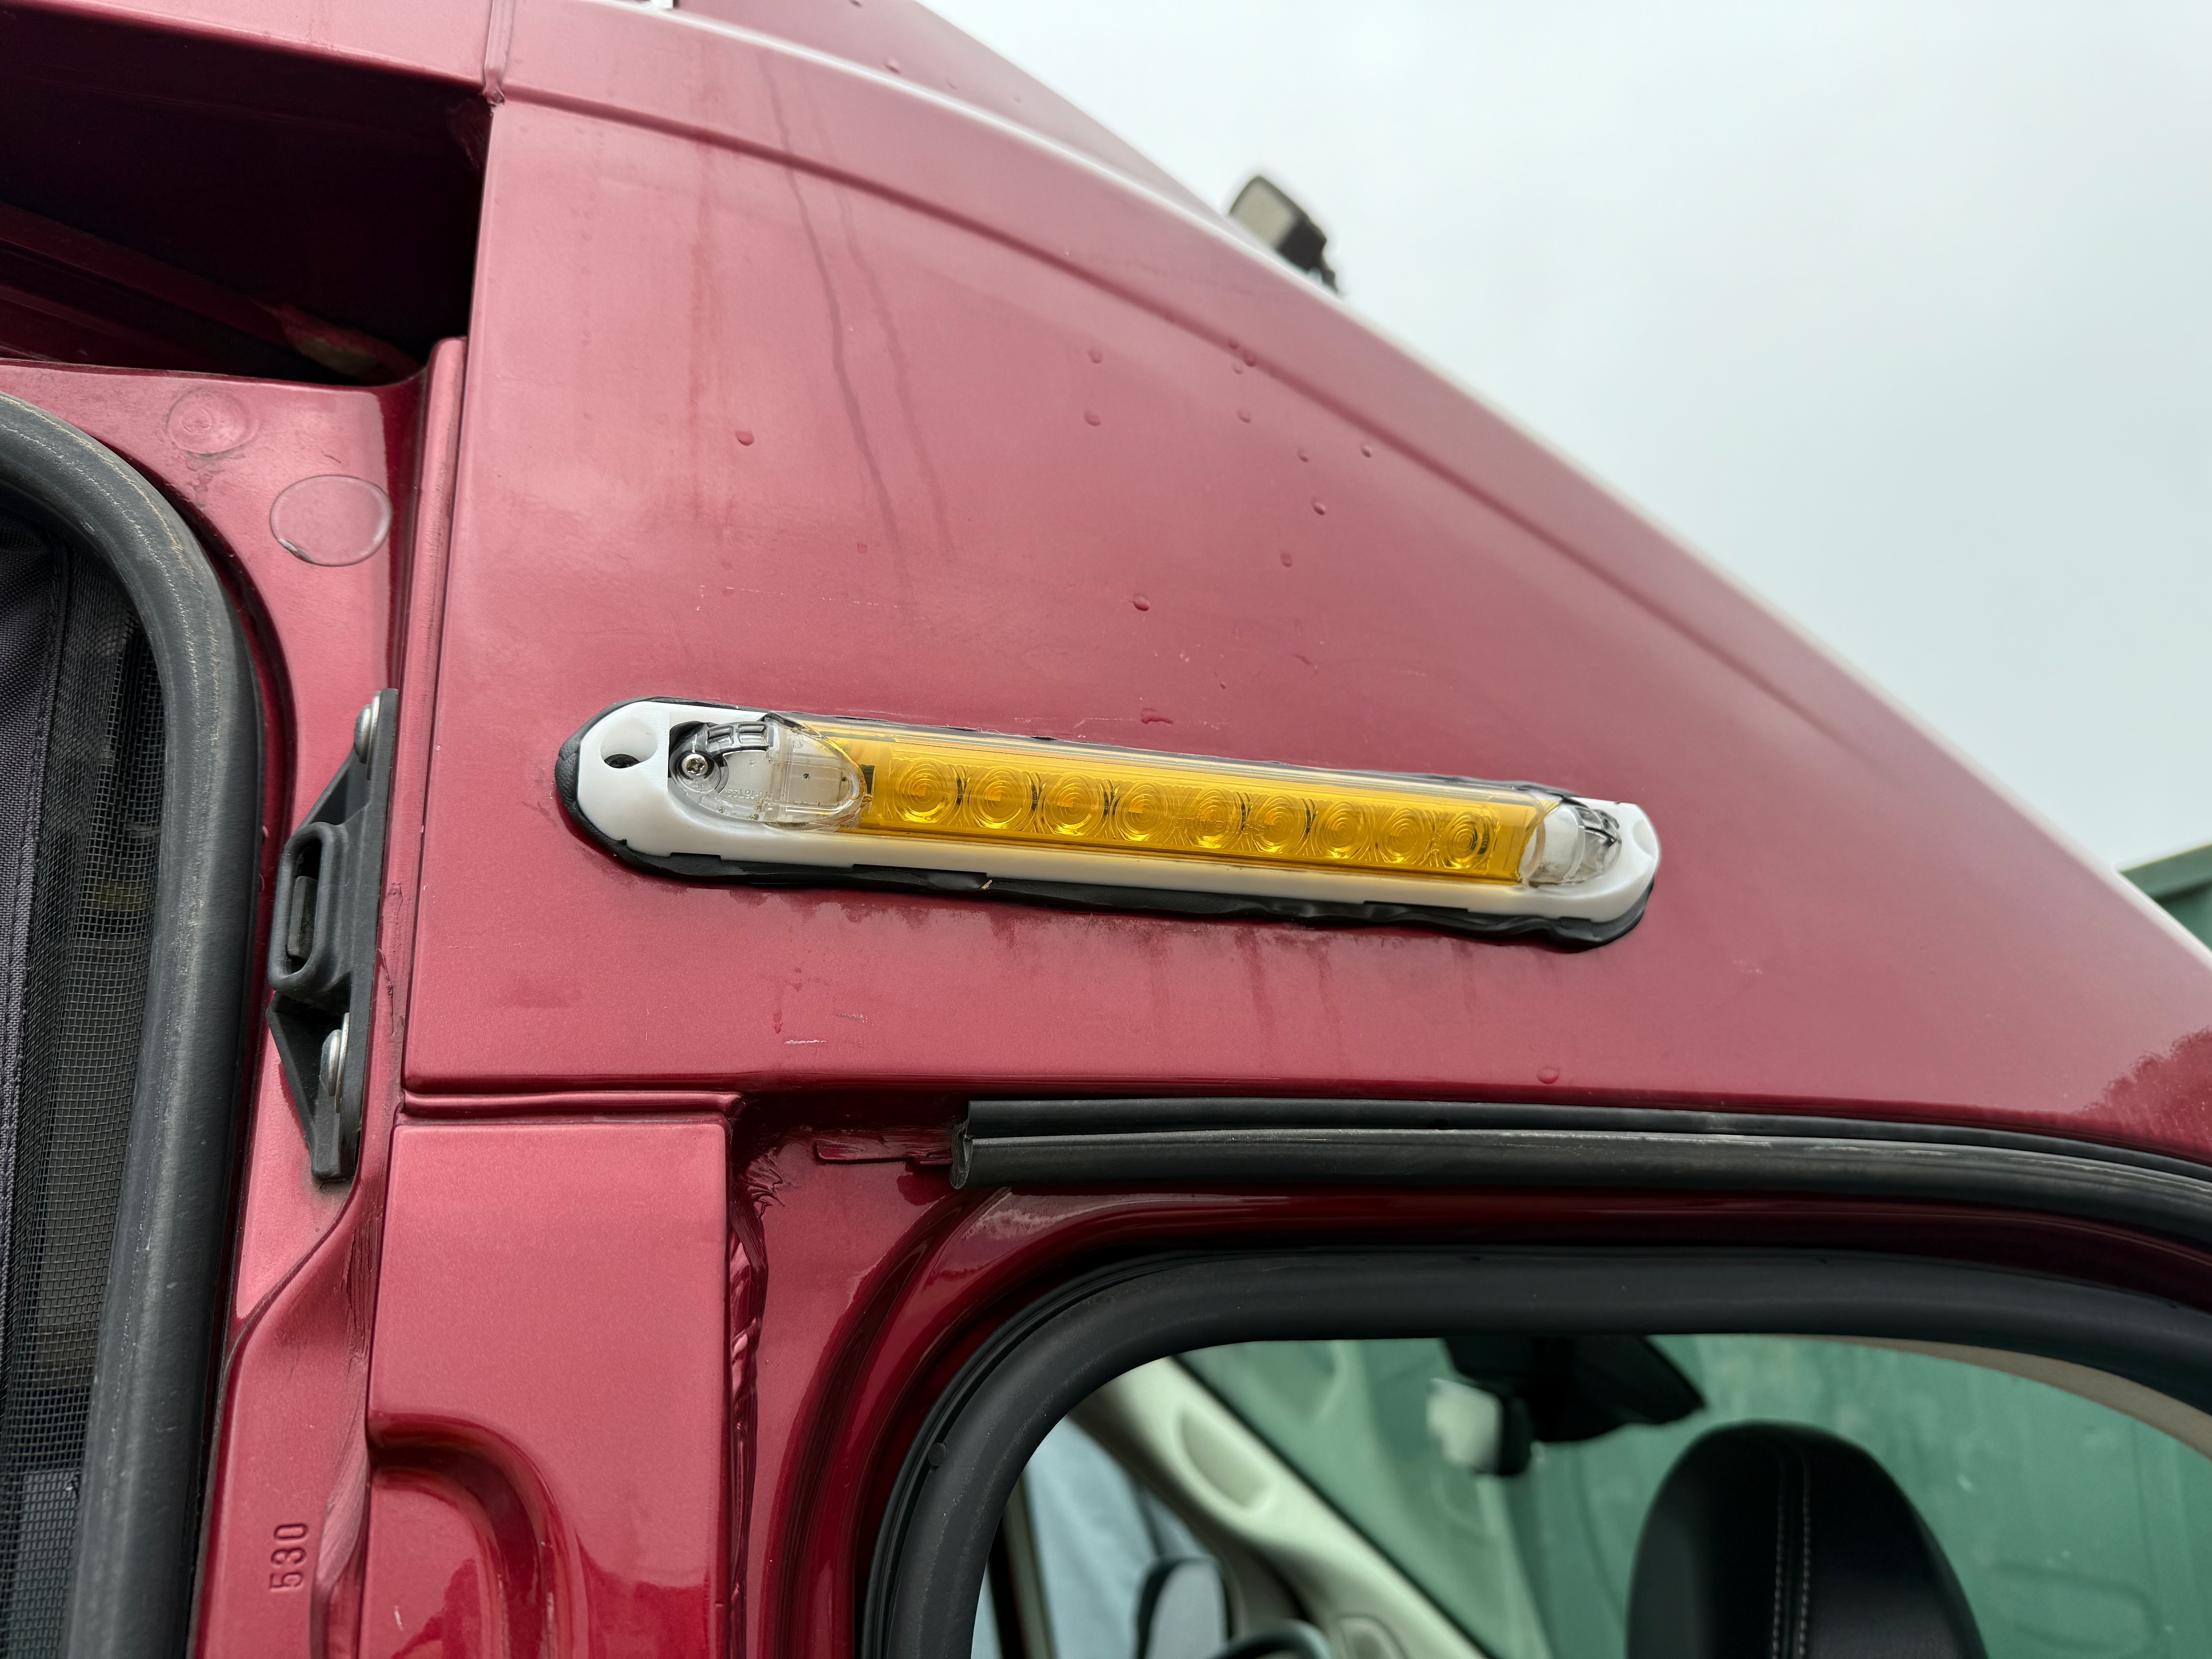
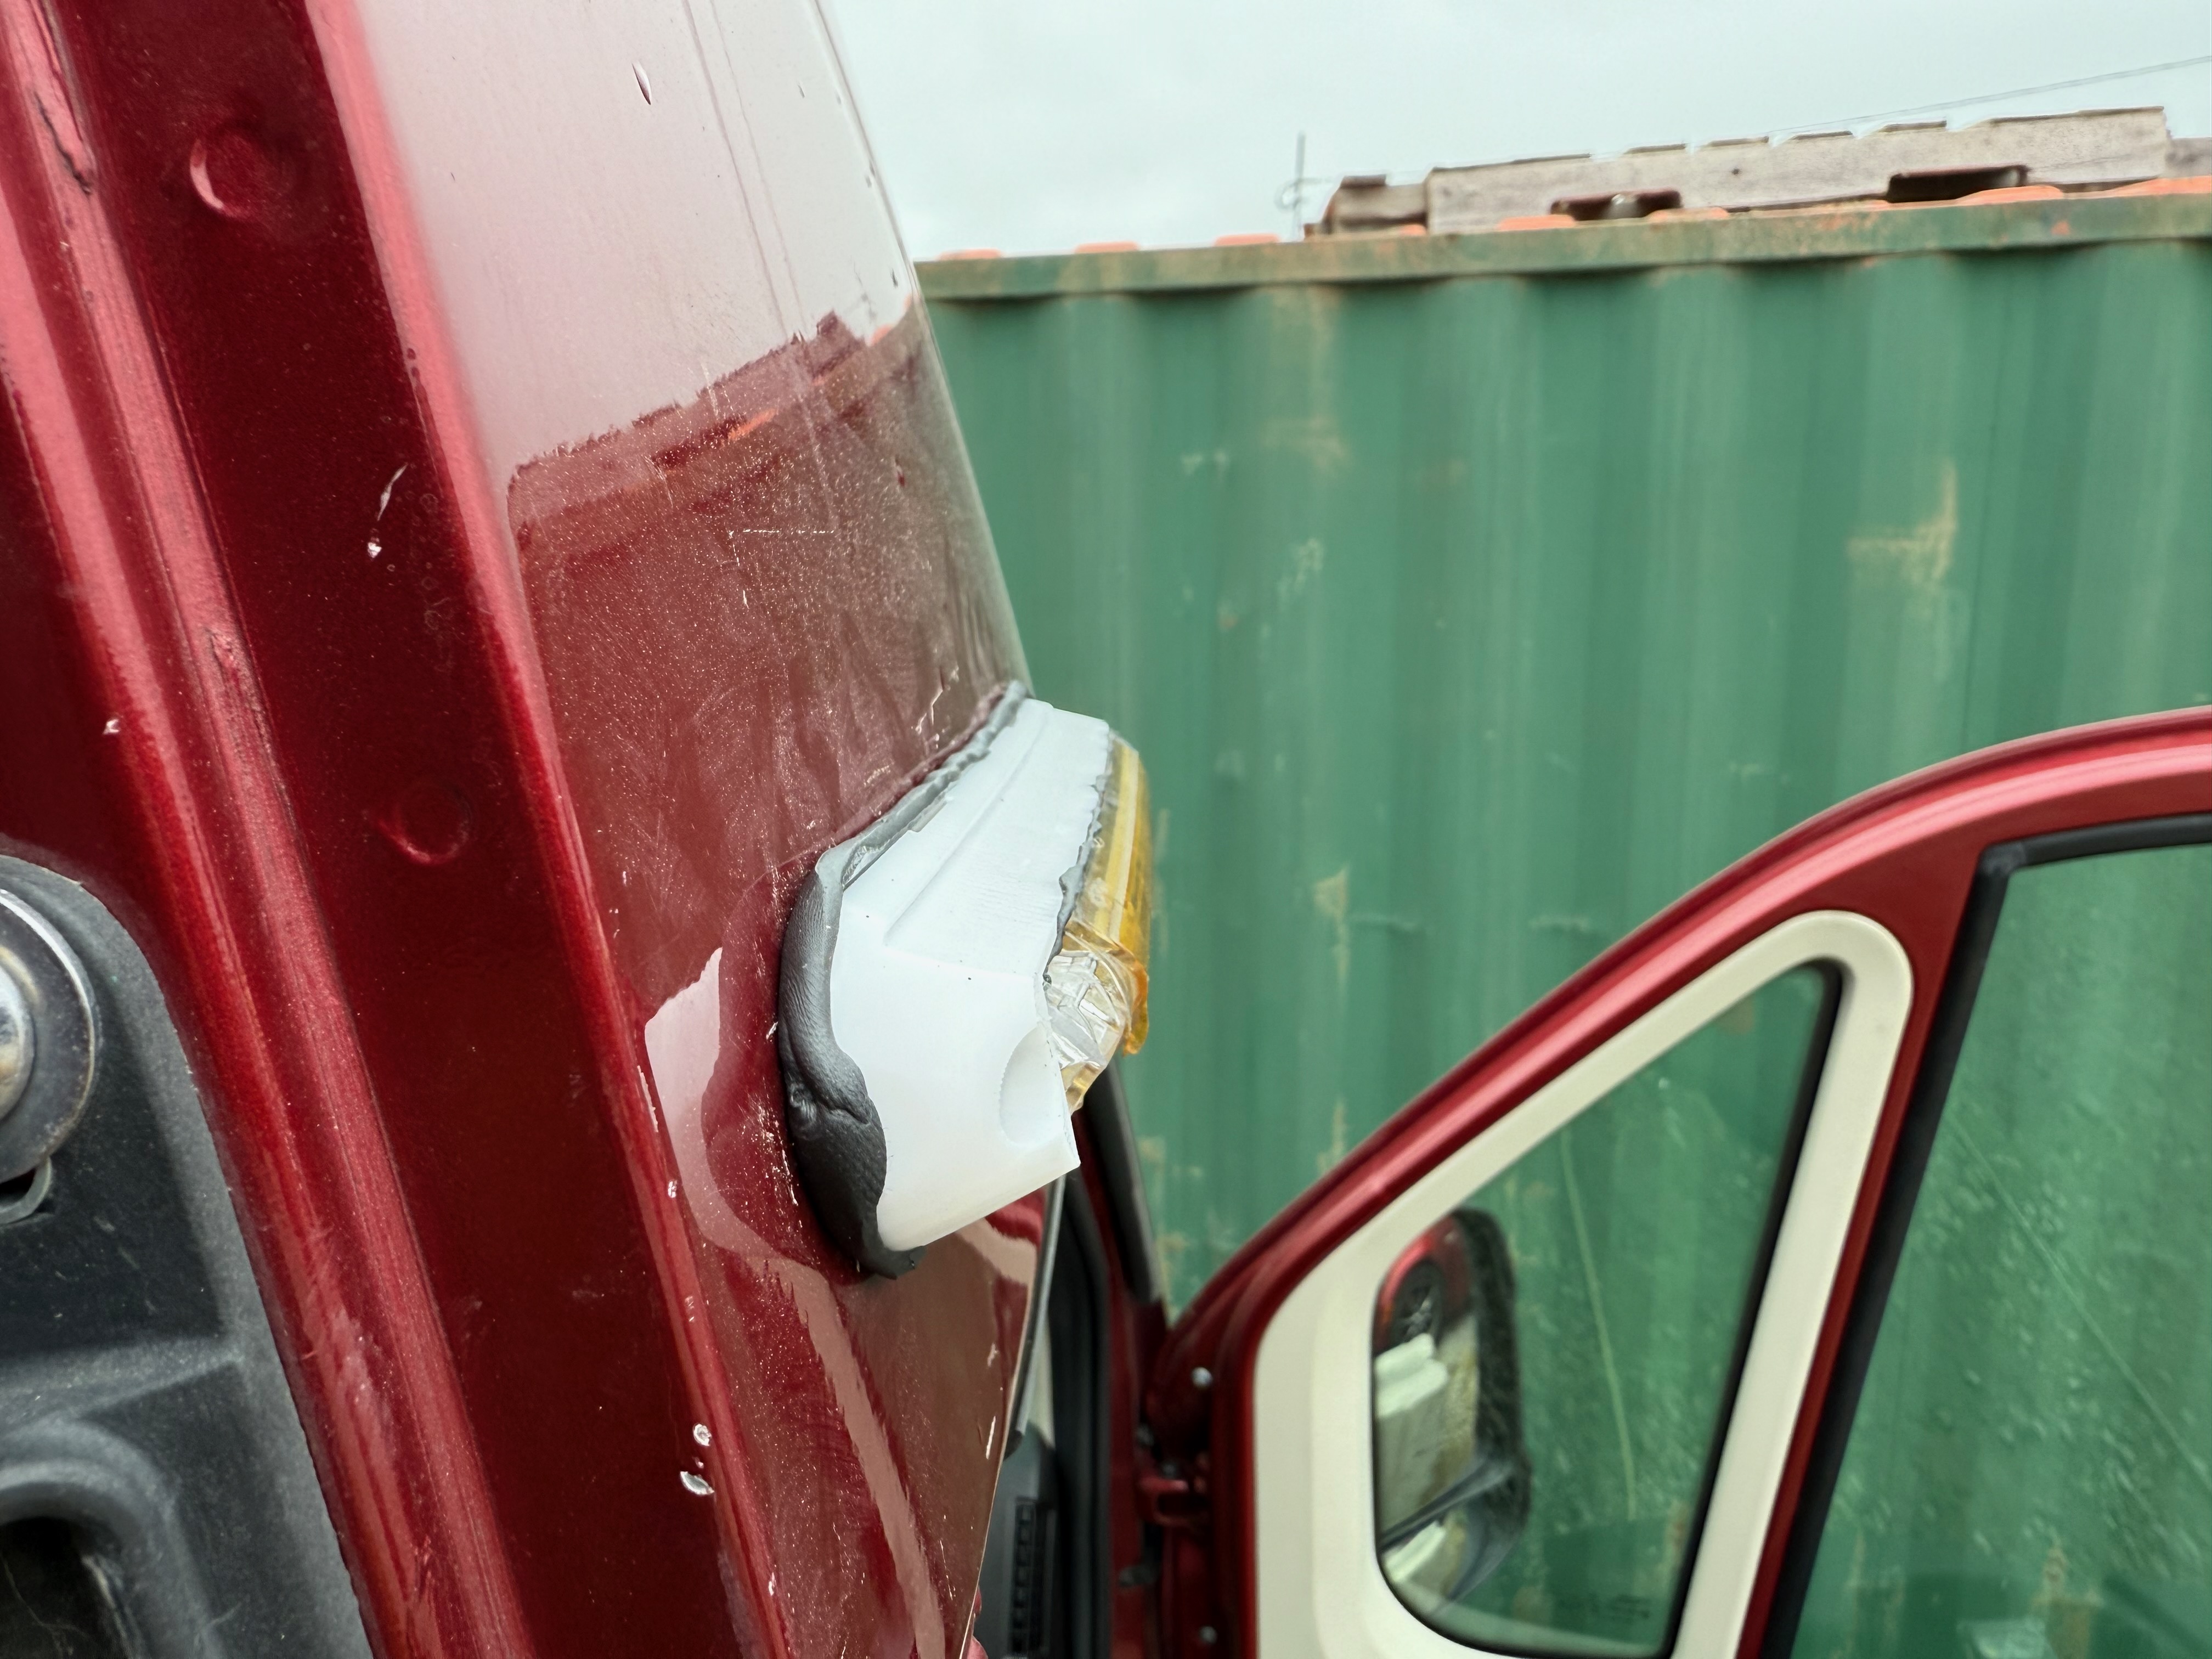
Note: There's a slight curve in the light after it's screwed down, due to the shape of the van. This stress isn't ideal but I think the PETG will hold up for some time, and if it fails again in the future I can just print another replacement. I considered modeling my part to match the curve of the van but decided this wasn't really worth the extra effort.
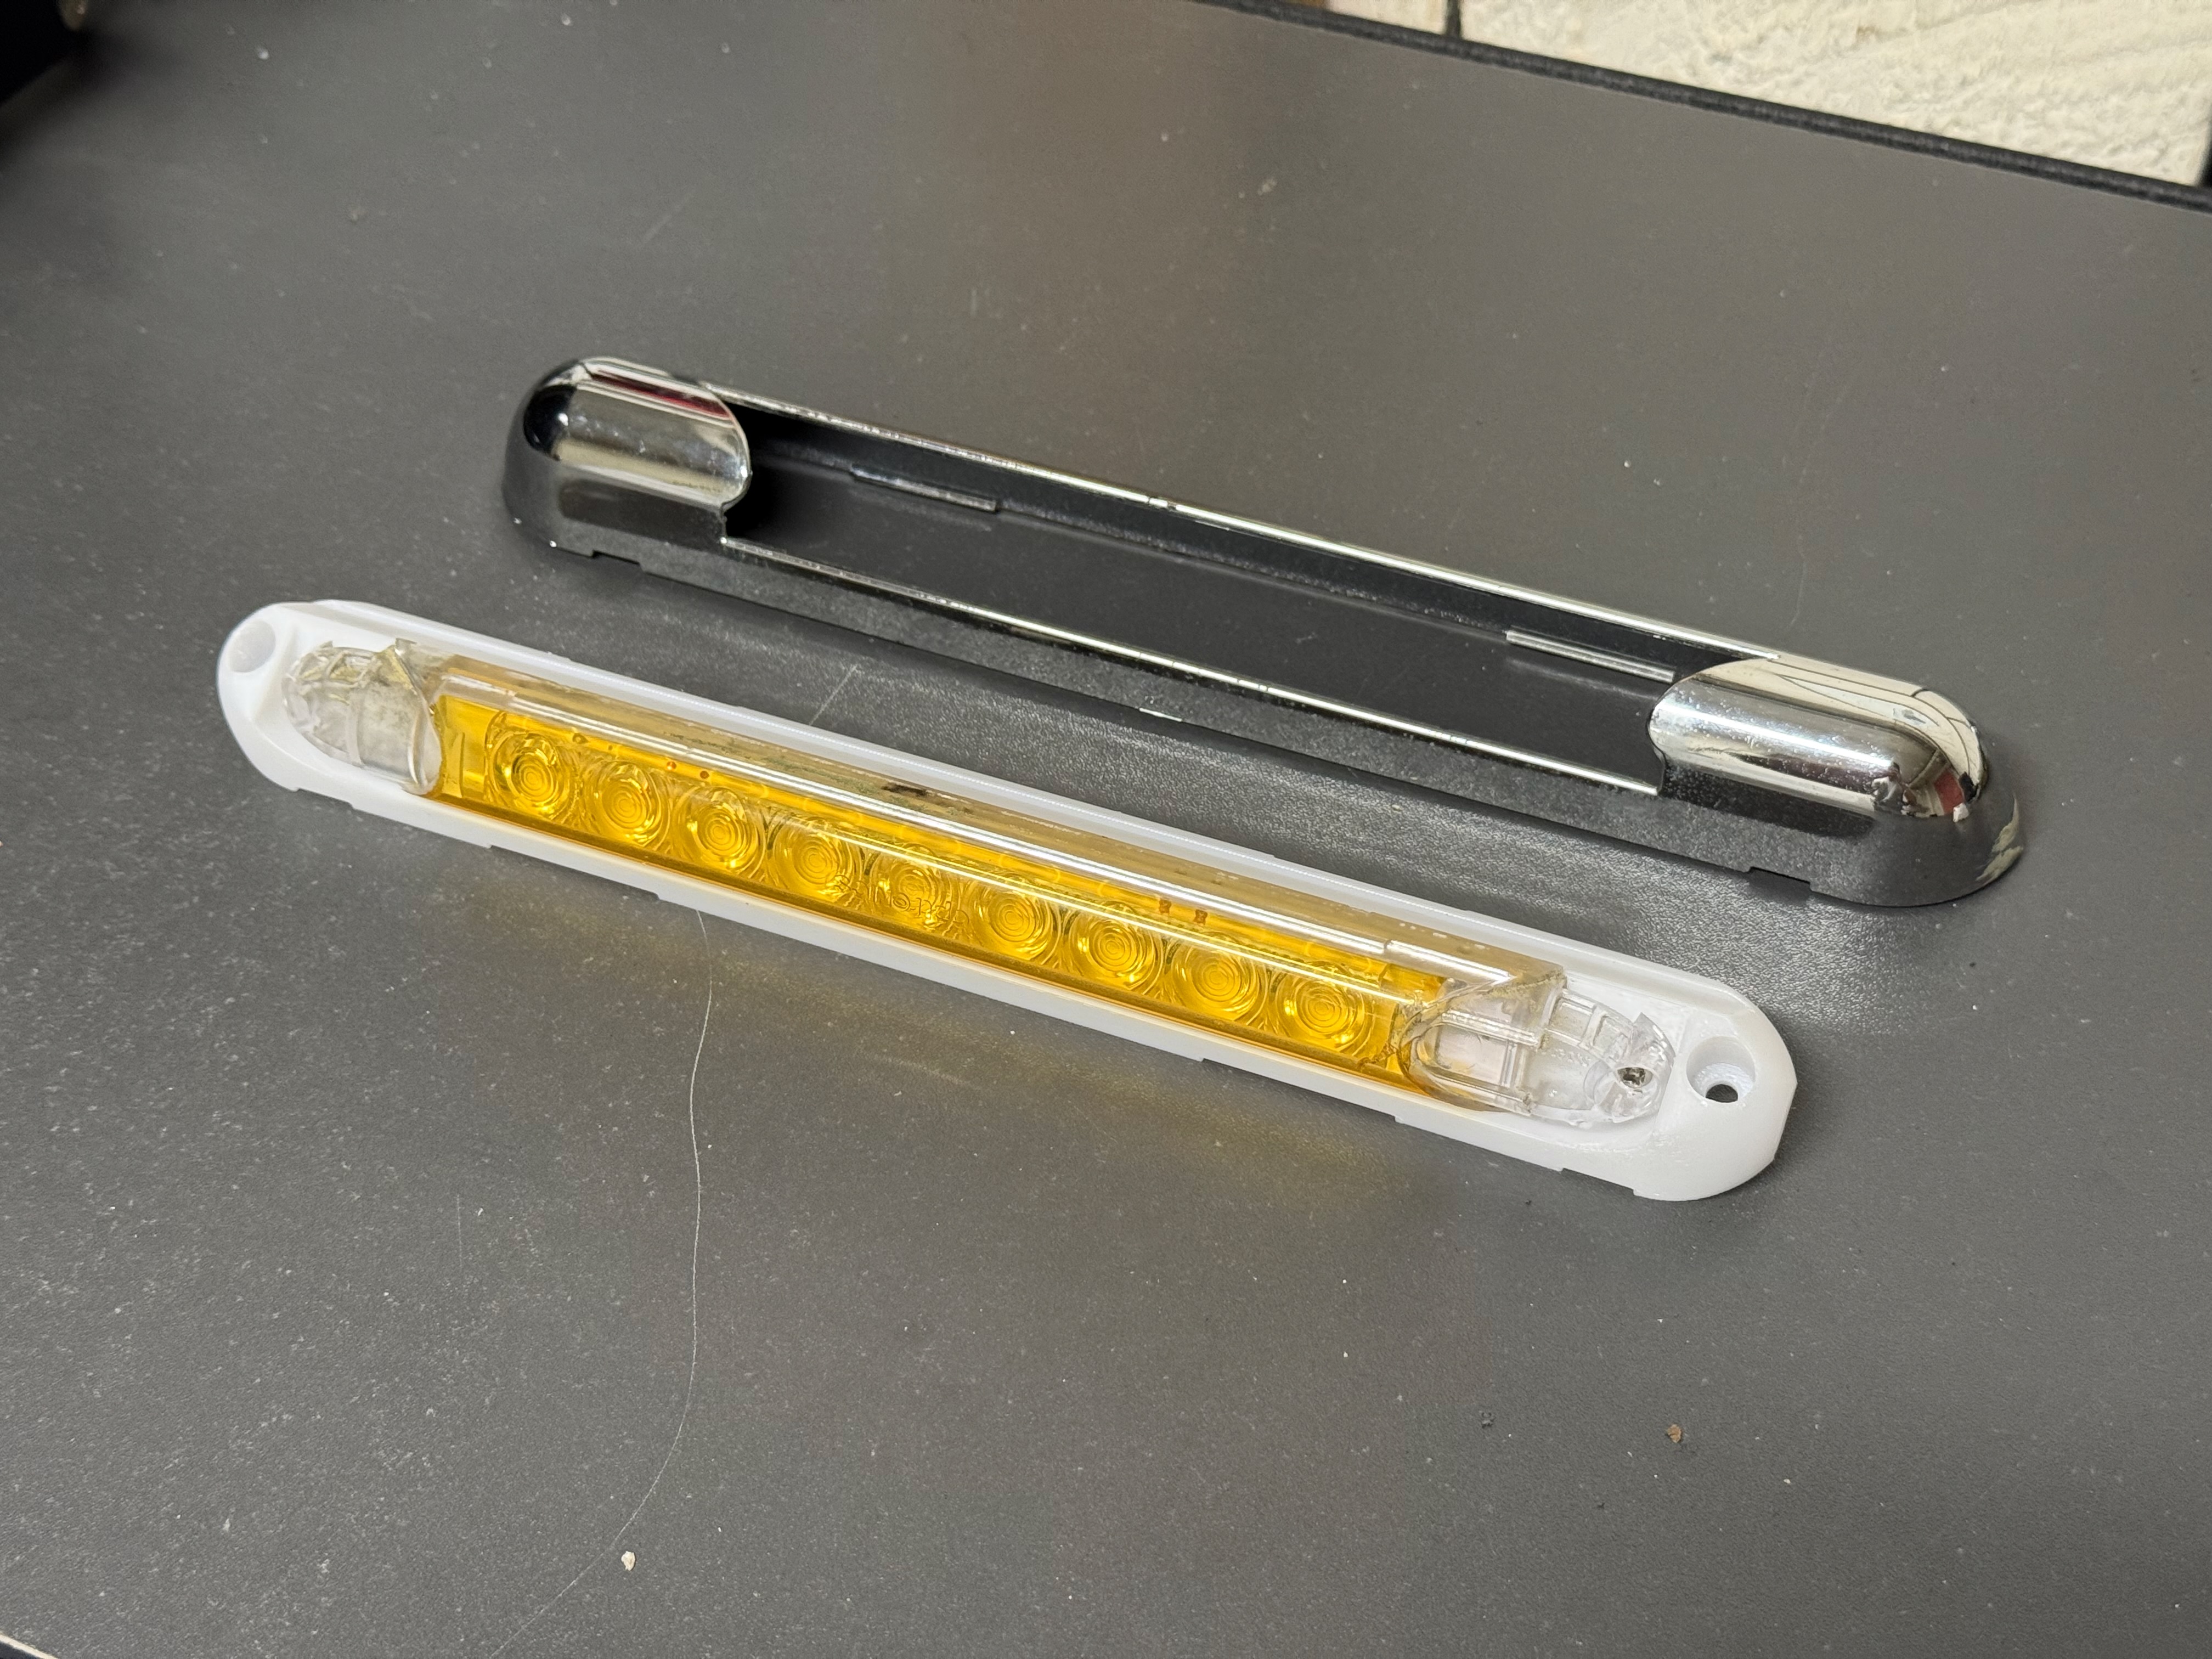
After I mounted the light body on the van, and I had confirmed the light was working, I snapped the chromed plastic cover over the body and then sealed the top and sides with some Lexel brand sealant.
It's important not to seal the bottom side so that any moisture that gets in will be able to exit. Also, the general recommendation on the internet was to avoid any silicone-based sealants, since these are difficult to remove and can prevent future sealants from bonding.
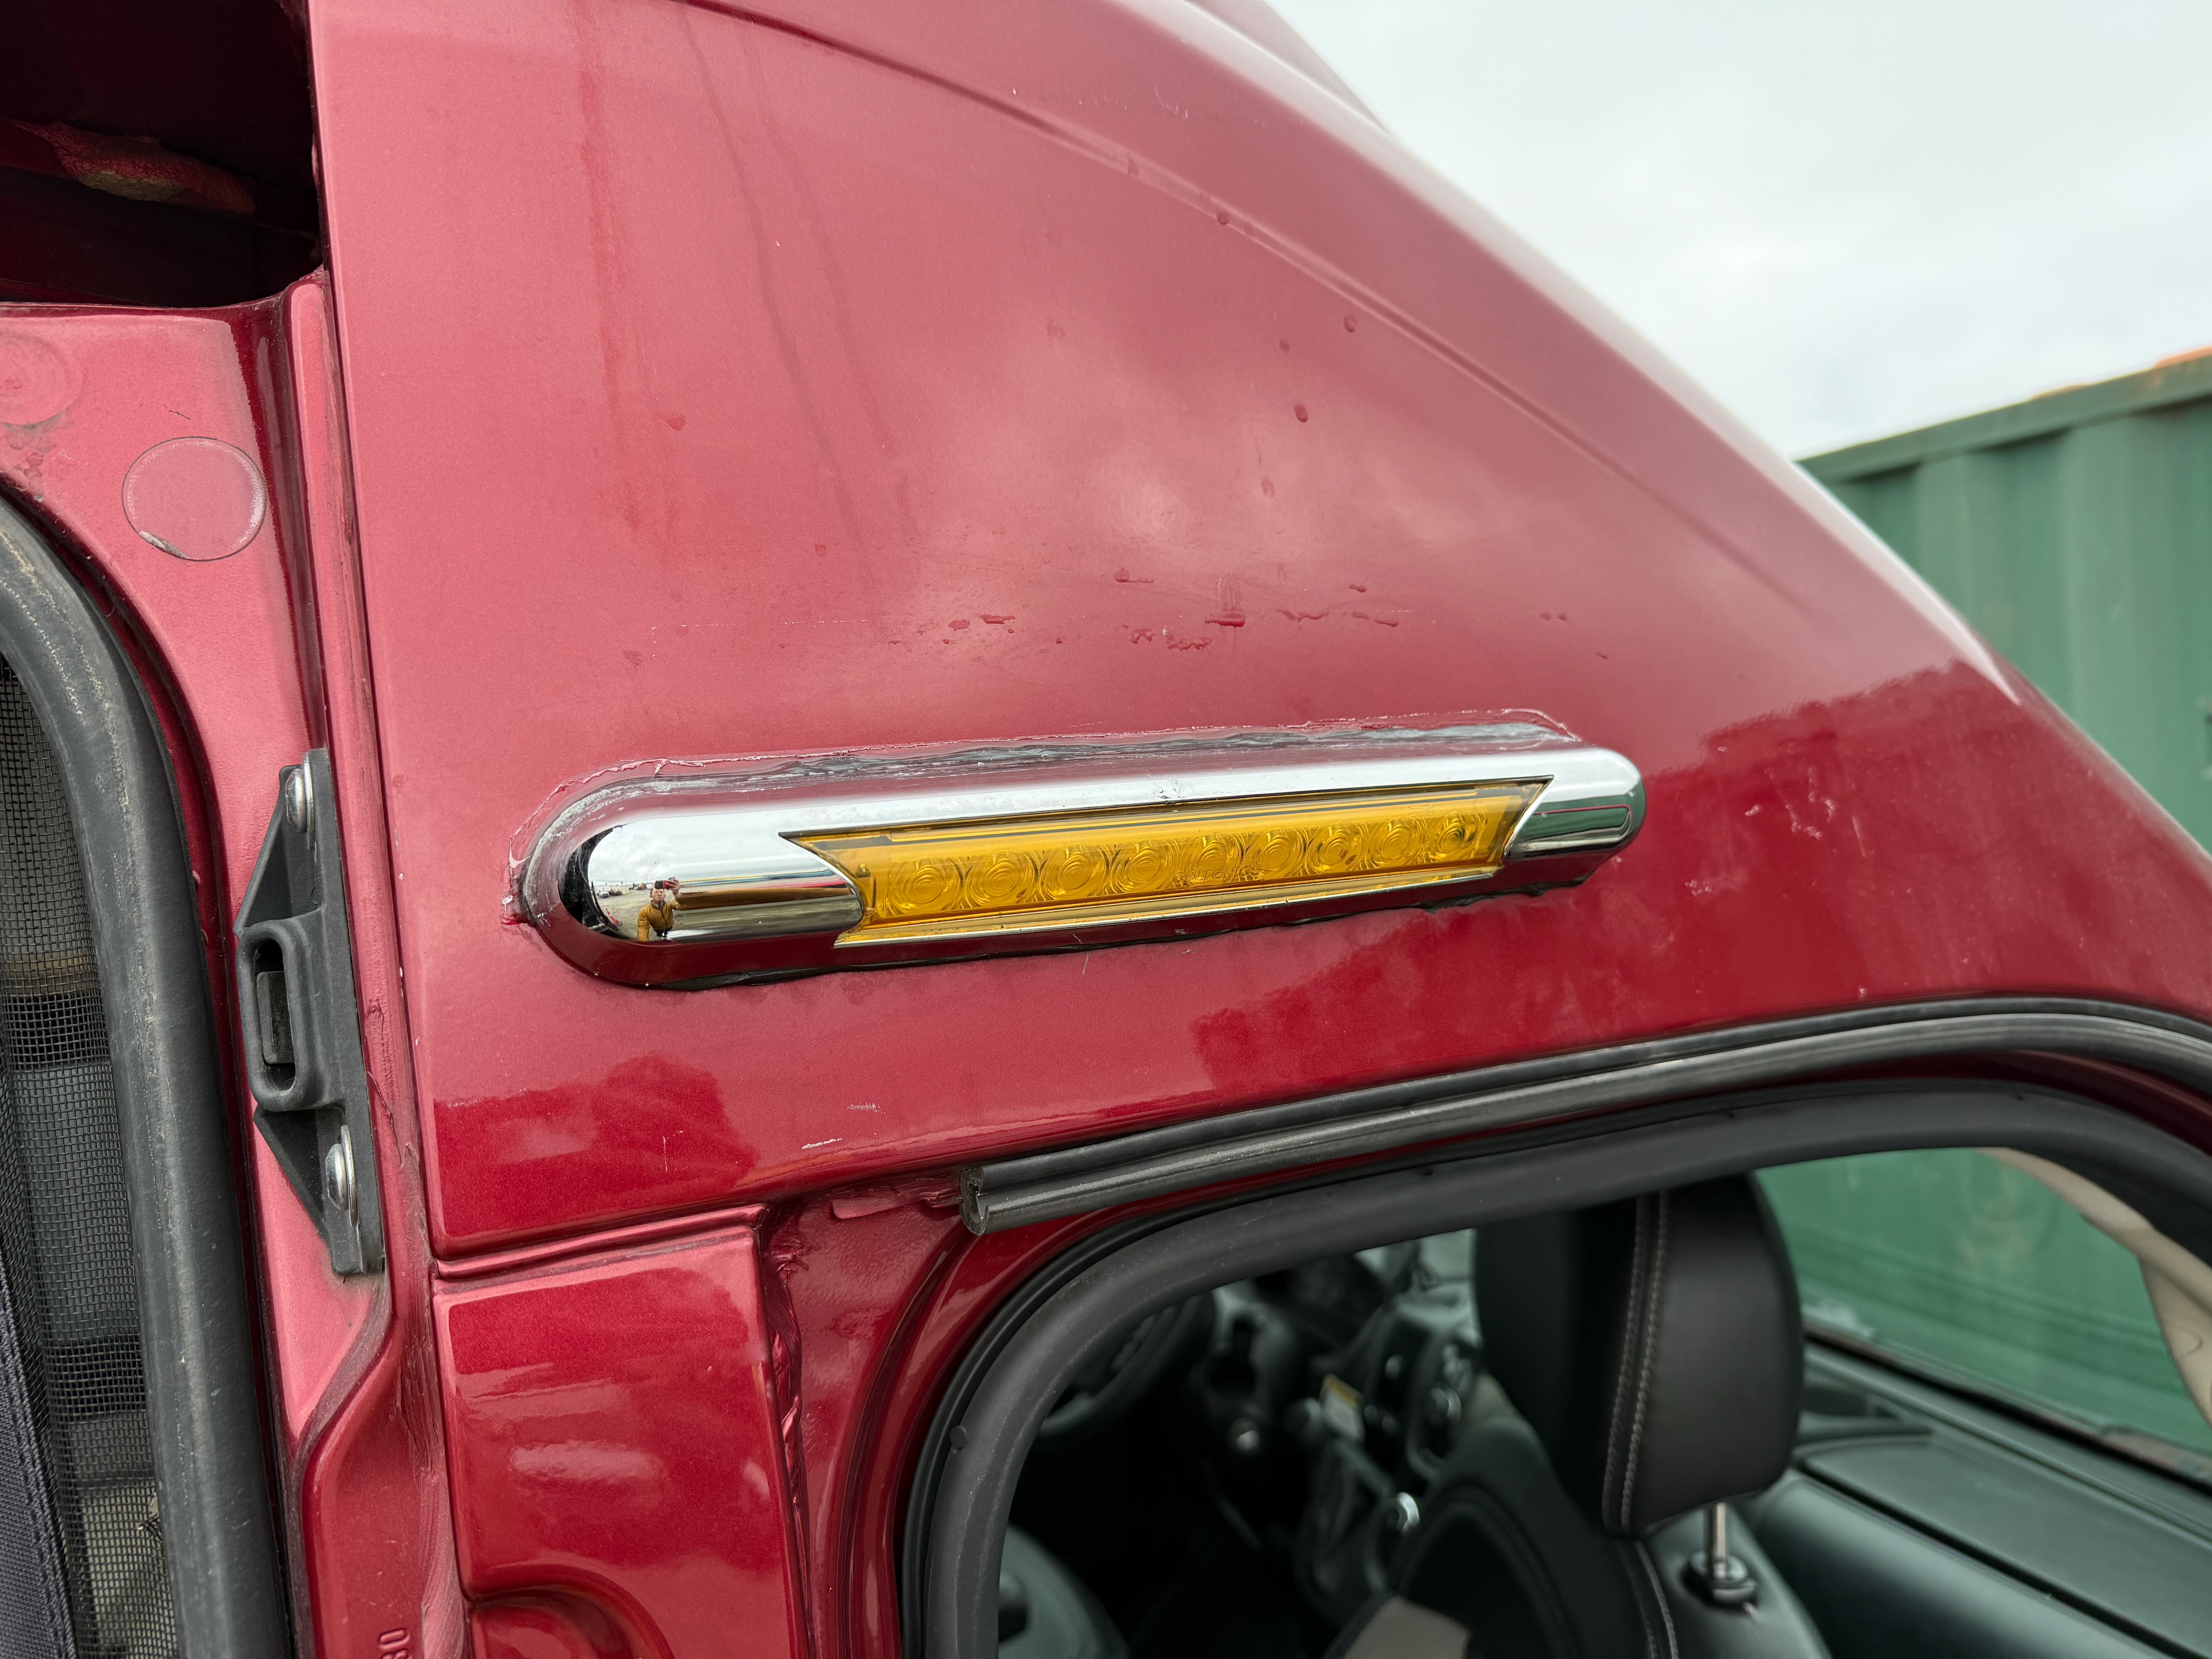
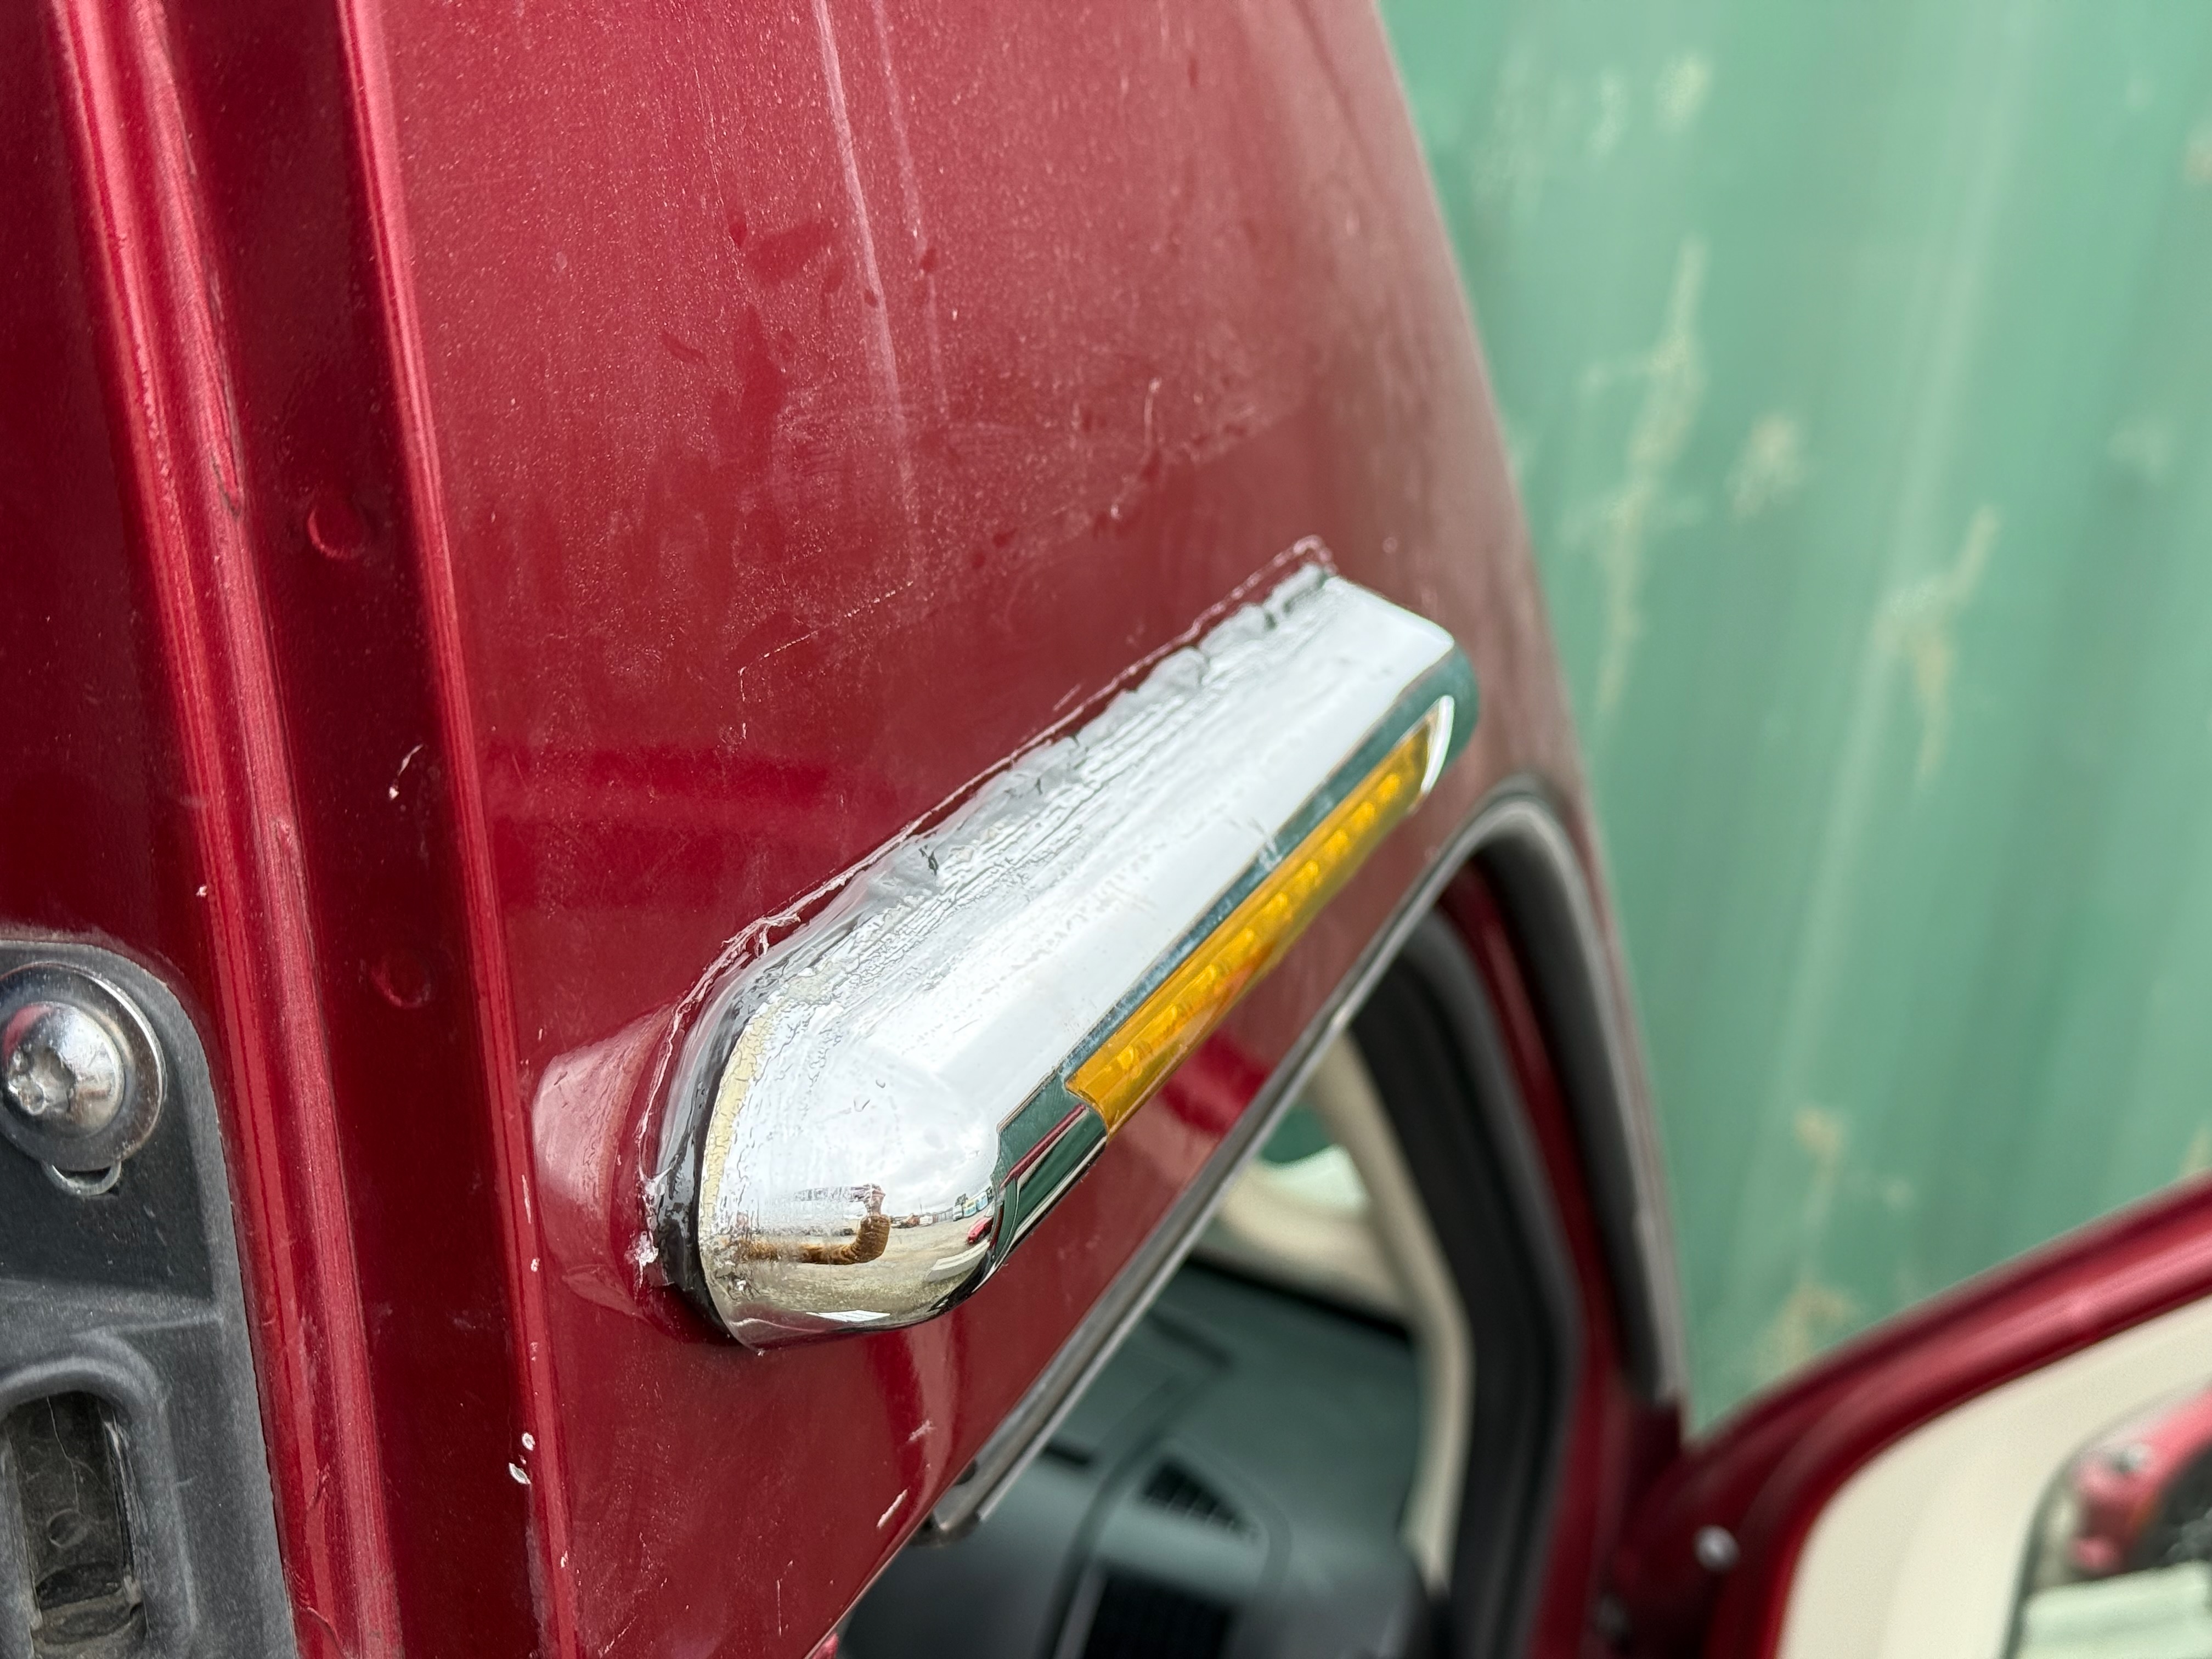
All done!
I did this repair in late February, and the light seems to have held up fine to rain, sun, and driving over the past couple of months.
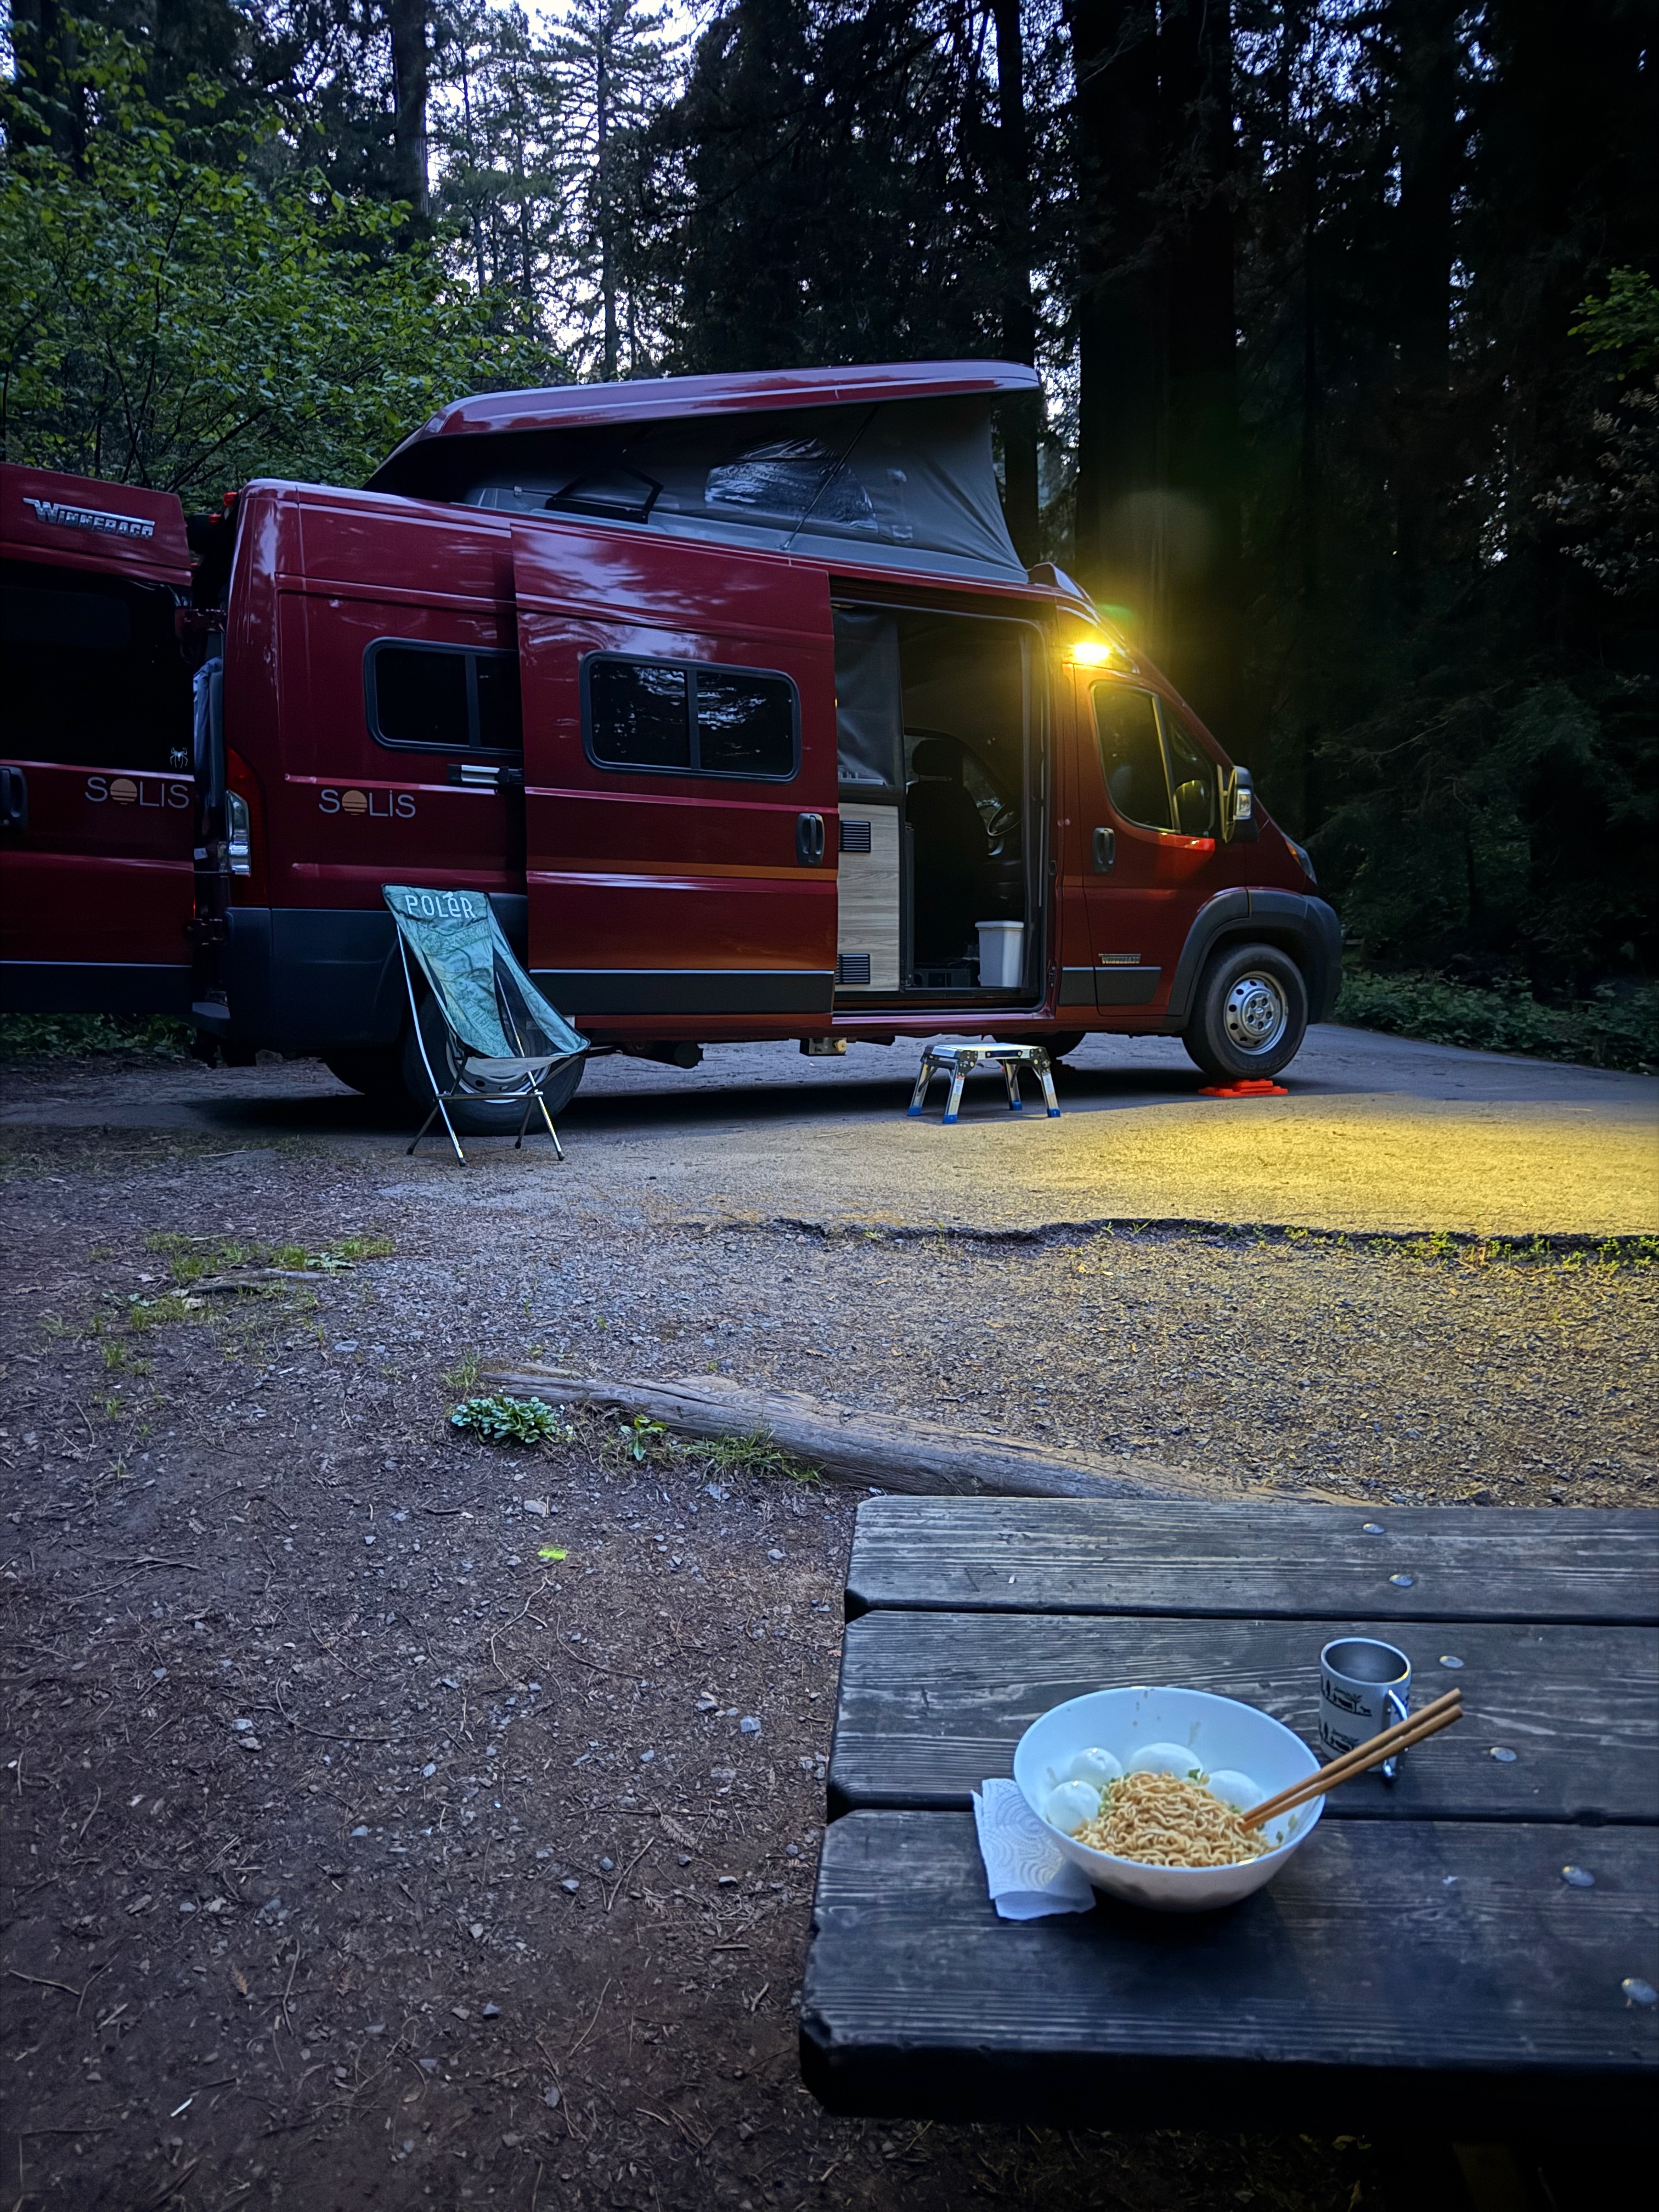
Here's a nice picture of the light in use on a recent camping trip at Samuel P. Taylor State Park. I'm happy with how the yellow tint film I added warms the color of the light from the original cold white.
Appendix: Other strategies
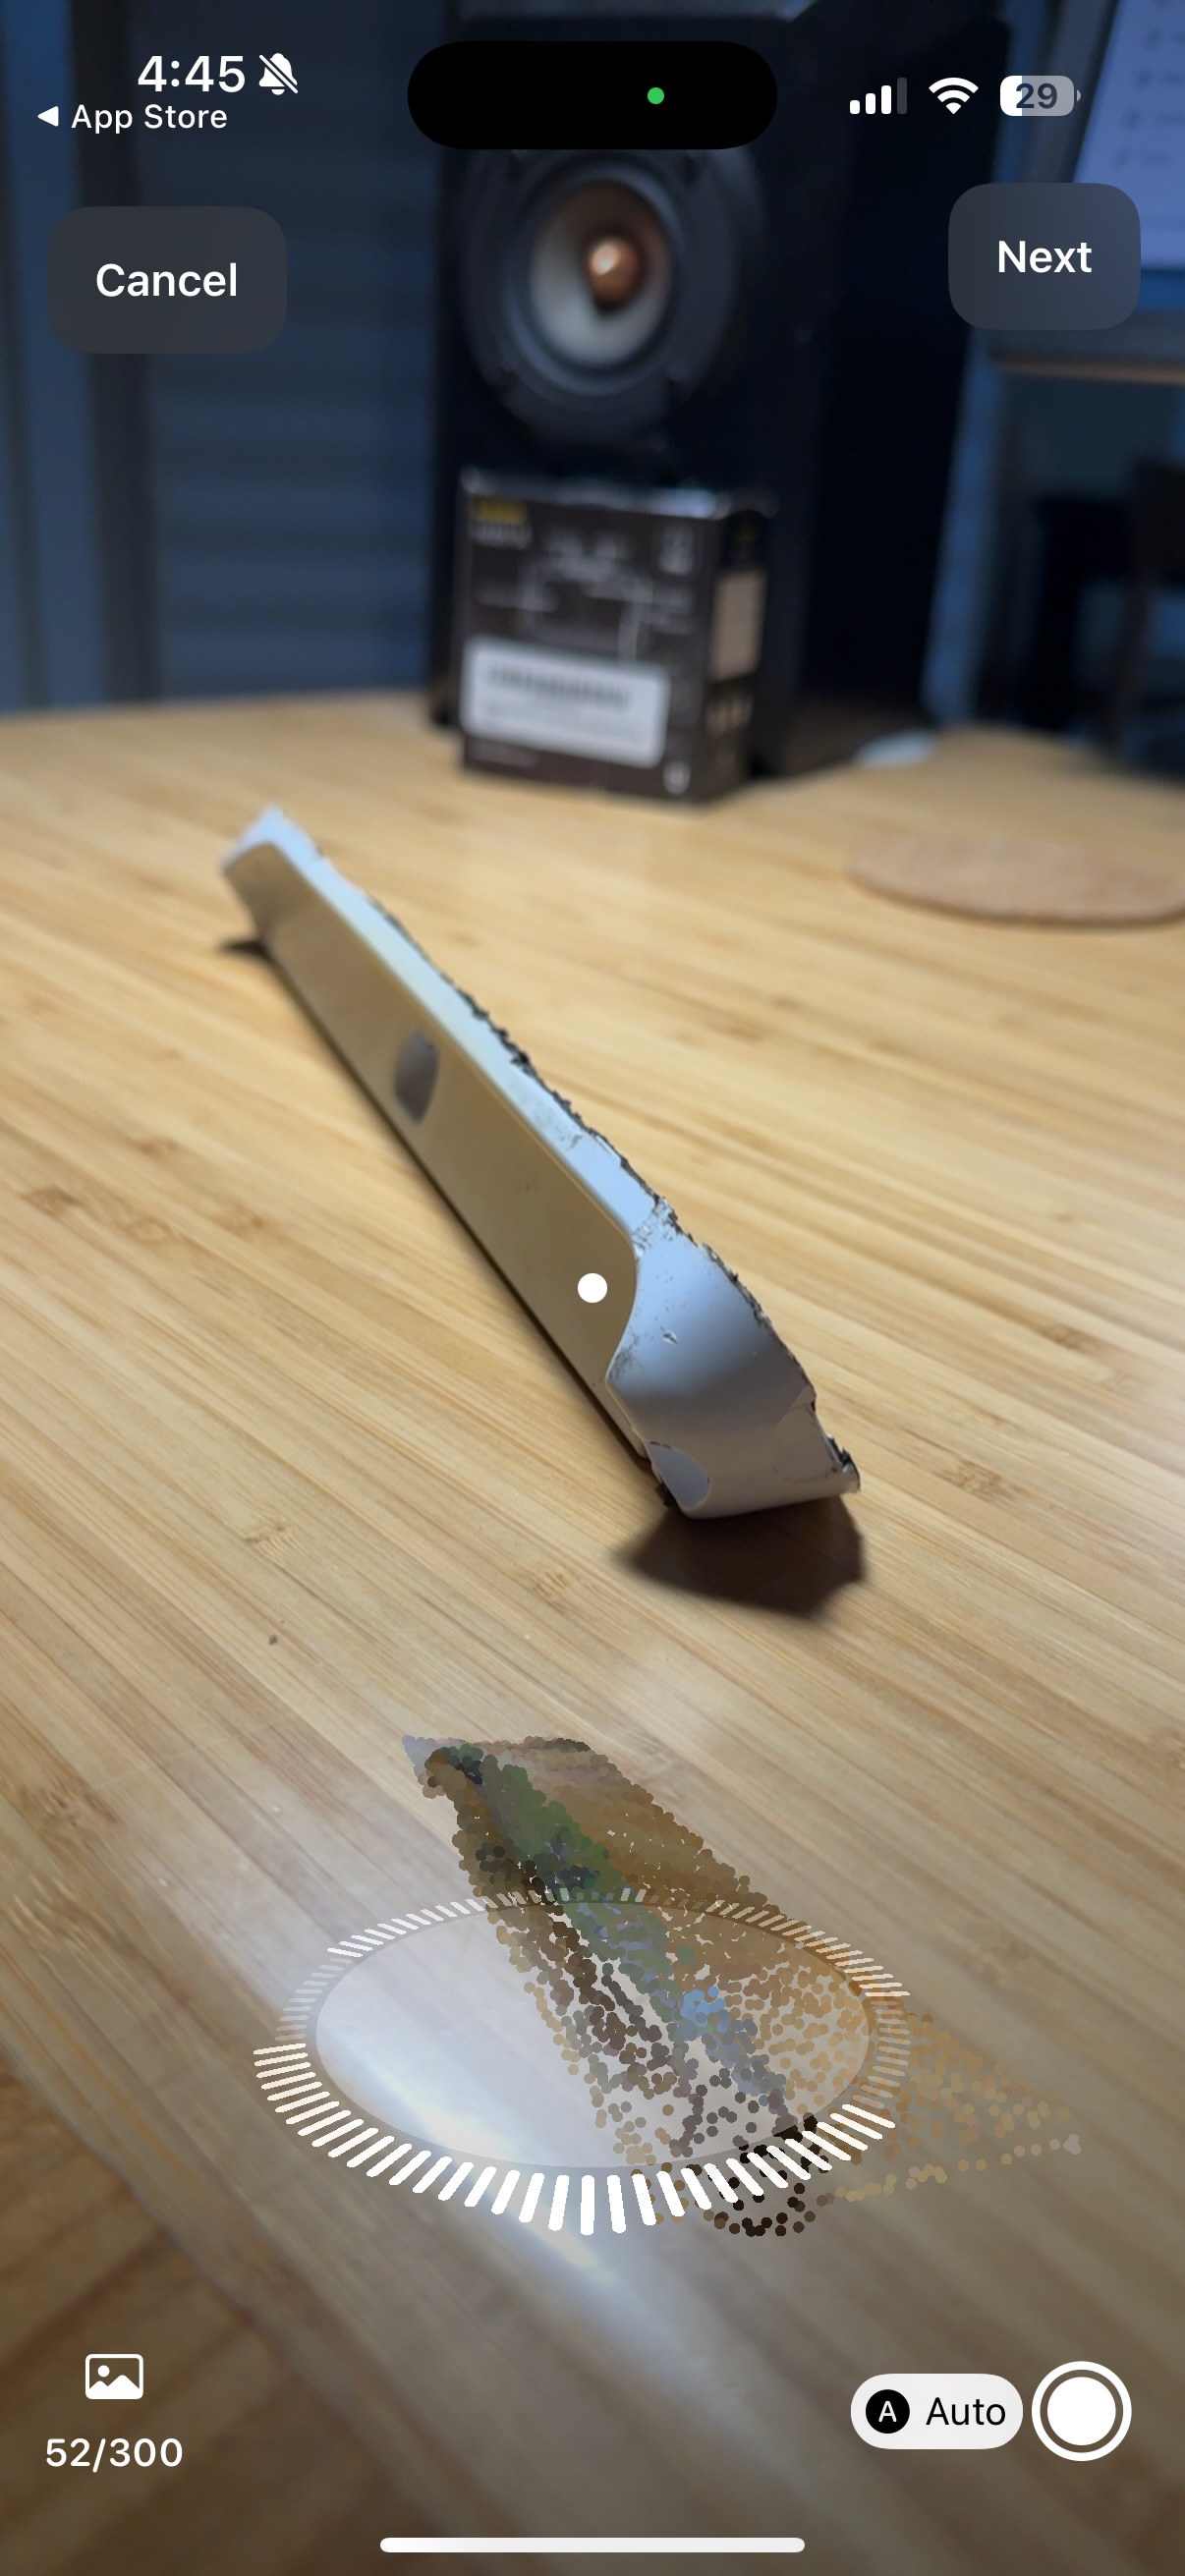
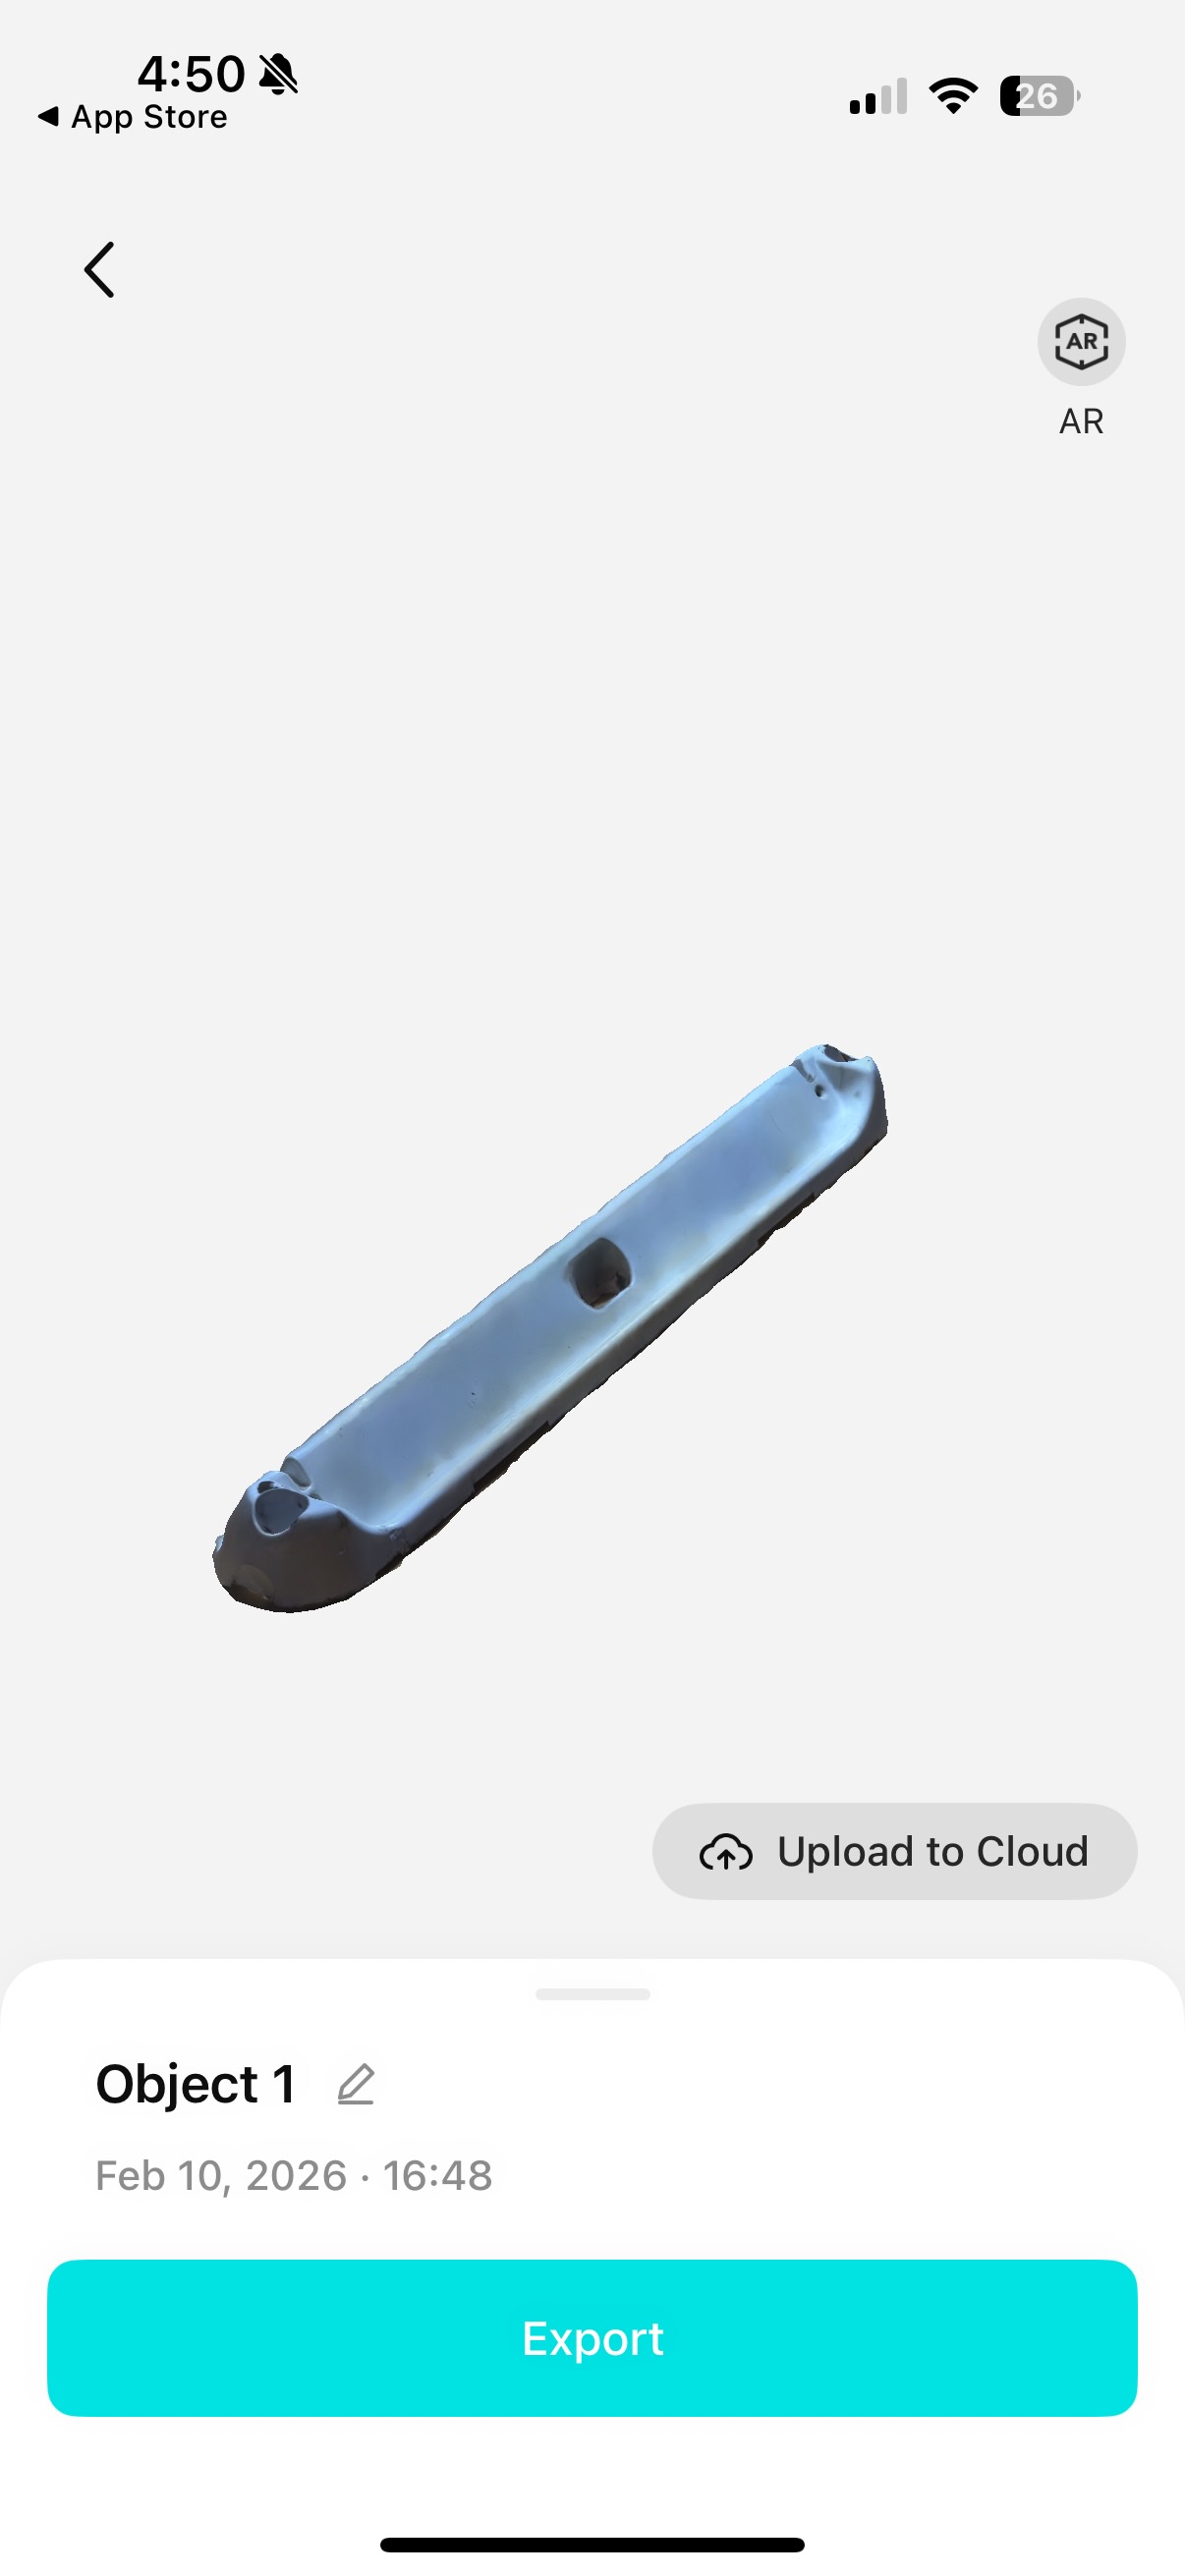
Initially, I tried using my iPhone to 3D scan the part, using a free app called KIRI Engine which seemed pretty well-reviewed. The scan came out well considering that the iPhone isn't really meant for part scanning, but unfortunately it wasn't accurate or detailed enough to use even as a reference. I think this part is just too small and the necessary accuracy too much for iPhone scanning, at least in my brief attempt.
I also made an attempt to repair the broken plastic using some leftover epoxy I had sitting around. This probably would have worked well, but my epoxy mixing ratio was off due to some leakage in storage, so the epoxy failed to cure completely.
